In the first part, I got to the point where I could successfully get a device into a managed state, but that doesn’t mean the device is actually usable. To get it to that state, I need to deploy some apps and policies to it. I typically deploy a list of representative apps that are somewhat “real-world” just so I understand what the end user experience will be with these, as well as some simple policies. So I’ll do the same here.
Setting up the apps
These are the apps that I have typically deployed as part of my Autopilot deployments:
- 2Pint Software StifleR client, a simple MSI.
- Microsoft 365 Apps (Office 365), a not-so-simple Click-to-Run installer.
- Adobe Acrobat Reader DC, a common Win32 app.
- Autopilot Branding, a PowerShell script wrapped into an app that configures various things in Windows.
- OOBE Entertain, another PowerShell script wrapped into an app that displays a web page during OOBE.
- Update OS, yet another PowerShell script that installs updates from Windows Update during OOBE.
- MDT Task Sequence, a PowerShell script that wraps around an MDT task sequence that installs apps on the device.
So I might as well set up the same apps in Workspace ONE.
We’ll work our way down the list, starting with the 2Pint StifleR client. It’s a simple single-file MSI with command line parameters, so it should be a good one to start with. We start from the native apps view in the Workspace ONE portal, where I can click “Add” and specify “Application file”.
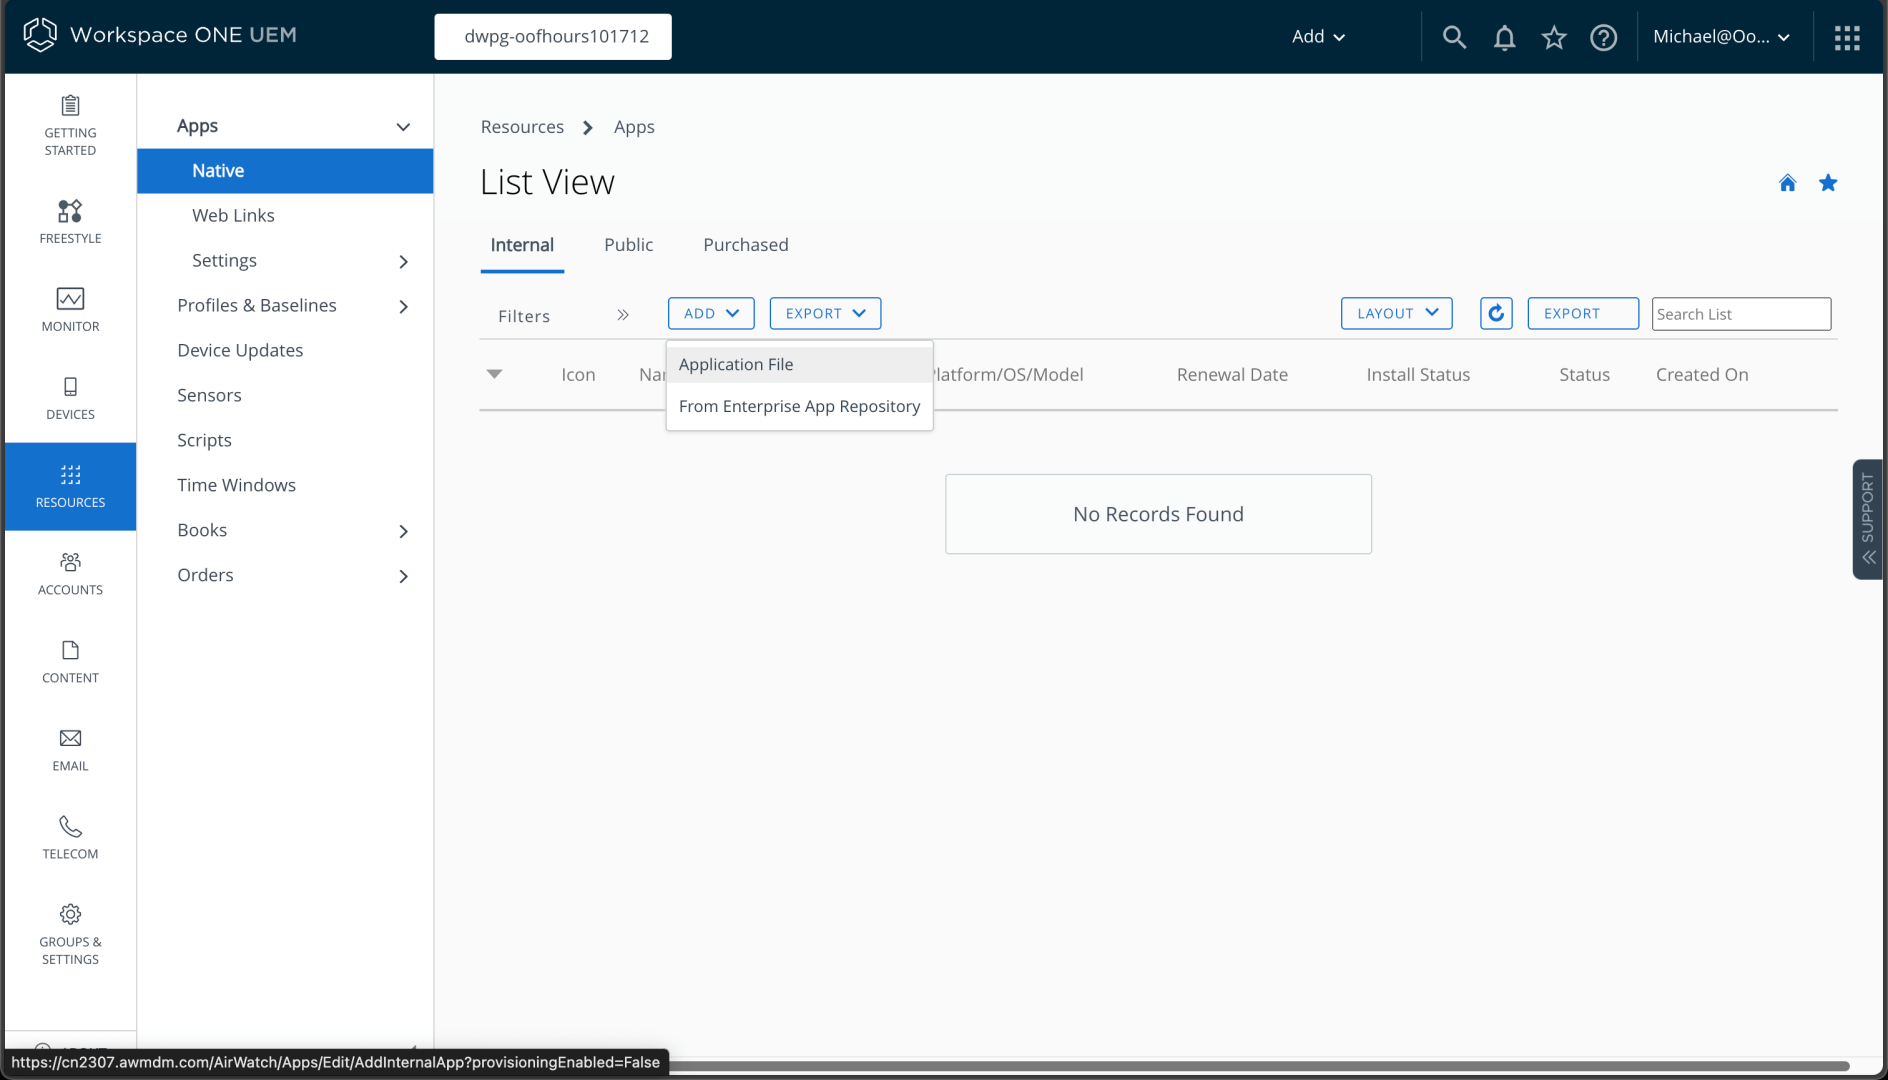
I can browse to the file I want to upload:
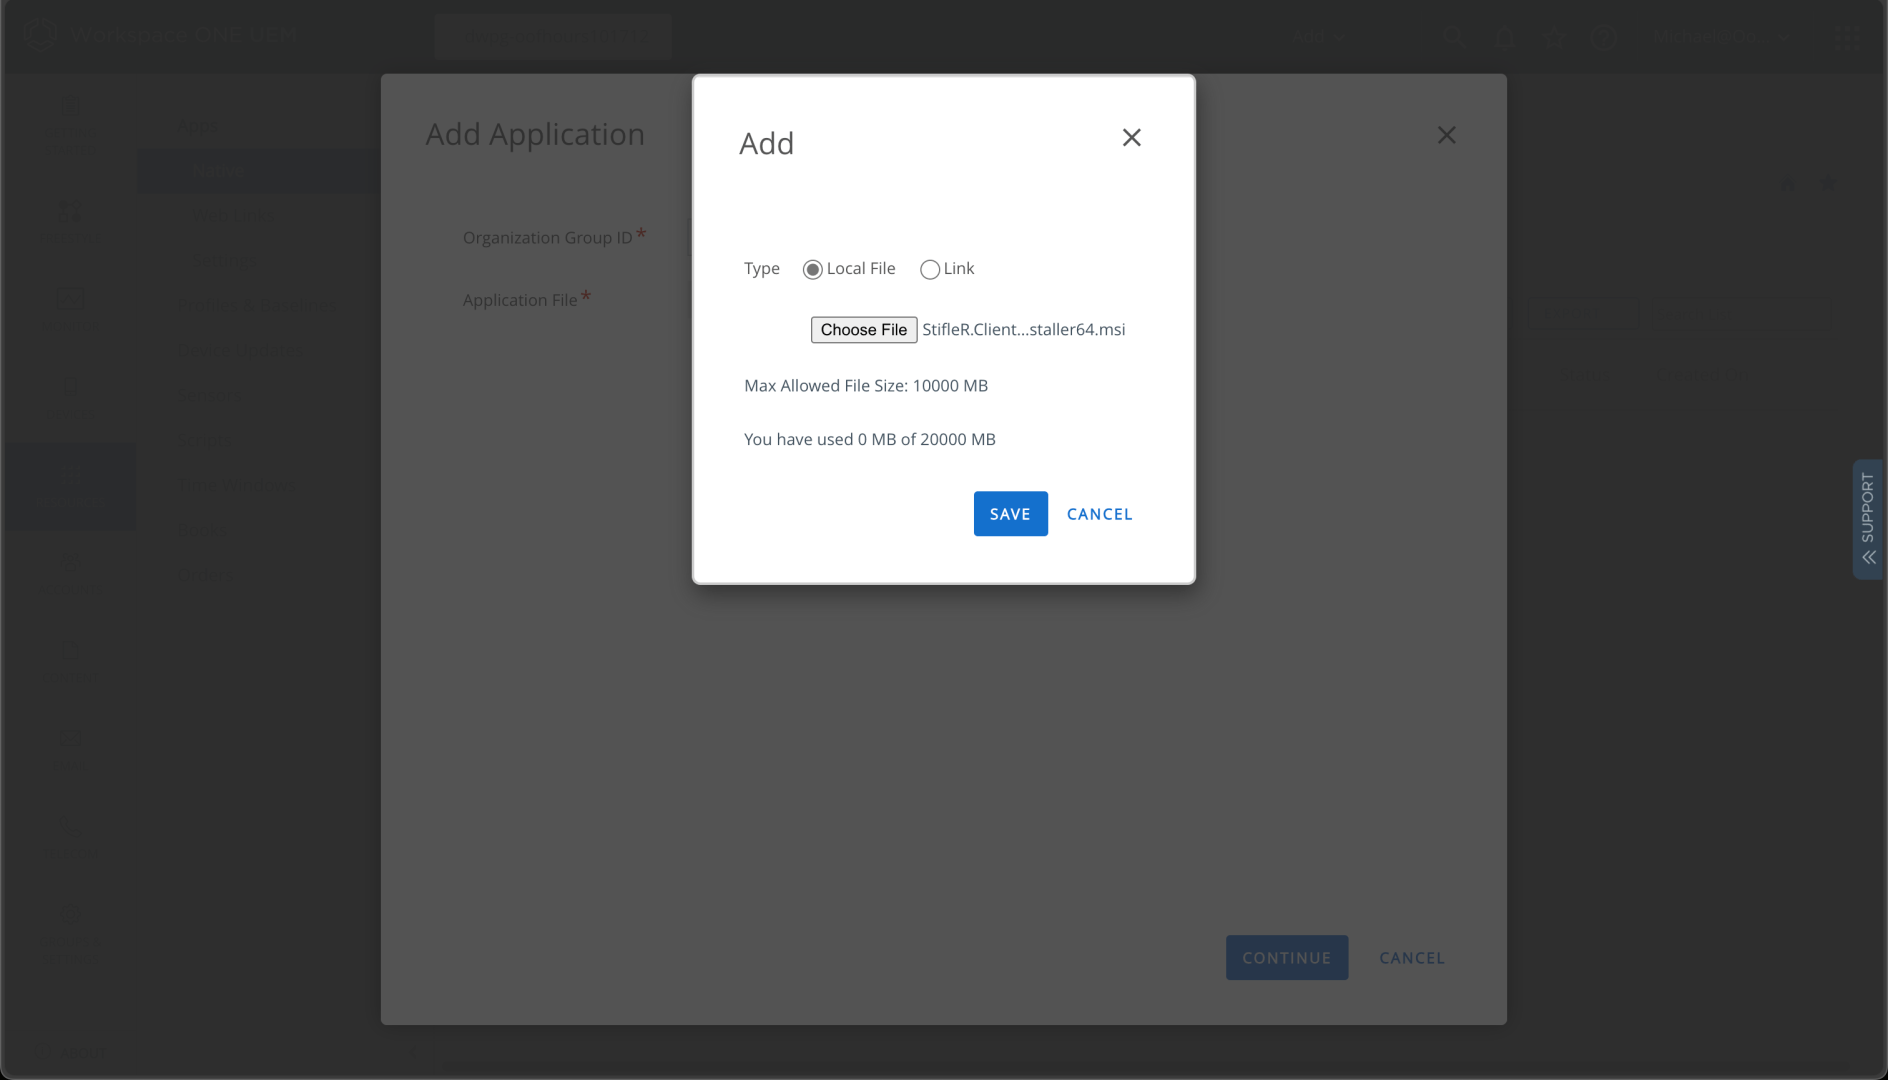
Then I can click “Save” to upload it:
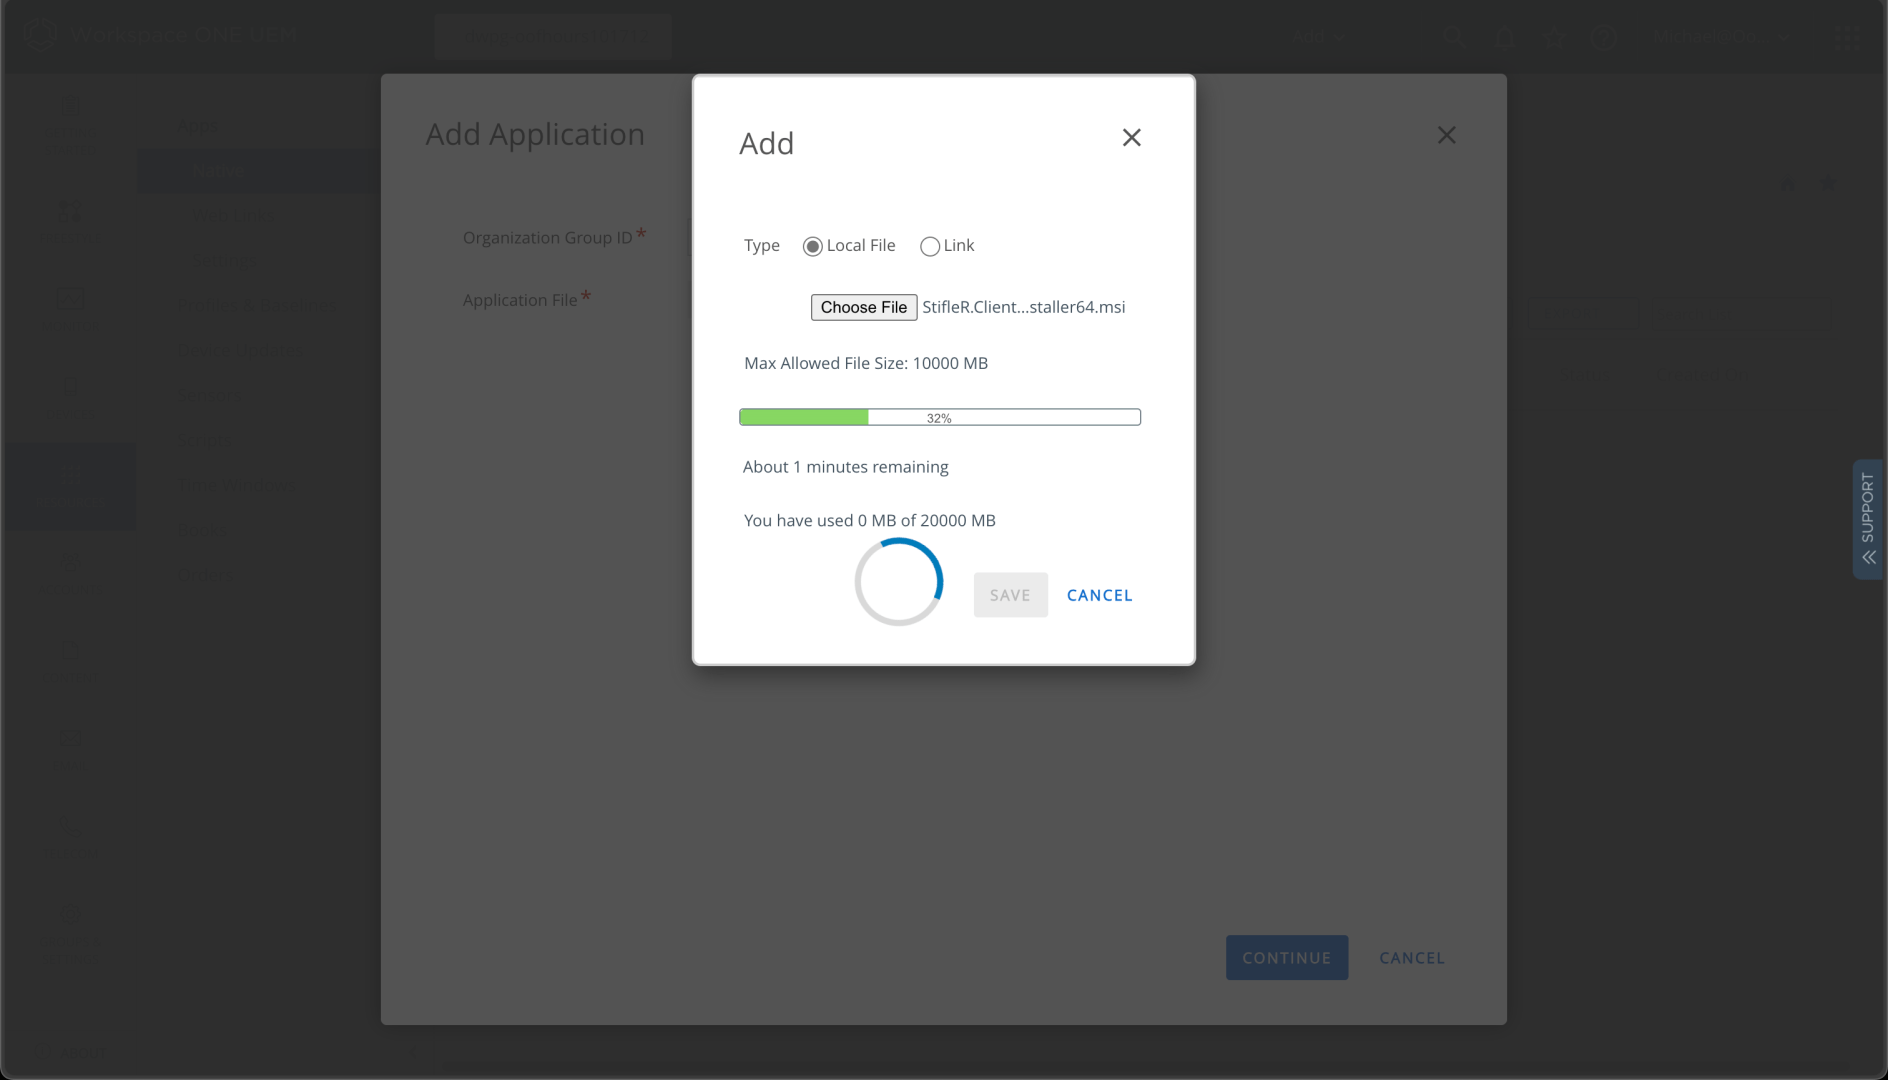
Once the upload is complete, I can click to Continue:
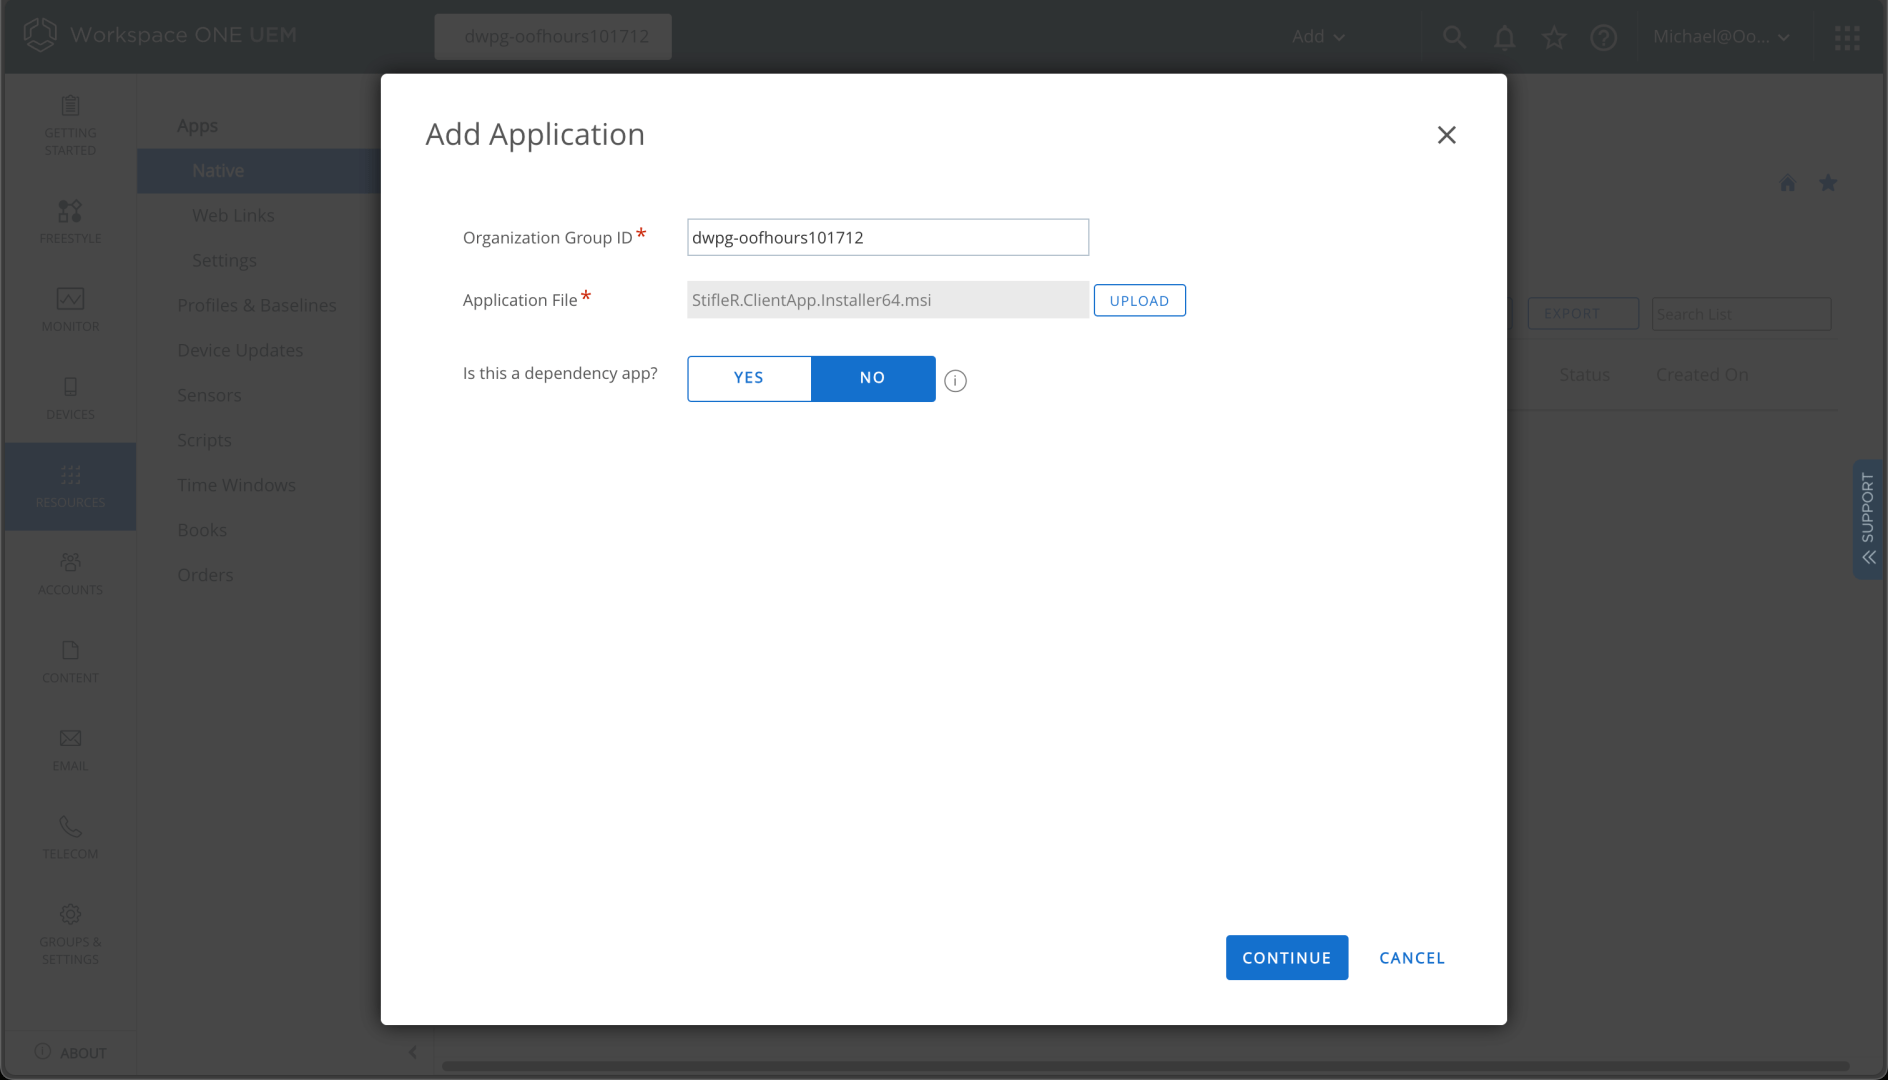
It detects all the details from the MSI file itself, marking the app as “x86” which makes it available to x86, x64, and ARM64 devices:
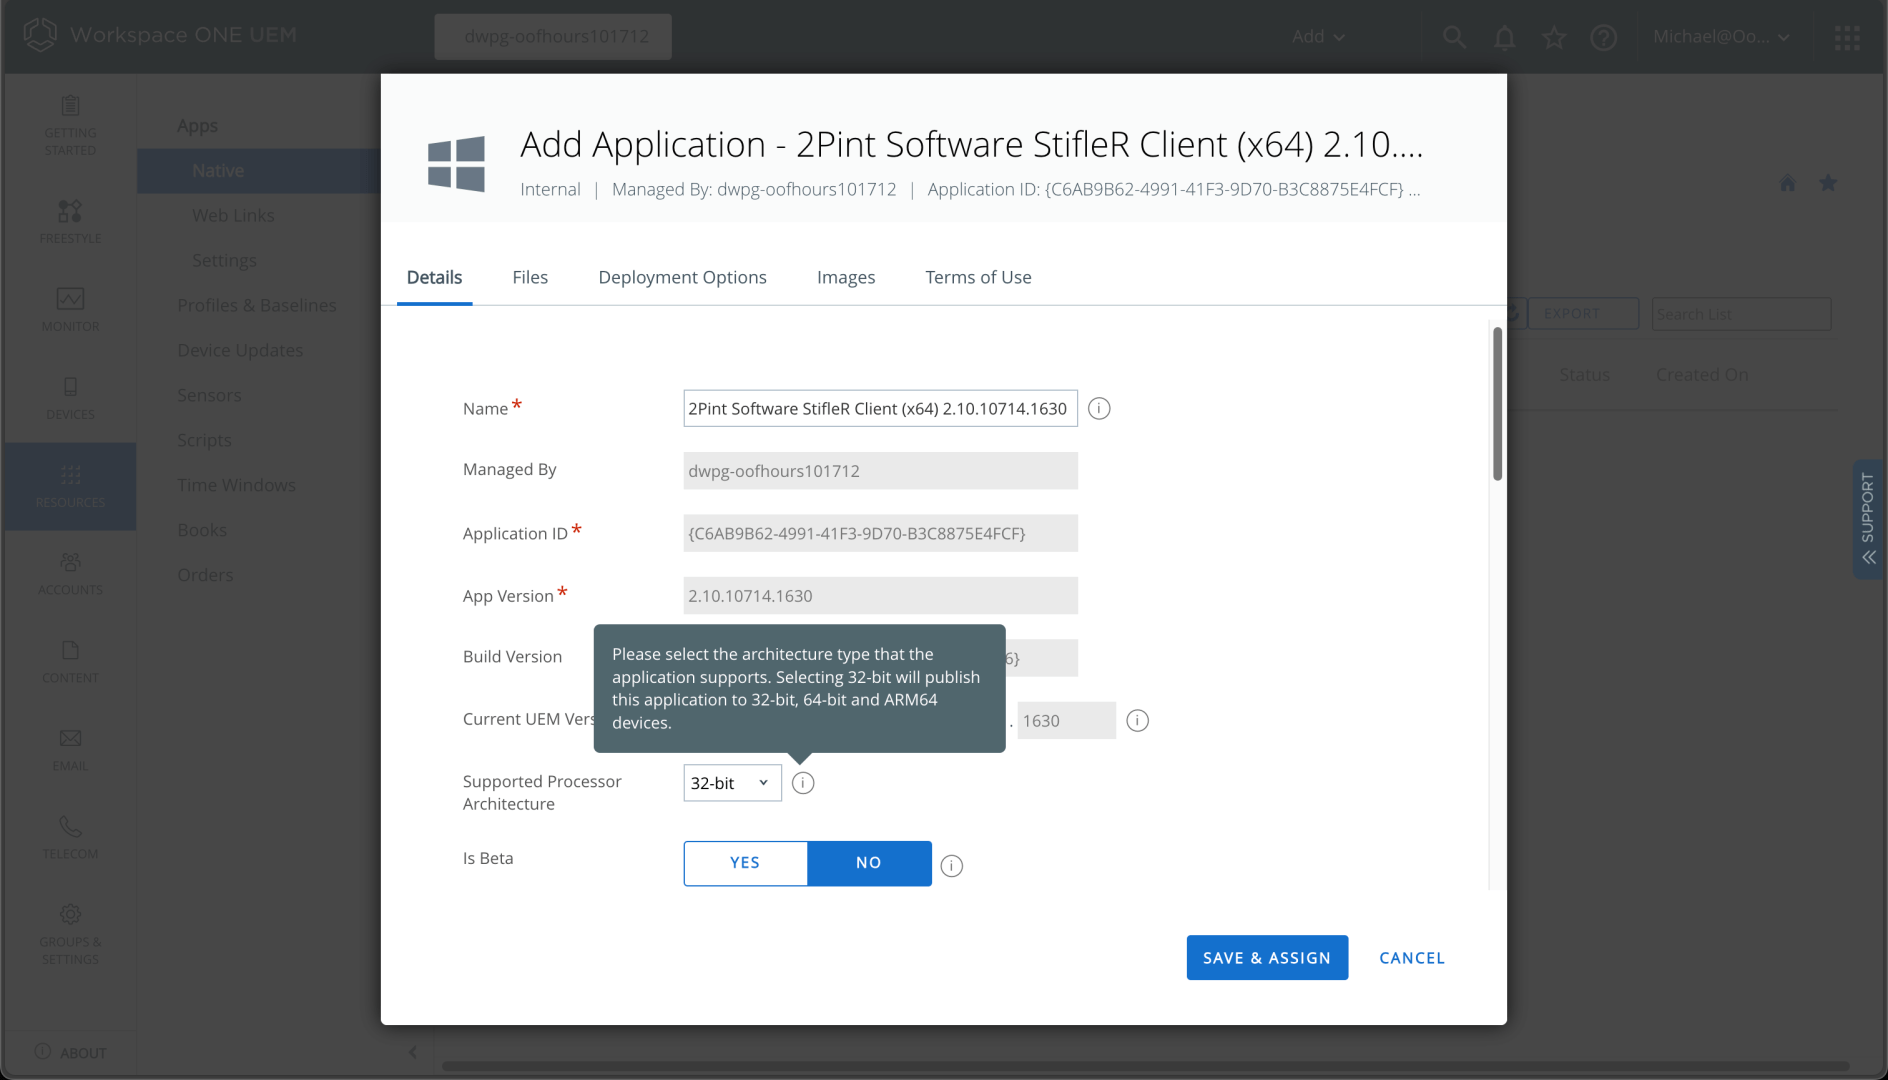
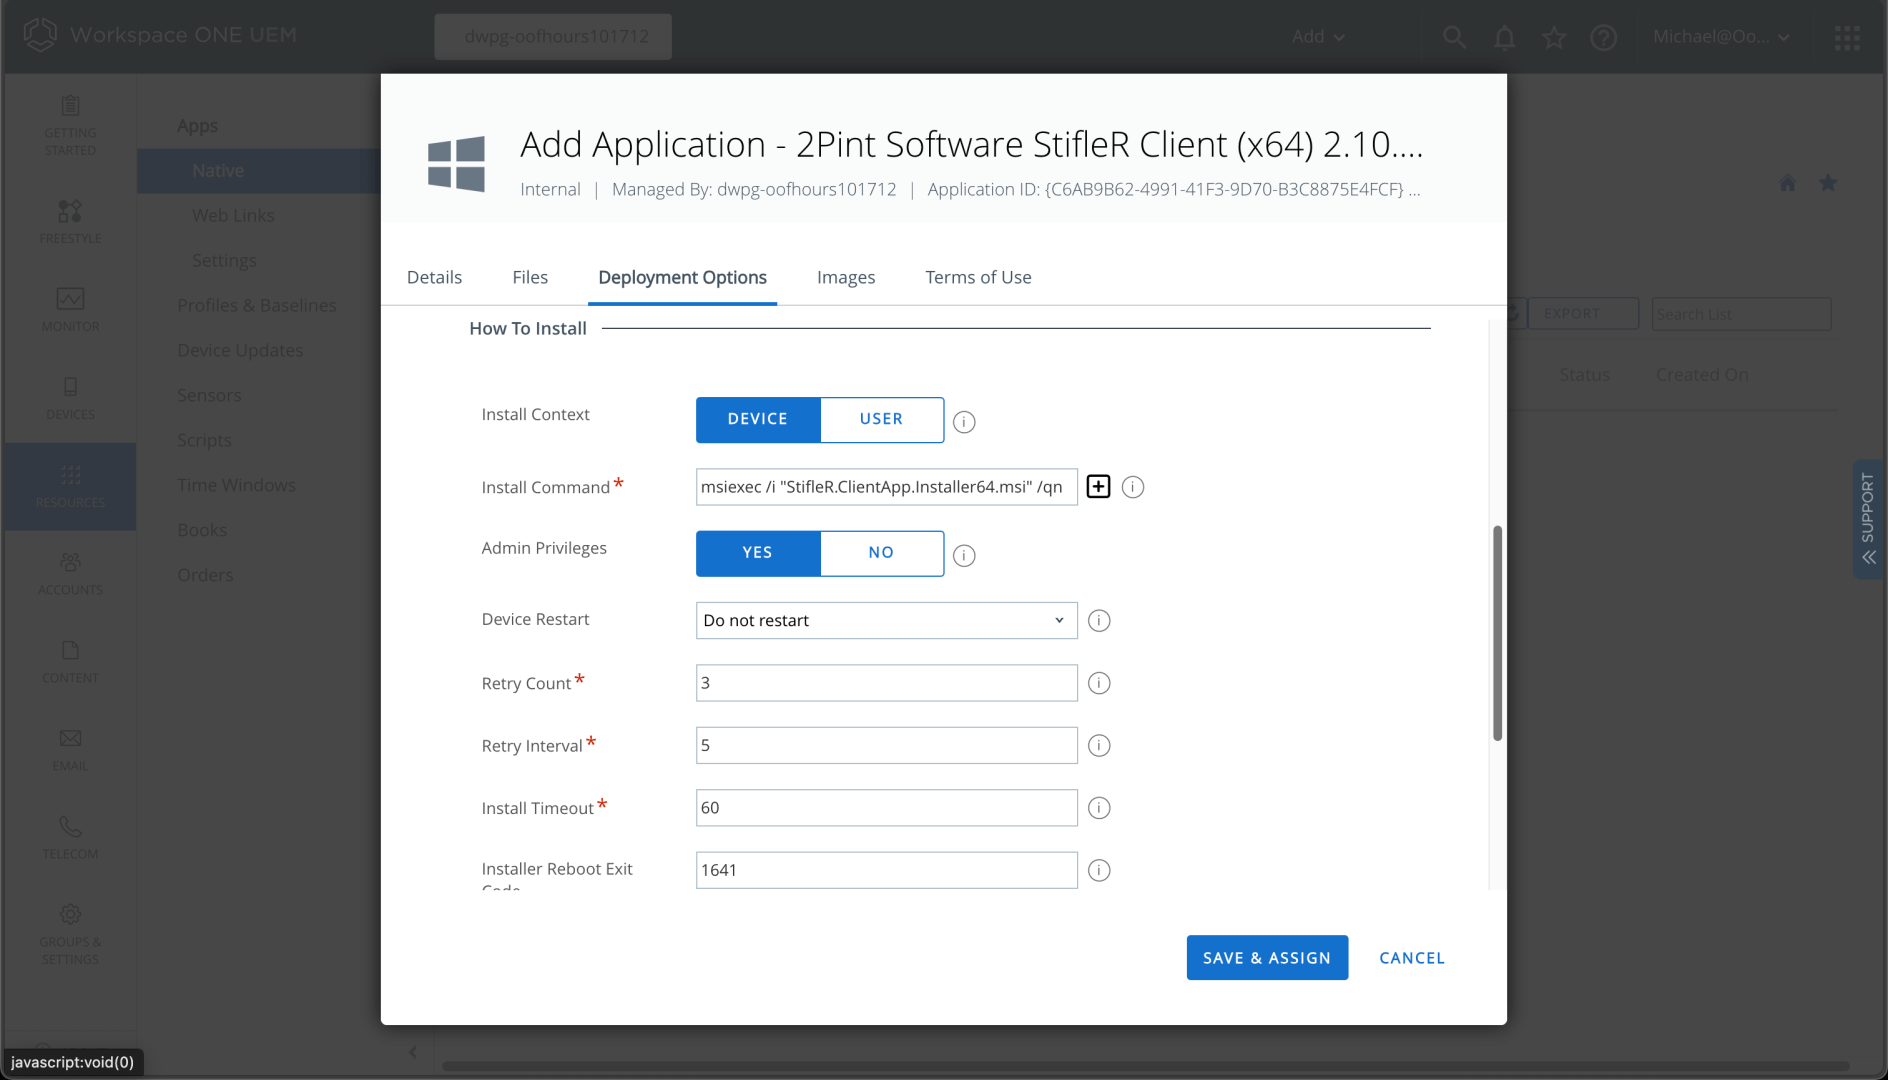
Since it is an MSI, it populates the installation command line too:
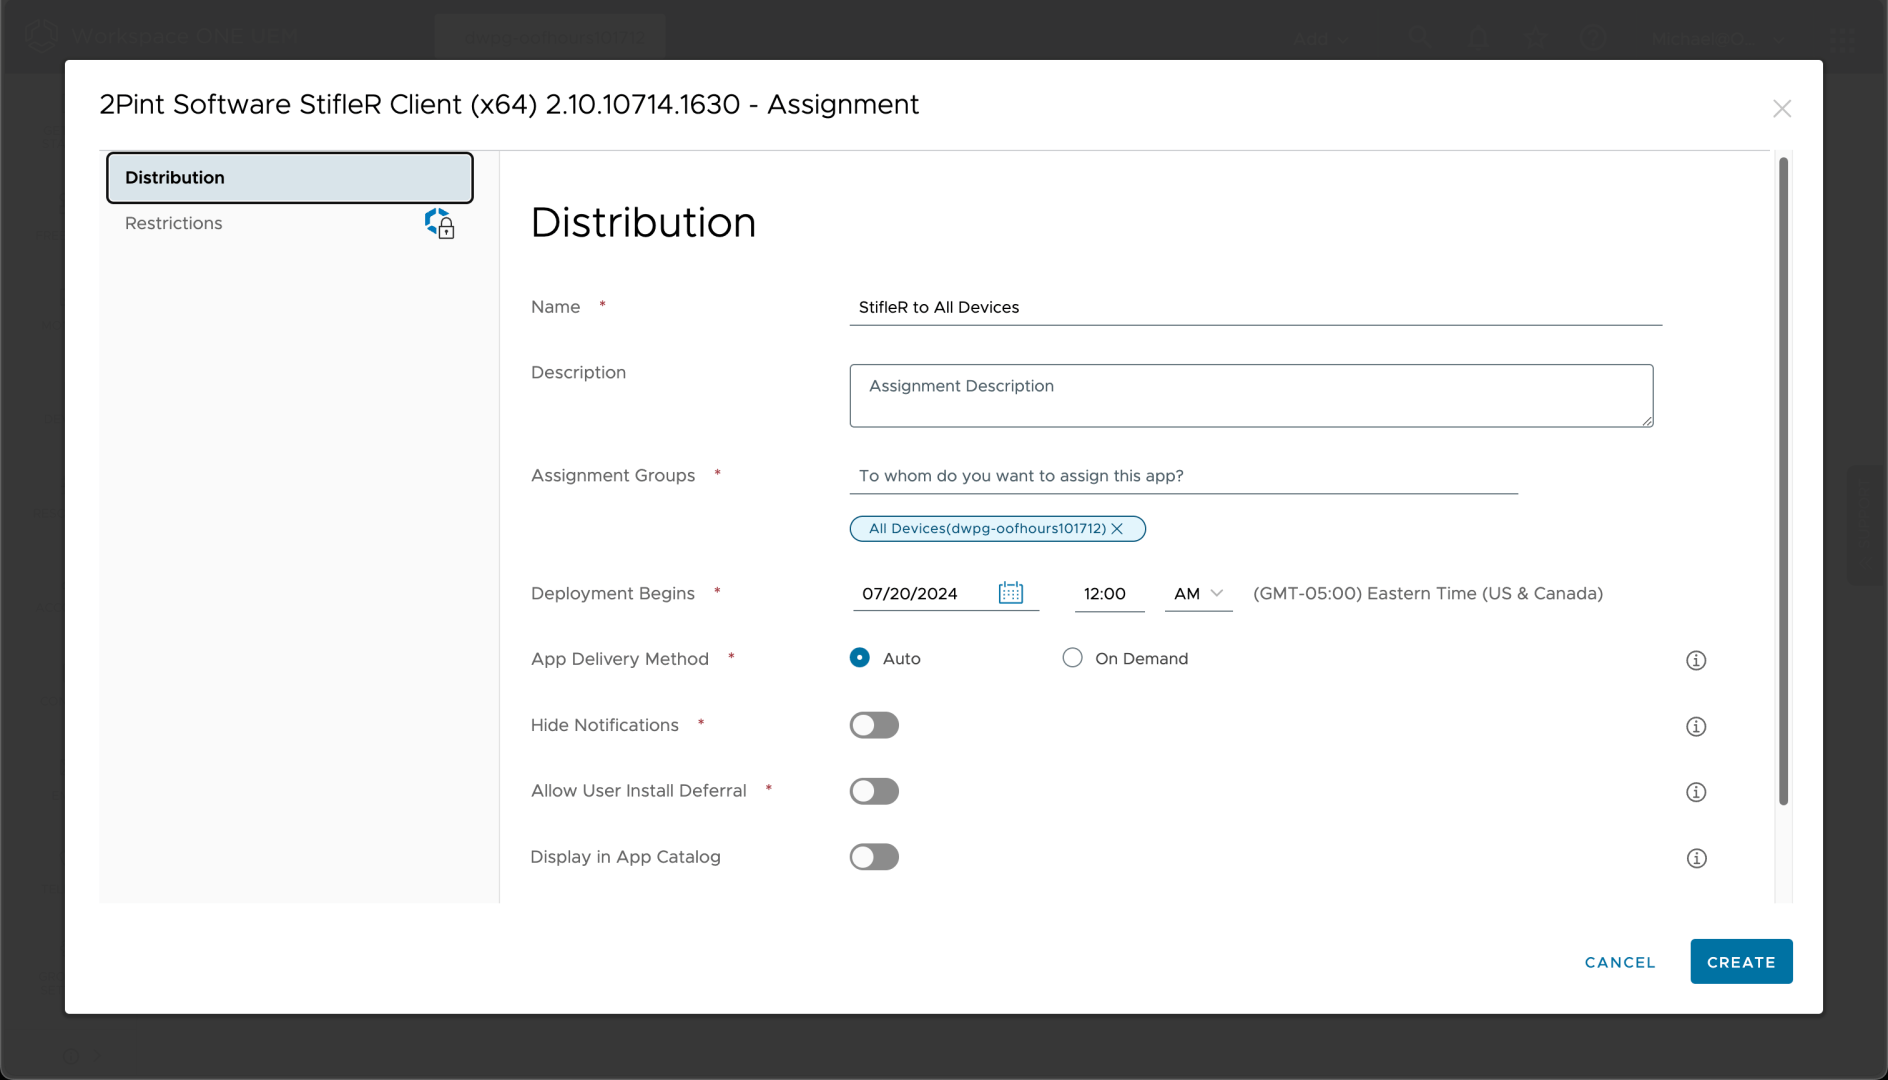
So there’s nothing else to do but “Save & Assign.” I can choose to assign it to automatically install on all devices:
After a couple of confirmations, the app is deployed — pretty easy.
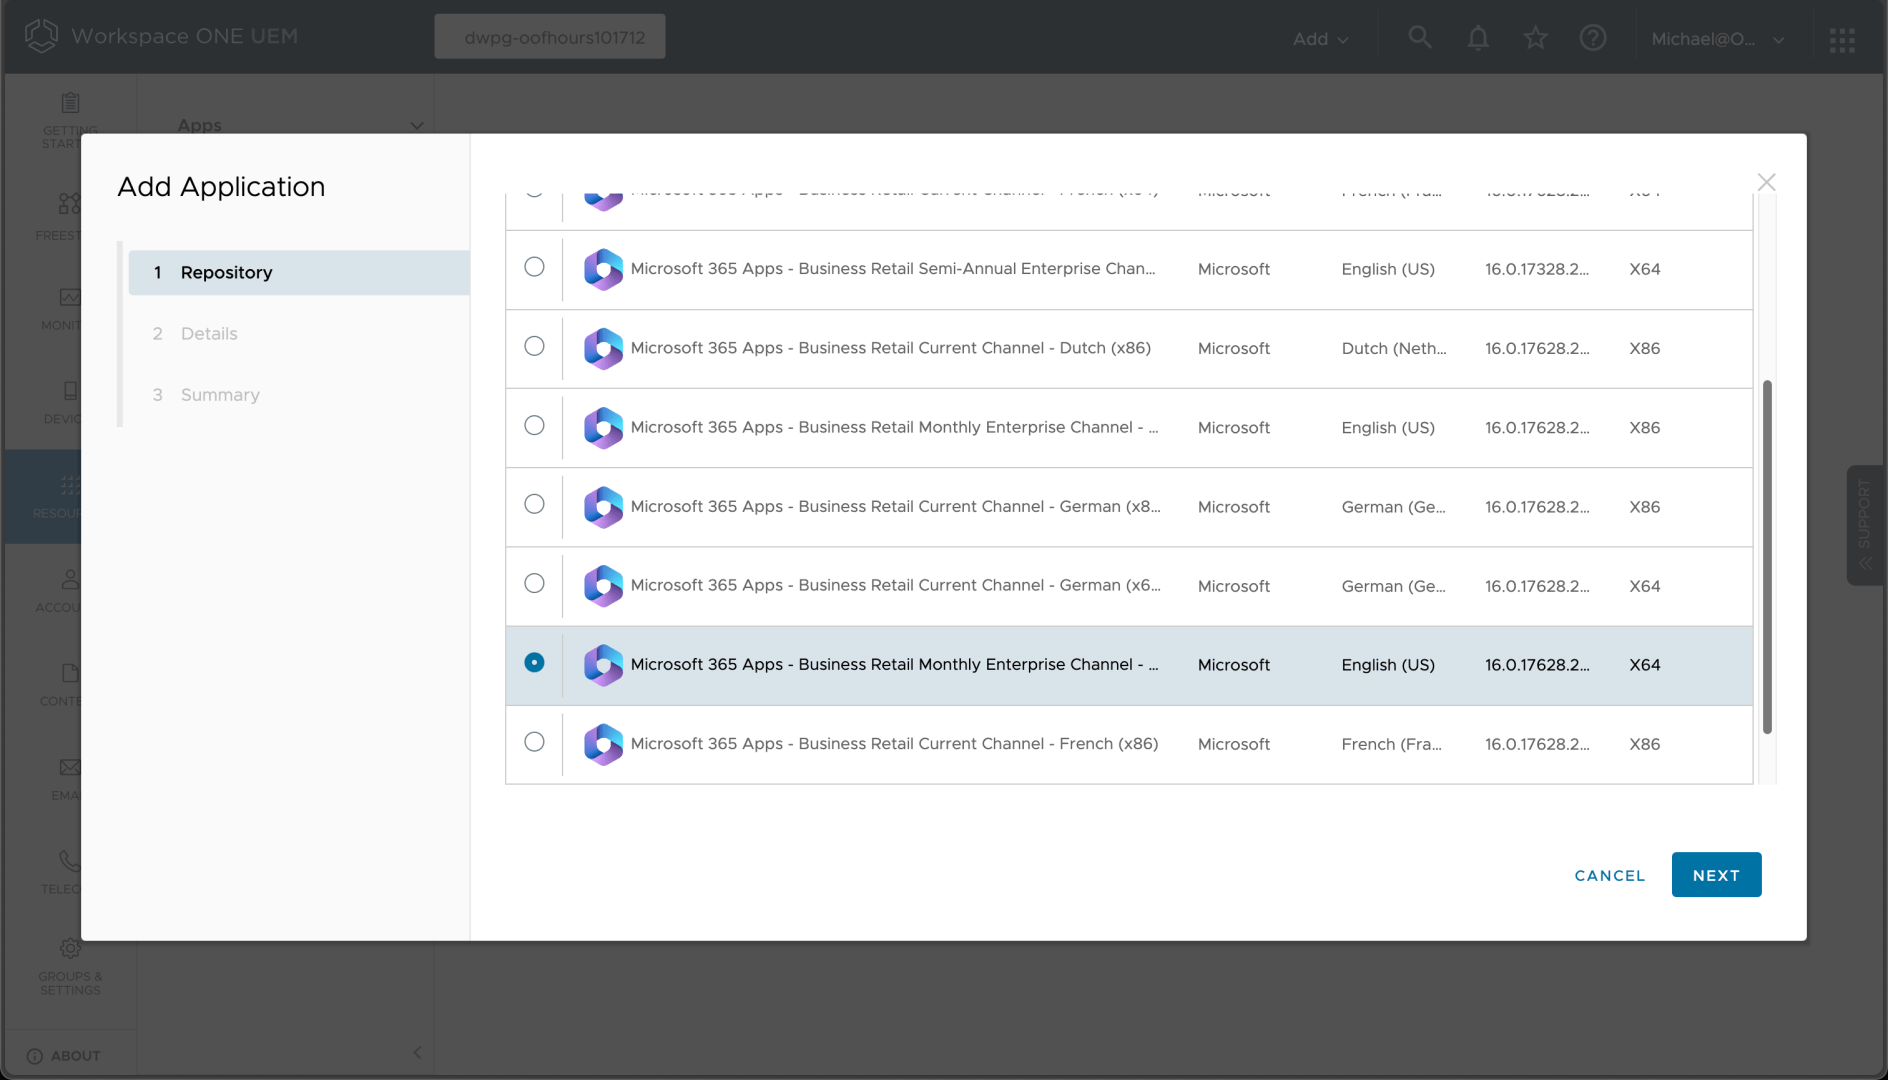
Next up is Microsoft 365 Apps (Office 365). You can add this using the Add -> From Enterprise App Repository option. I chose the Monthly Enterprise Channel x64 version; that should activate fine using the Microsoft 365 Business Premium license assigned to my user. (I could deploy this separately using the Office Deployment Tool, which provides more configuration capabilities, but this is easier.)
After a few clicks in the wizard, we can see the app details:
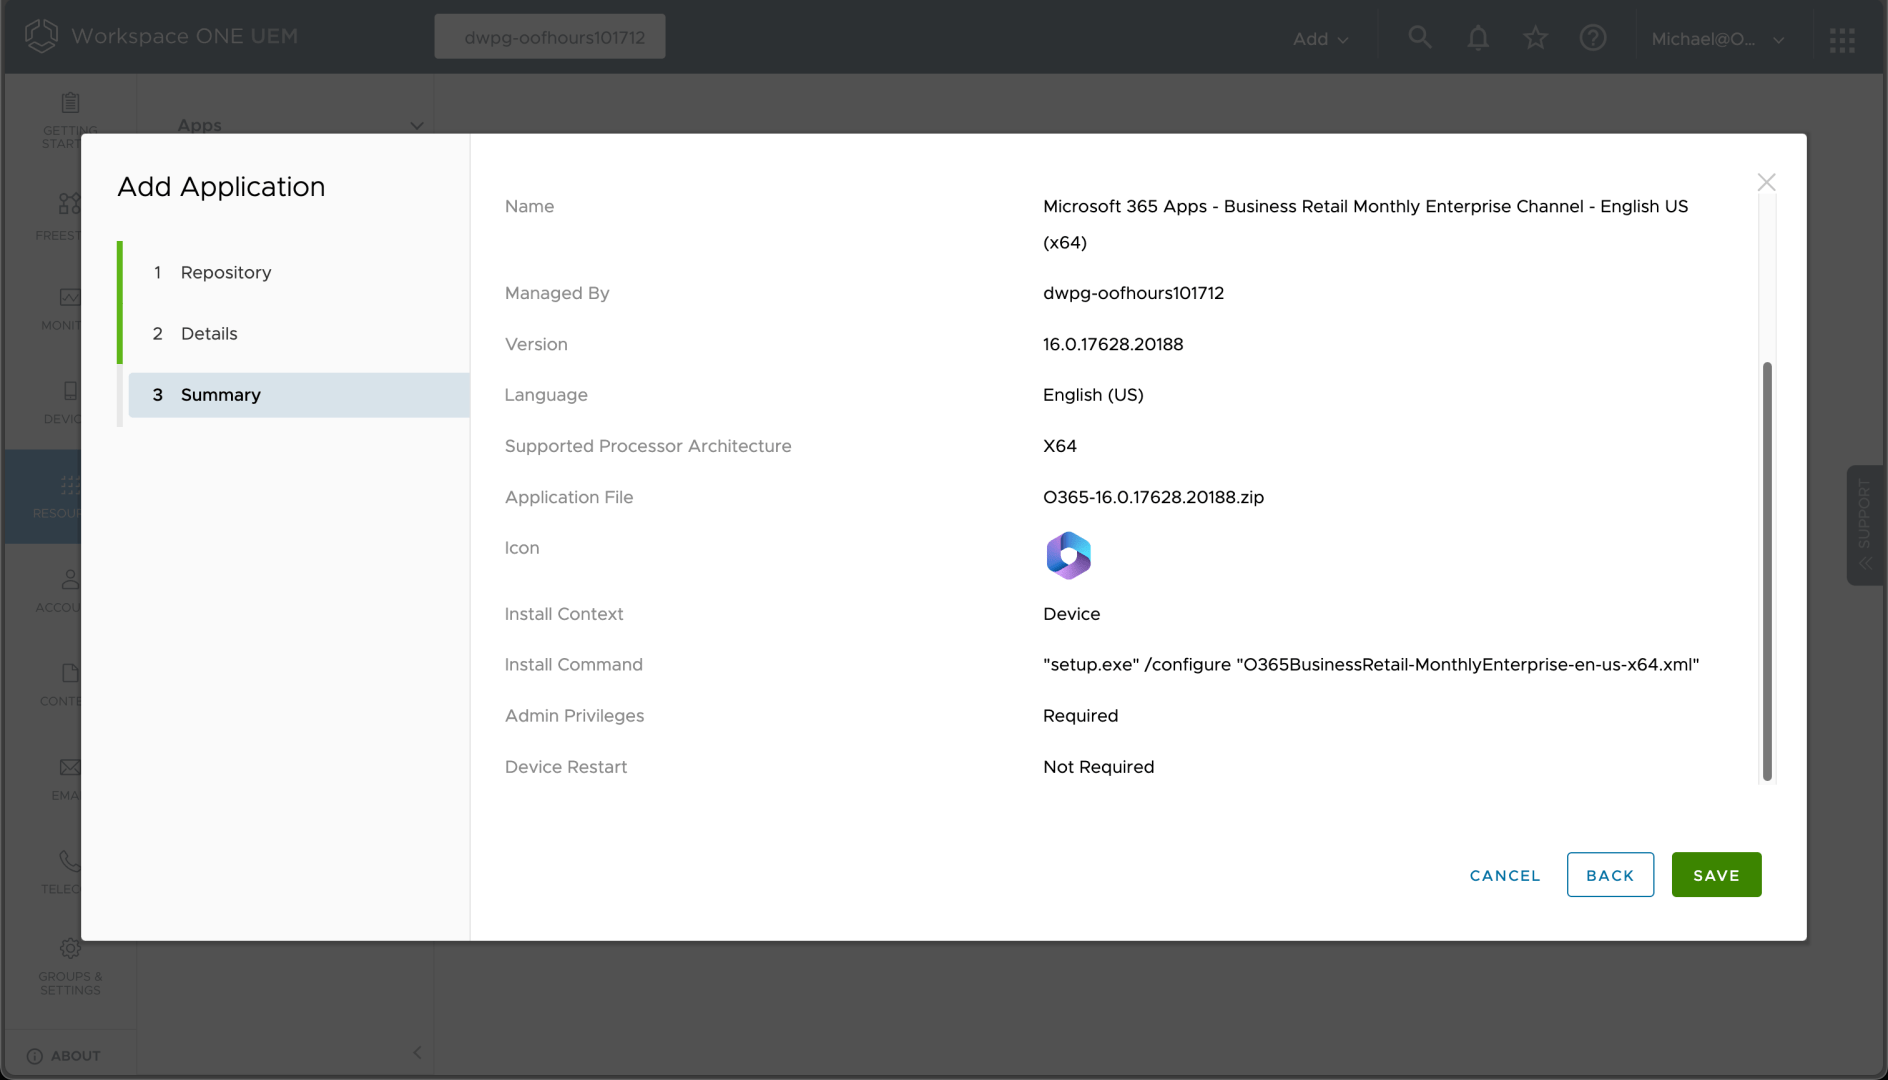
So a zip file was created containing SETUP.EXE along with an XML file that tells it what to do; Workspace ONE will automatically unzip the file before running the command. We can then assign that to all devices, just like the previous app.
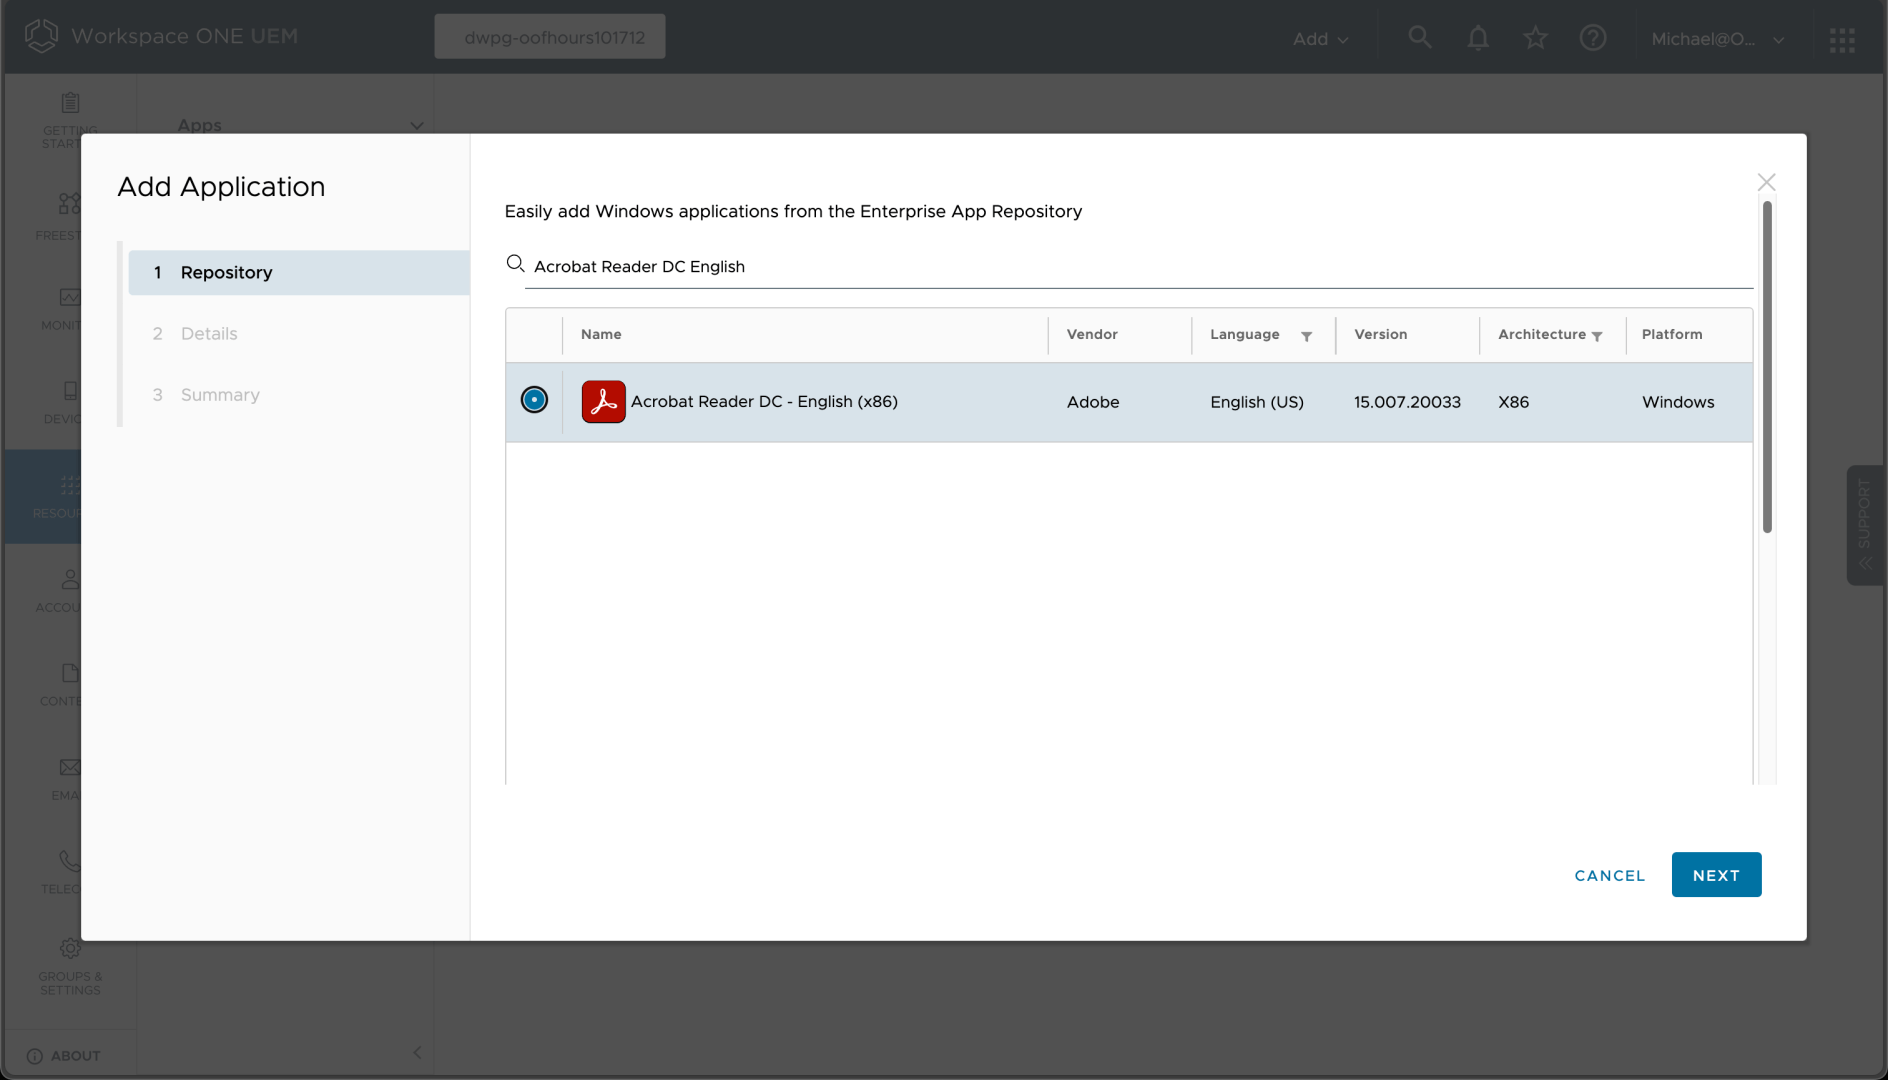
Not surprisingly, Acrobat Reader DC is also available in the Enterprise App Repository, so it too can be added easily:
A few clicks through the wizard shows the installation details:
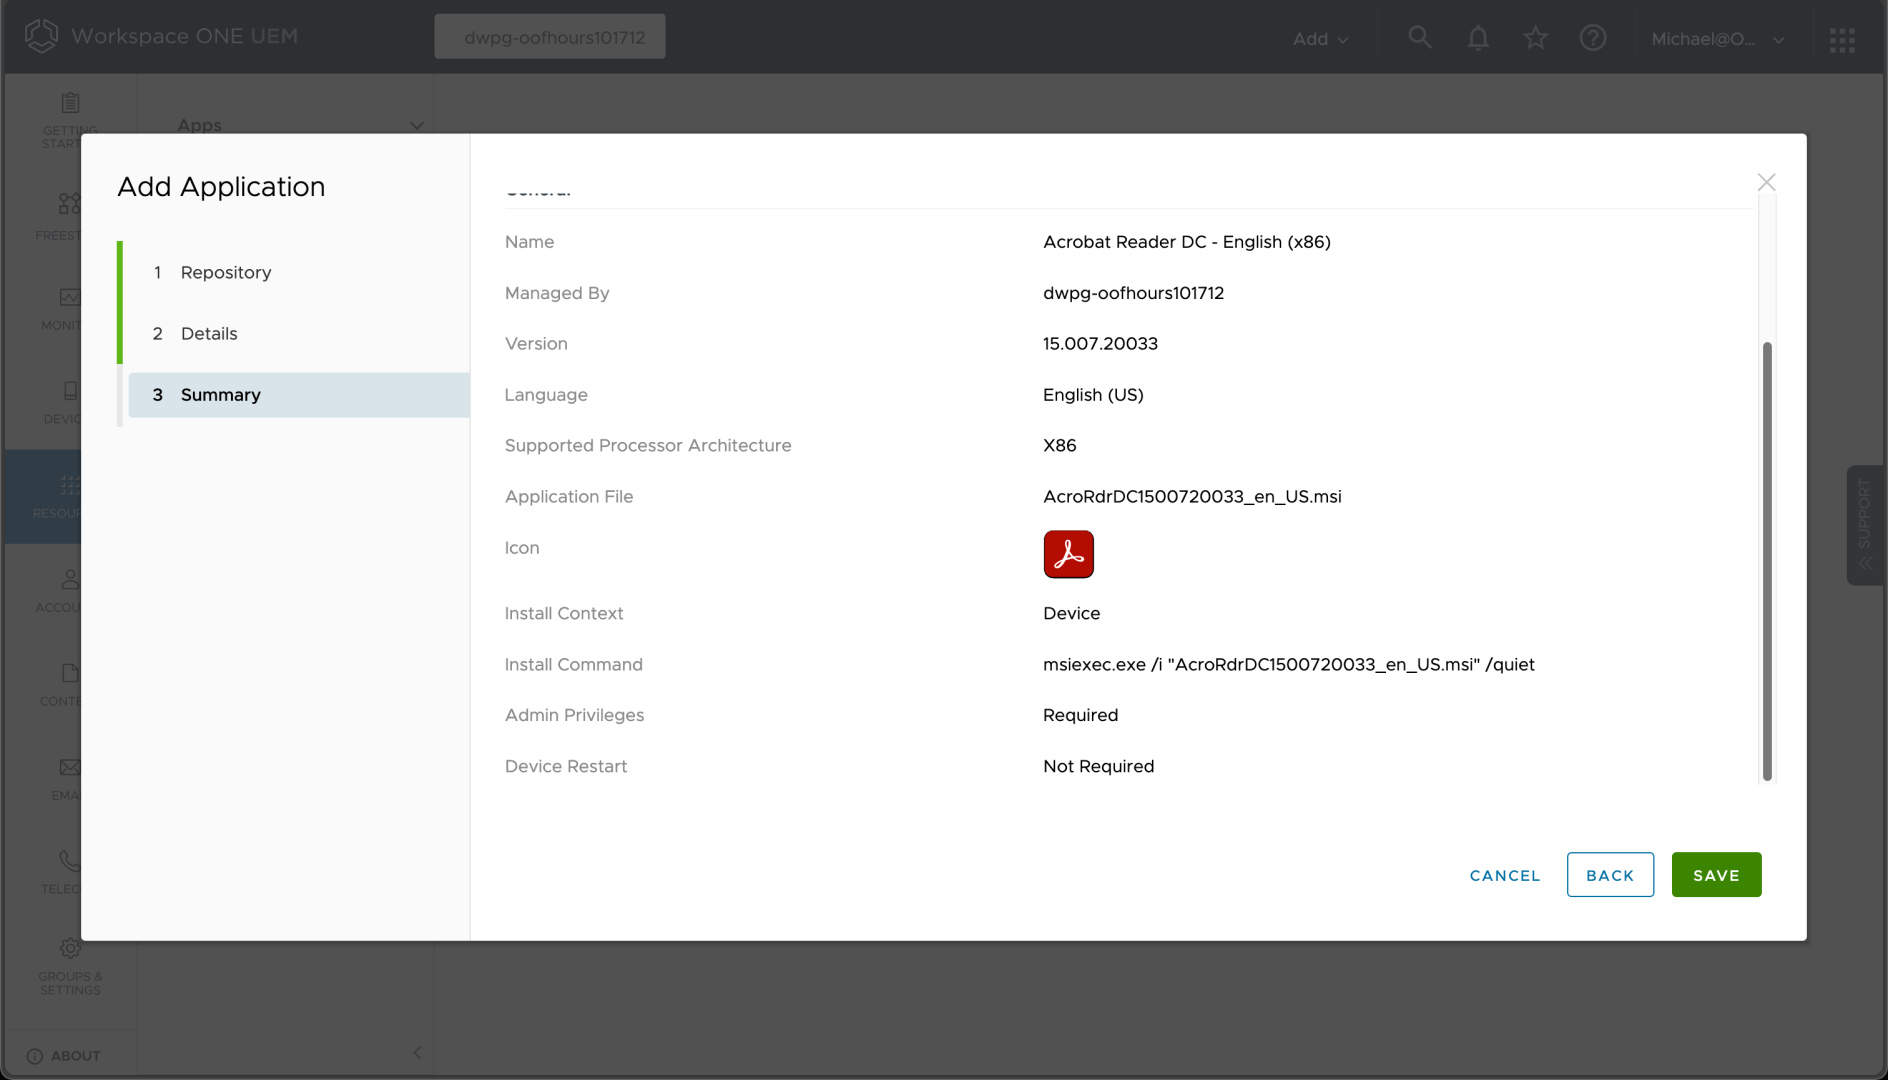
And again, we can assign that to install automatically on all devices.
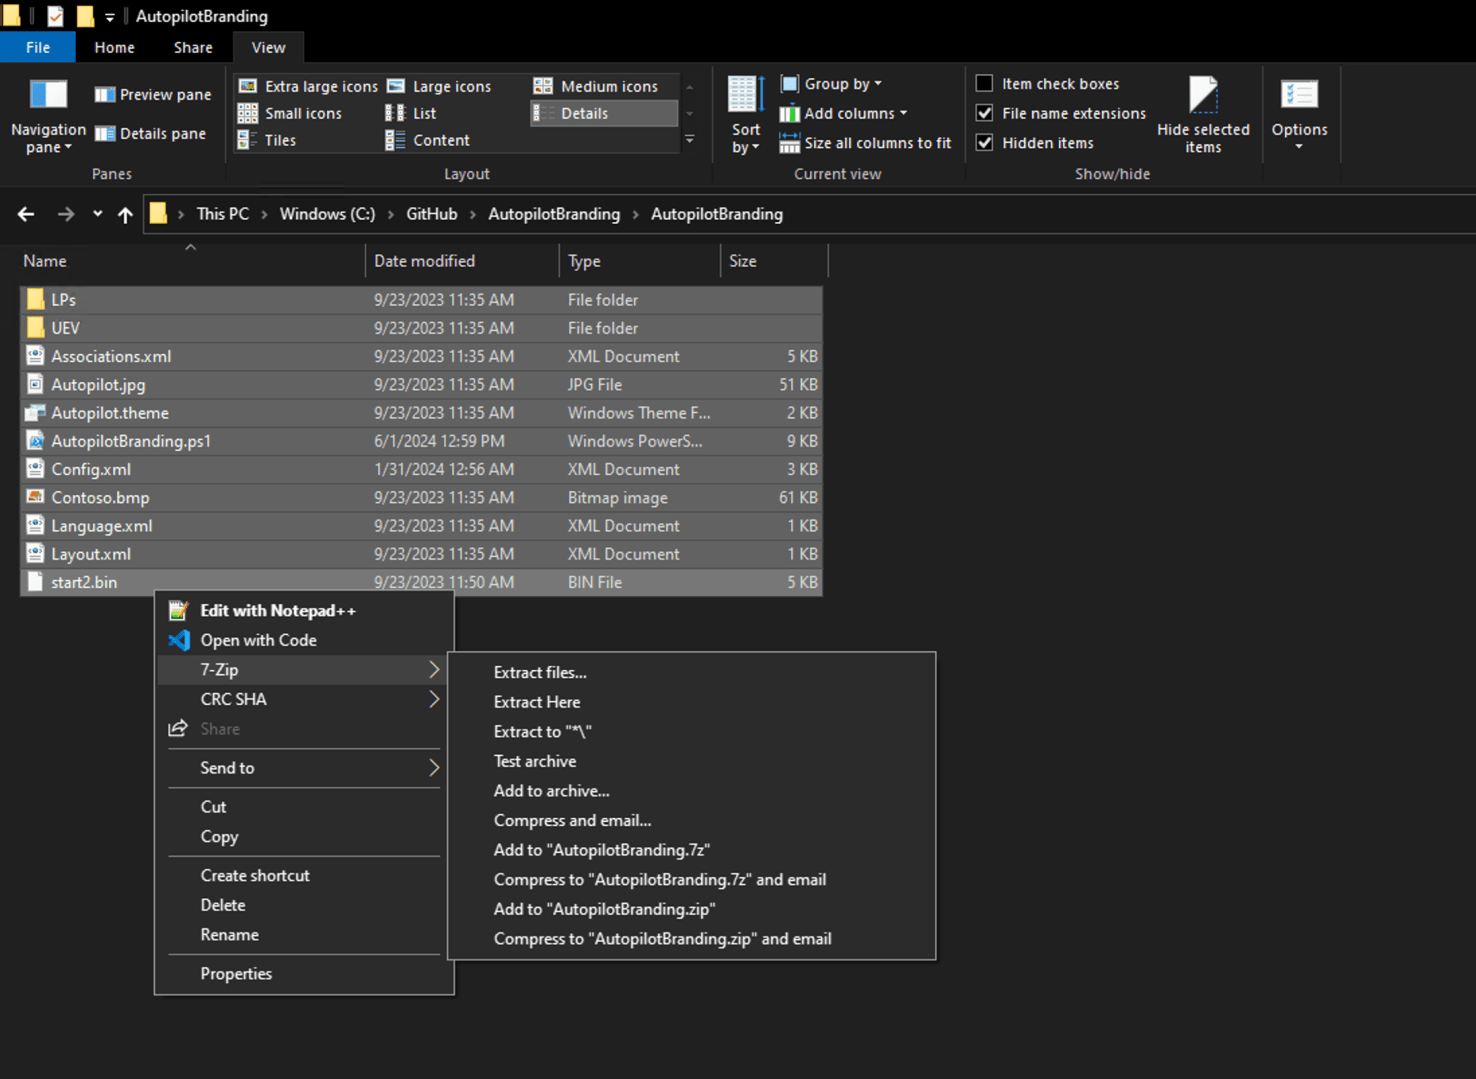
Pretty boring so far, right? But now it gets a little more interesting. The next app in the list, the Autopilot Branding “app”, is a set of files processed by a PowerShell script. How do we set that up? Well, first we need to zip up the files:
And in theory, we should then be able to upload that zip file for use with a new app. But there’s a gotcha:
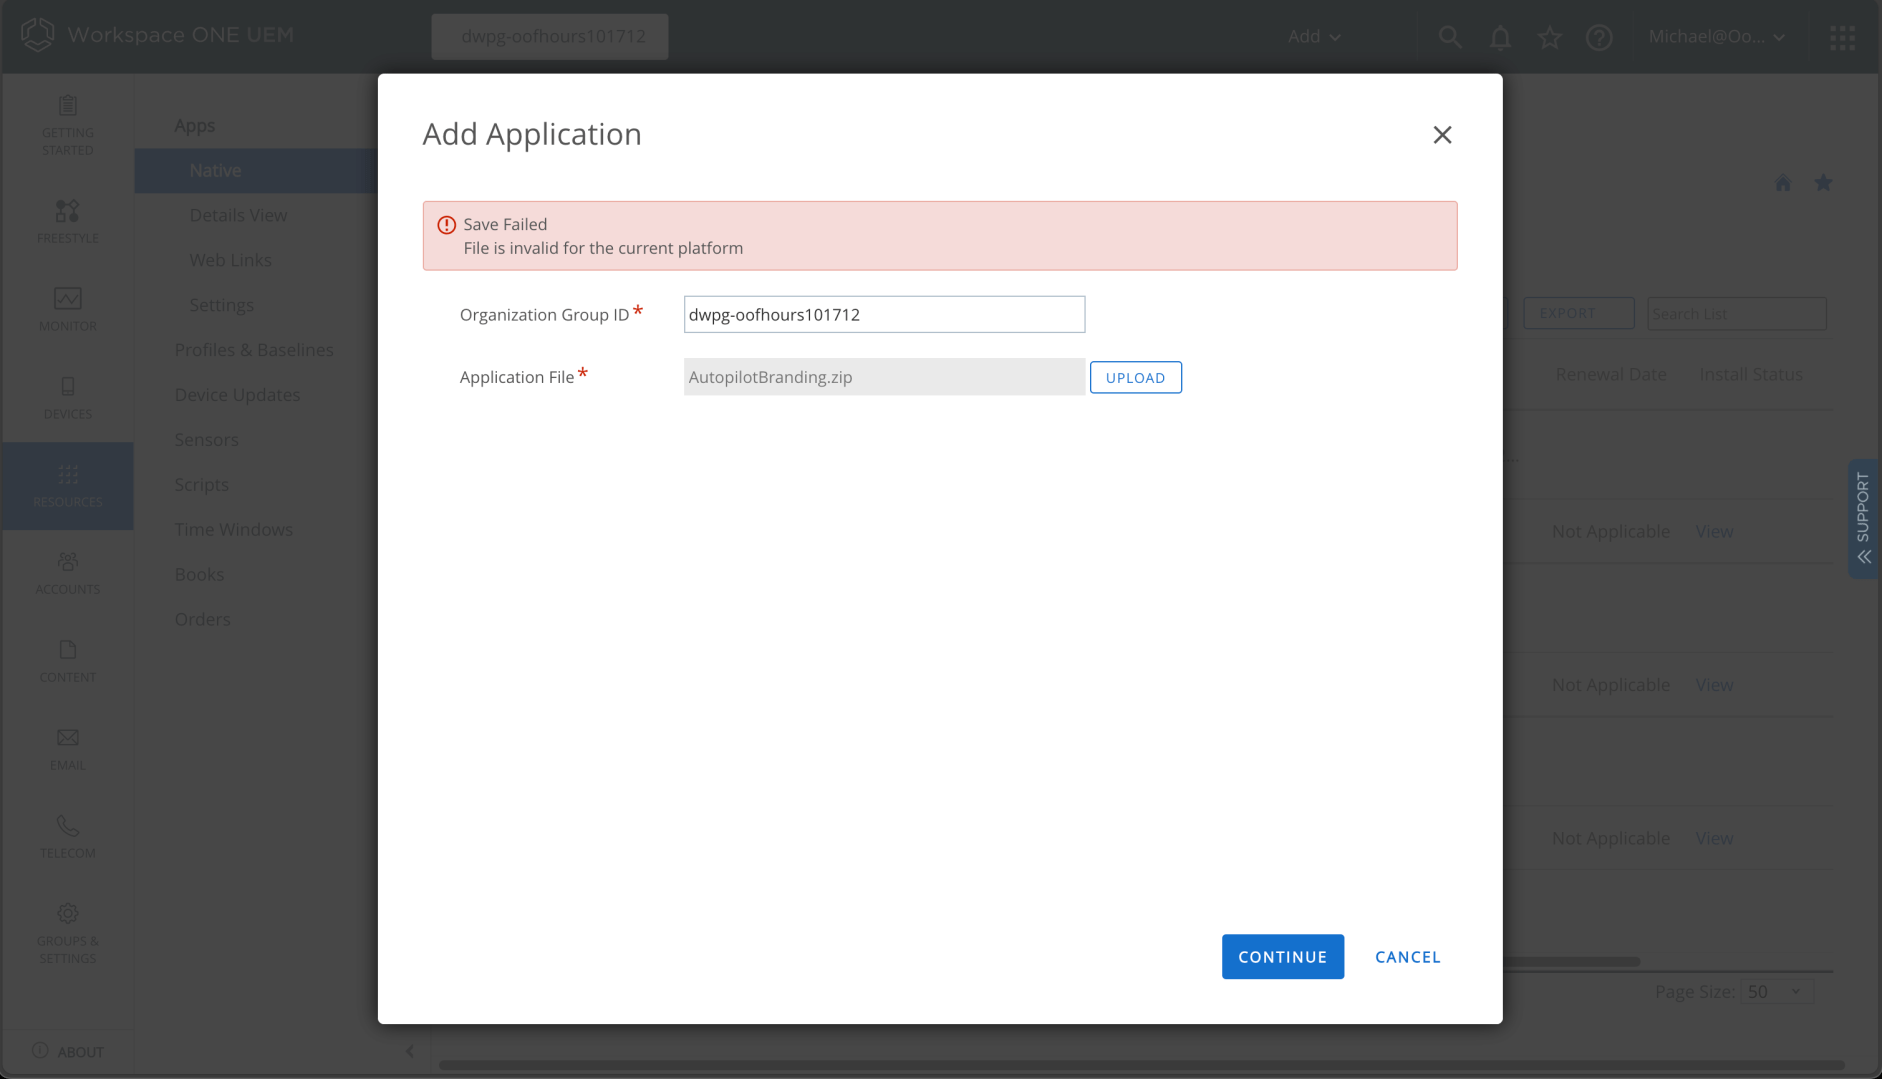
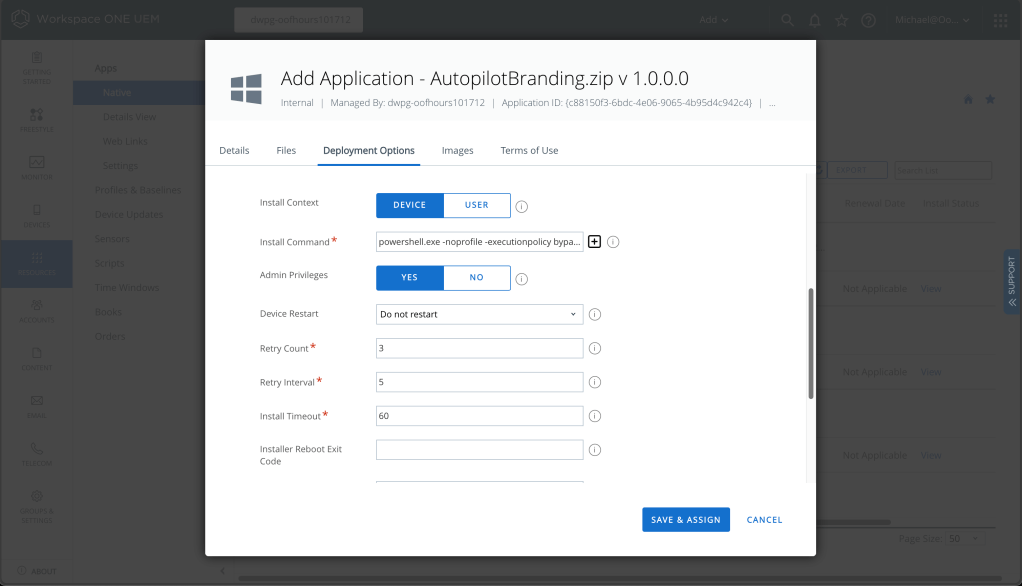
A quick internet search took me to a Reddit thread that explains this: Workspace ONE expects to find a .EXE or .MSI file in the zip file that you upload, and it generates an error when it can’t find one. OK, I admit, this isn’t quite a normal app, but I can work around this by adding an empty “dummy.exe” file to the zip file. With that done, we can upload the zip file and then specify the app install details:
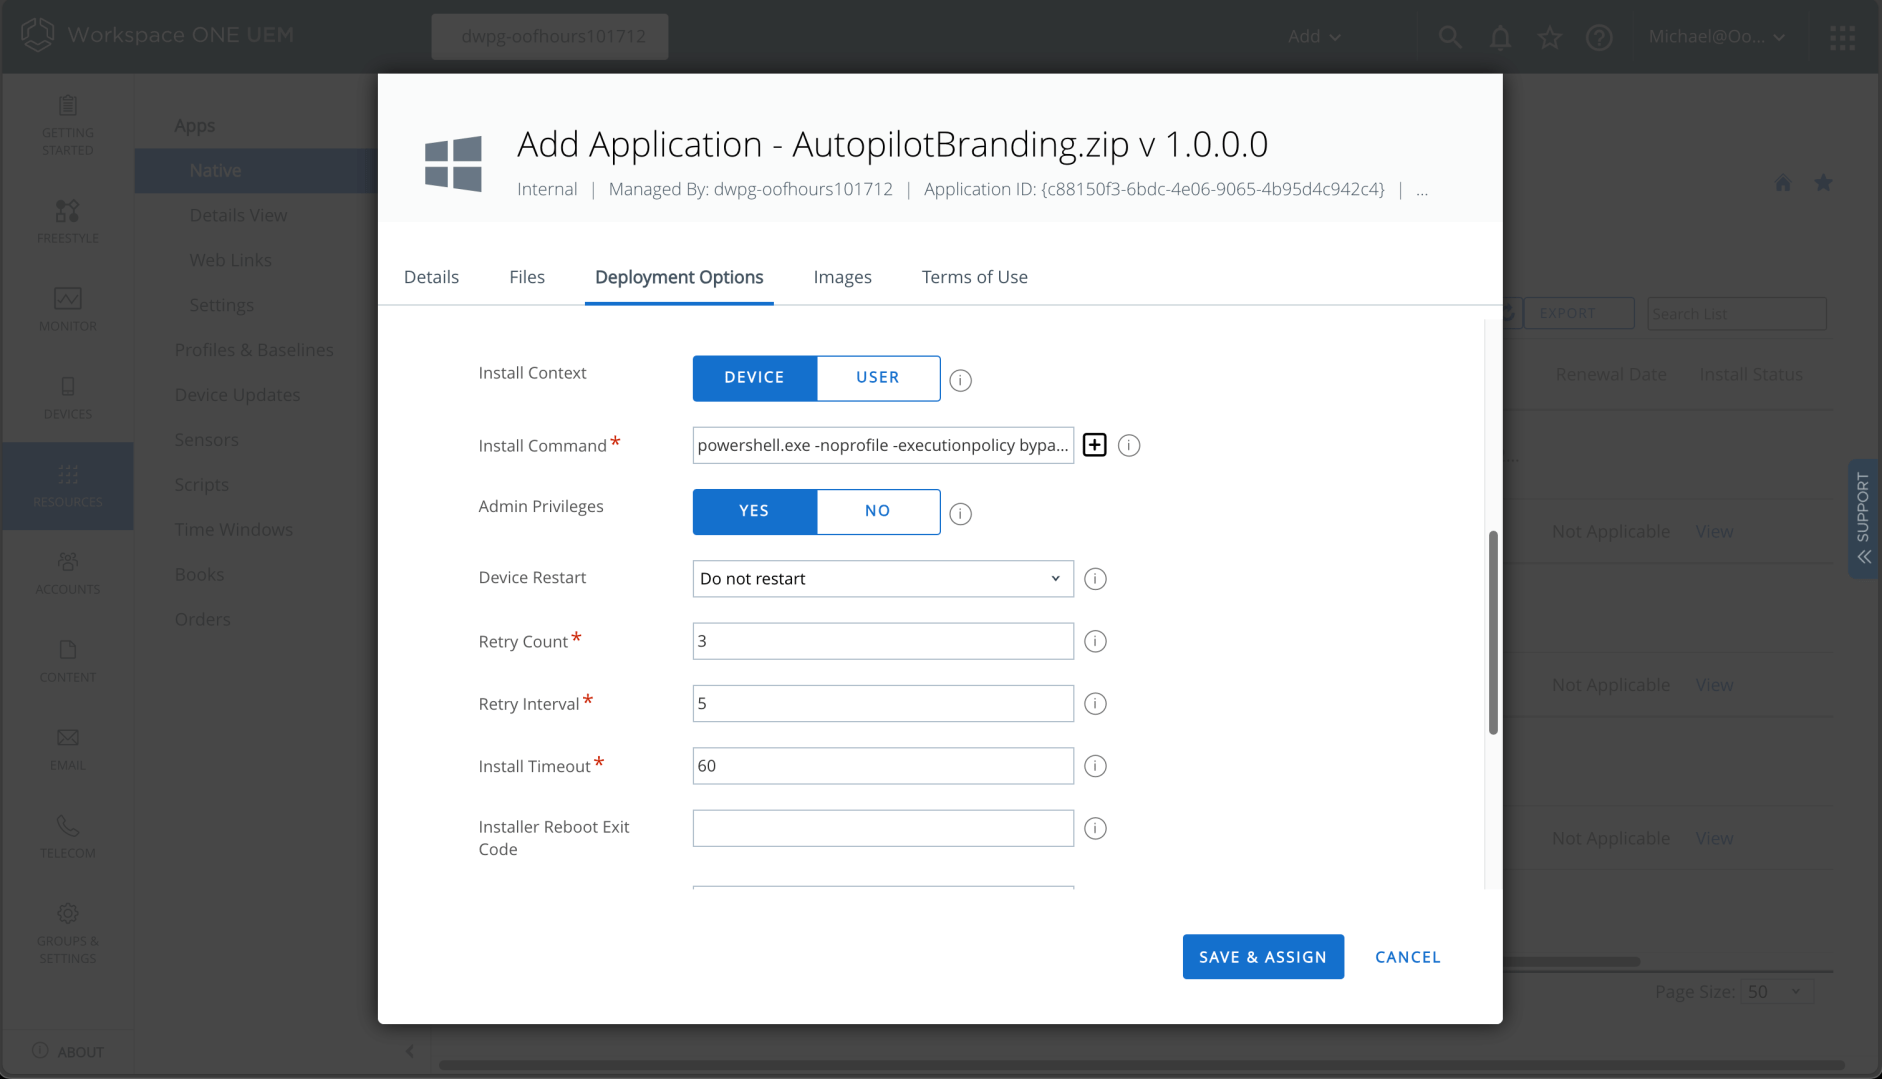
We can also specify how to detect the app is present and the uninstall command, just as is described on GitHub.
The last three (OOBE Entertain, Update OS, MDT Task Sequence) are set up exactly the same as Autopilot Branding (including the need for the dummy .EXE file); the only difference is the file names specified for the installation, uninstall, and detection. So I can spare you the details and assure you that they can be set up by following the same steps.
My apps all now install properly, but there is one issue: the Autopilot Branding app doesn’t install until after a user has signed in, so customizations to the default user profile (e.g. the updated start menu layout, background theme) don’t apply to the first user signing in. We’ll have to see later if Autopilot + ESP can help with that.
Setting up policies
With the apps set up, now I need some policies. Here’s a few that I typically set:
- Turn off Windows Hello for Business. (Sure, it’s a fine thing to do in production, but it’s not really necessary in my lab.)
- Enable BitLocker.
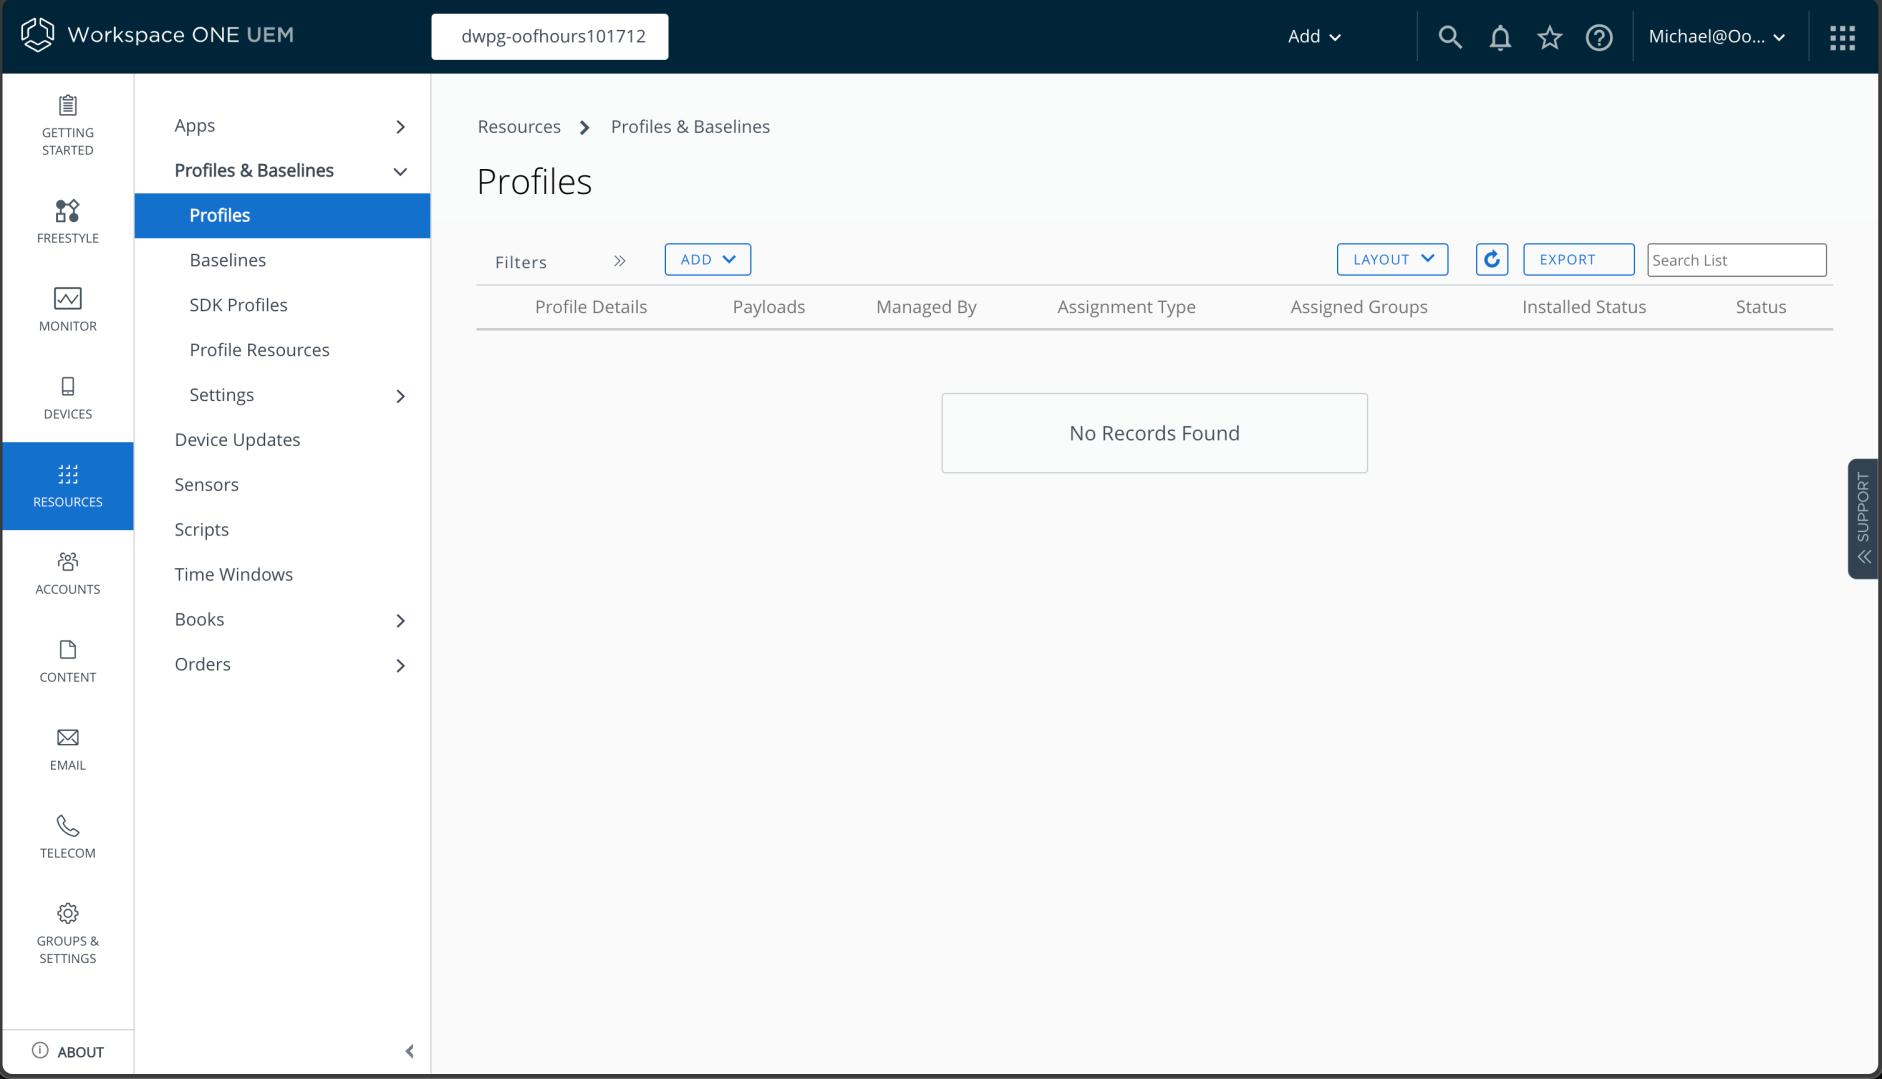
To start with that process, I need to go to the Profiles page in Workspace ONE:
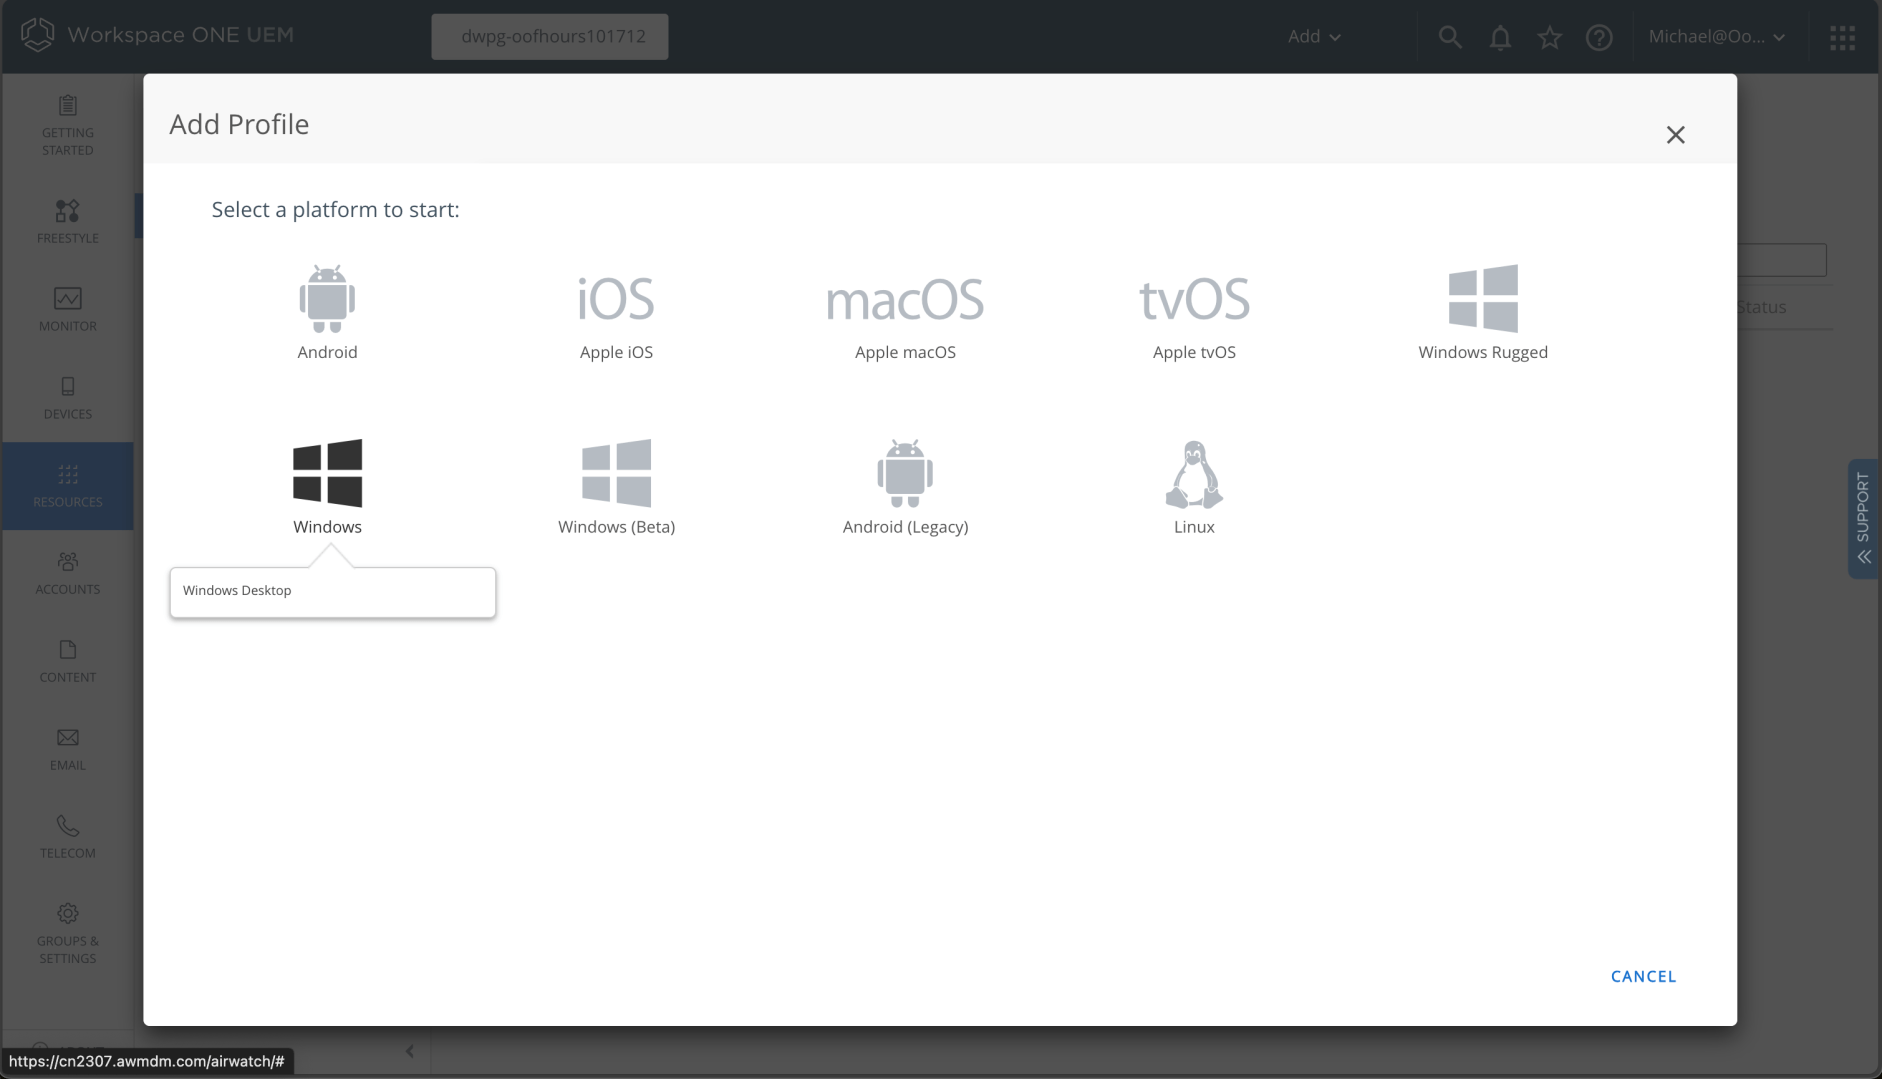
When clicking Add, I then choose Windows, and then Windows again.
And then I need a device profile:
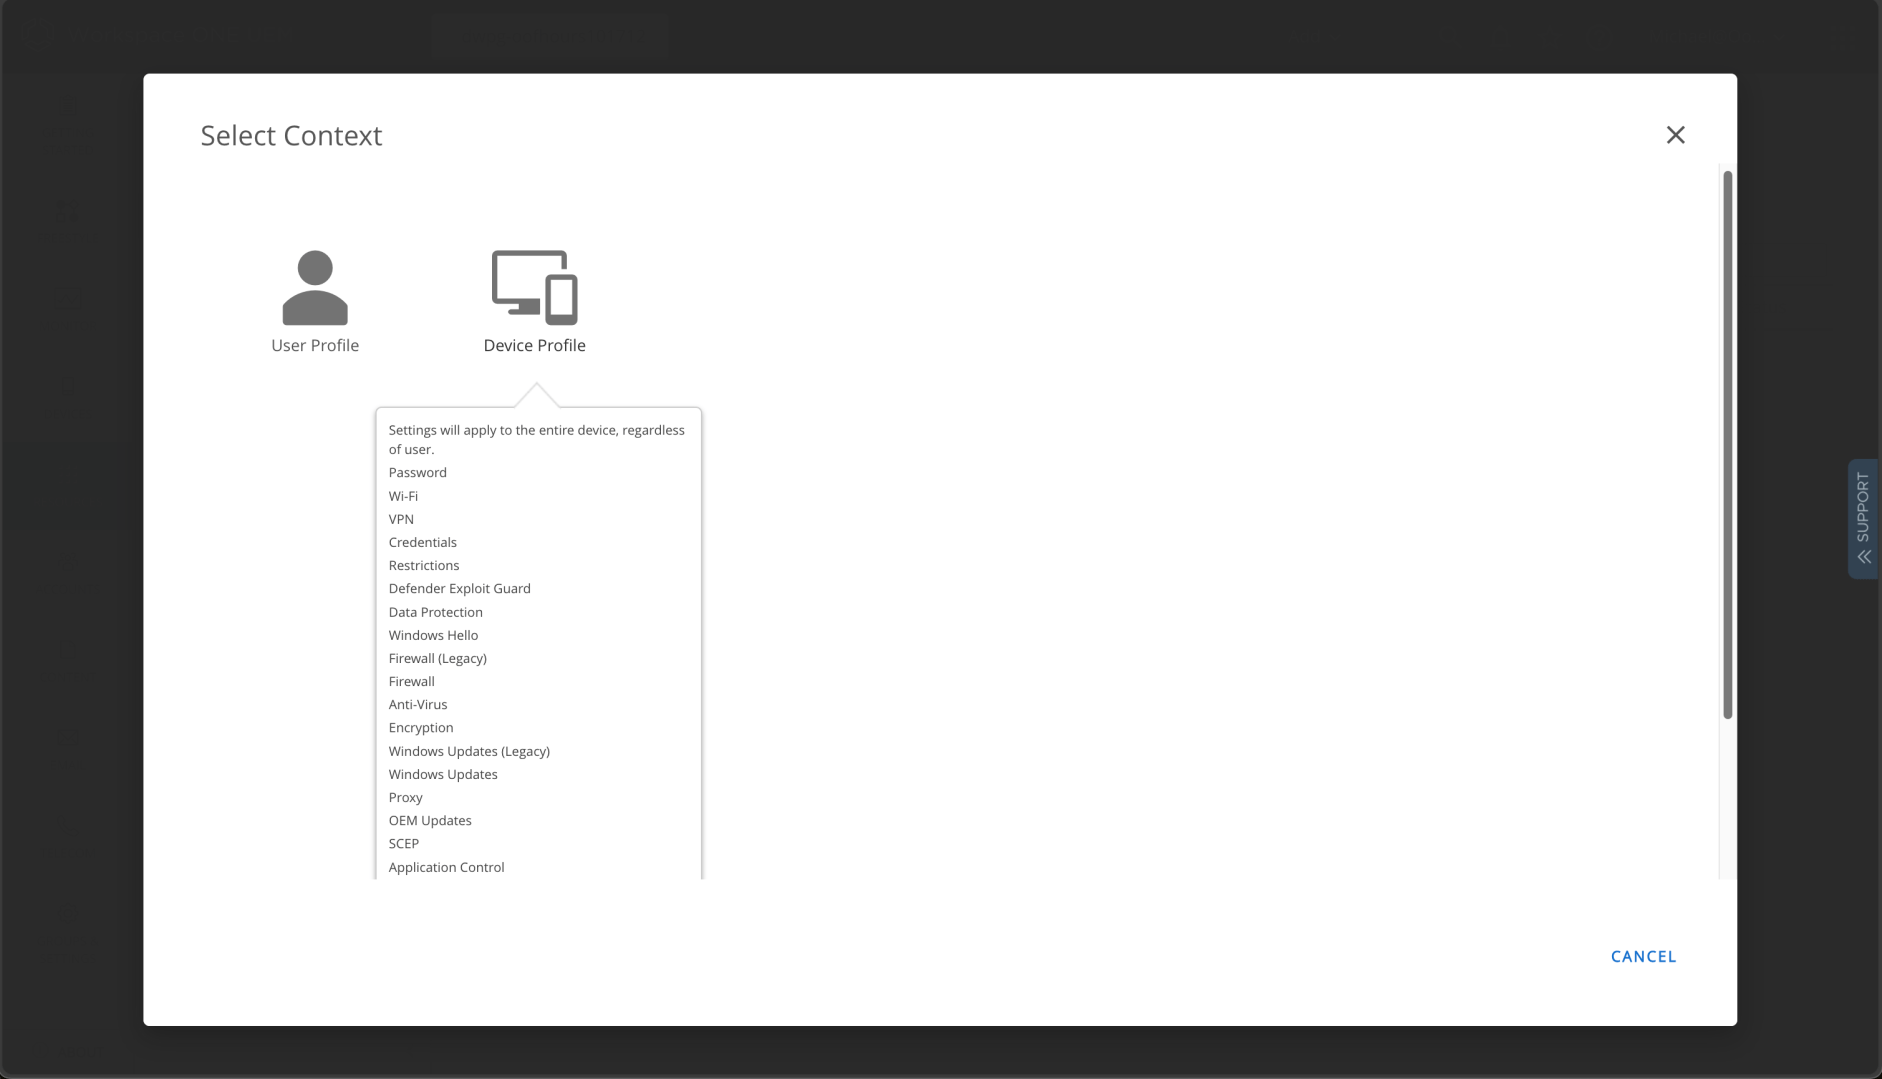
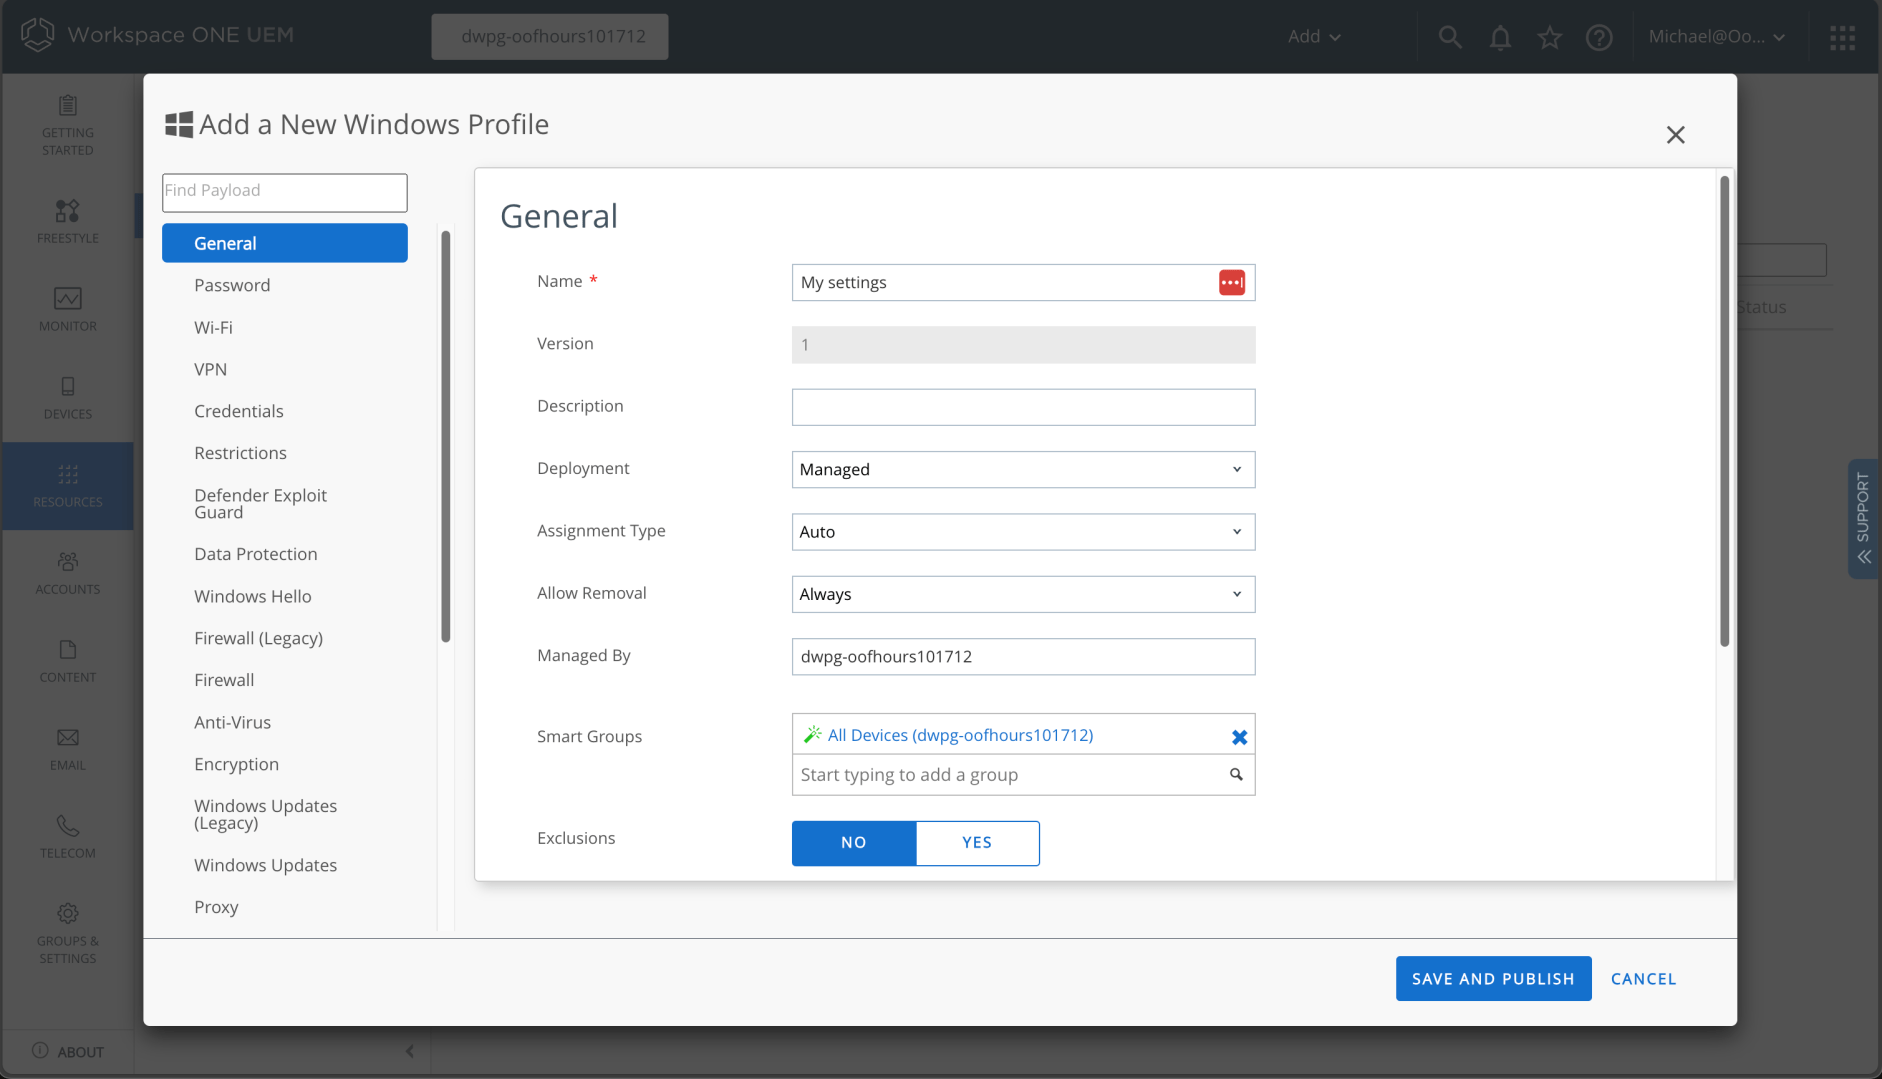
I have to give the profile a name and specify groups to assign it to:
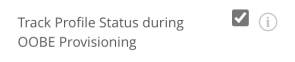
And if I scroll down, I can see a checkbox related to the ESP:
I can then add BitLocker settings:
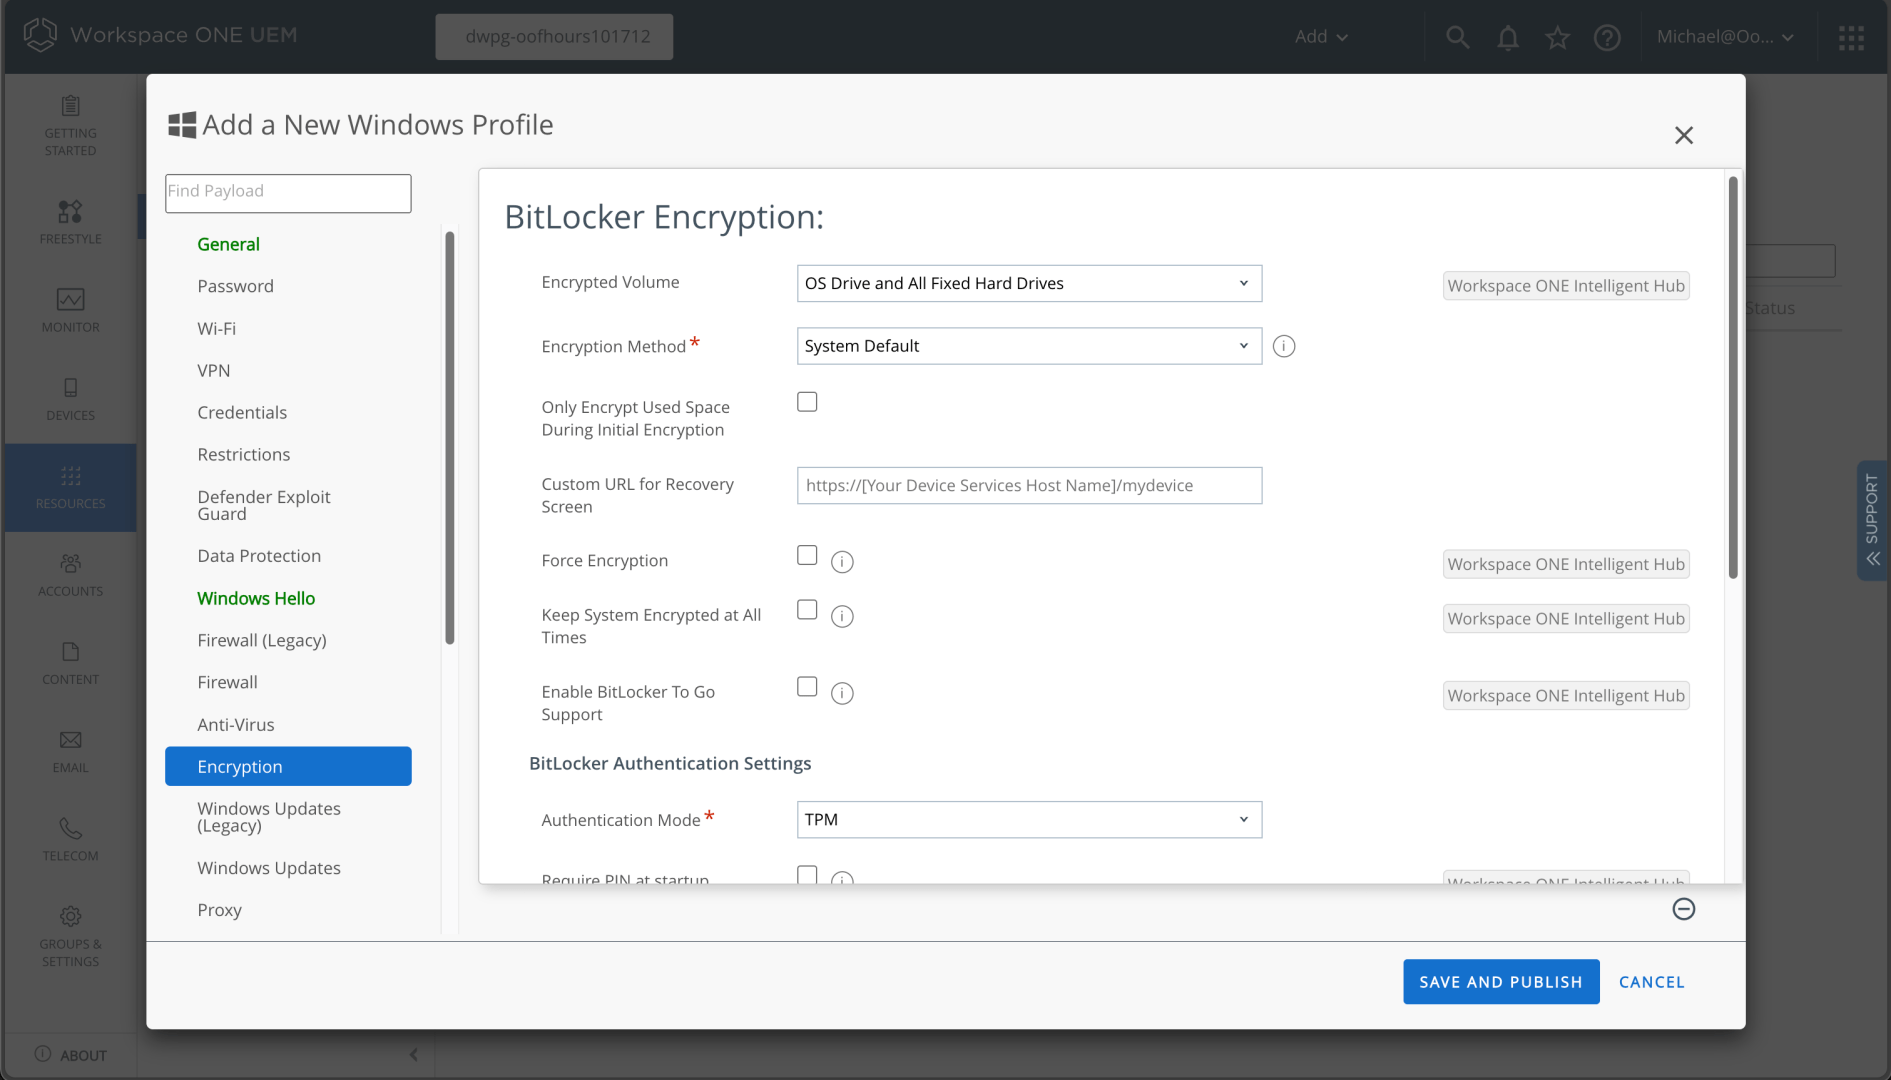
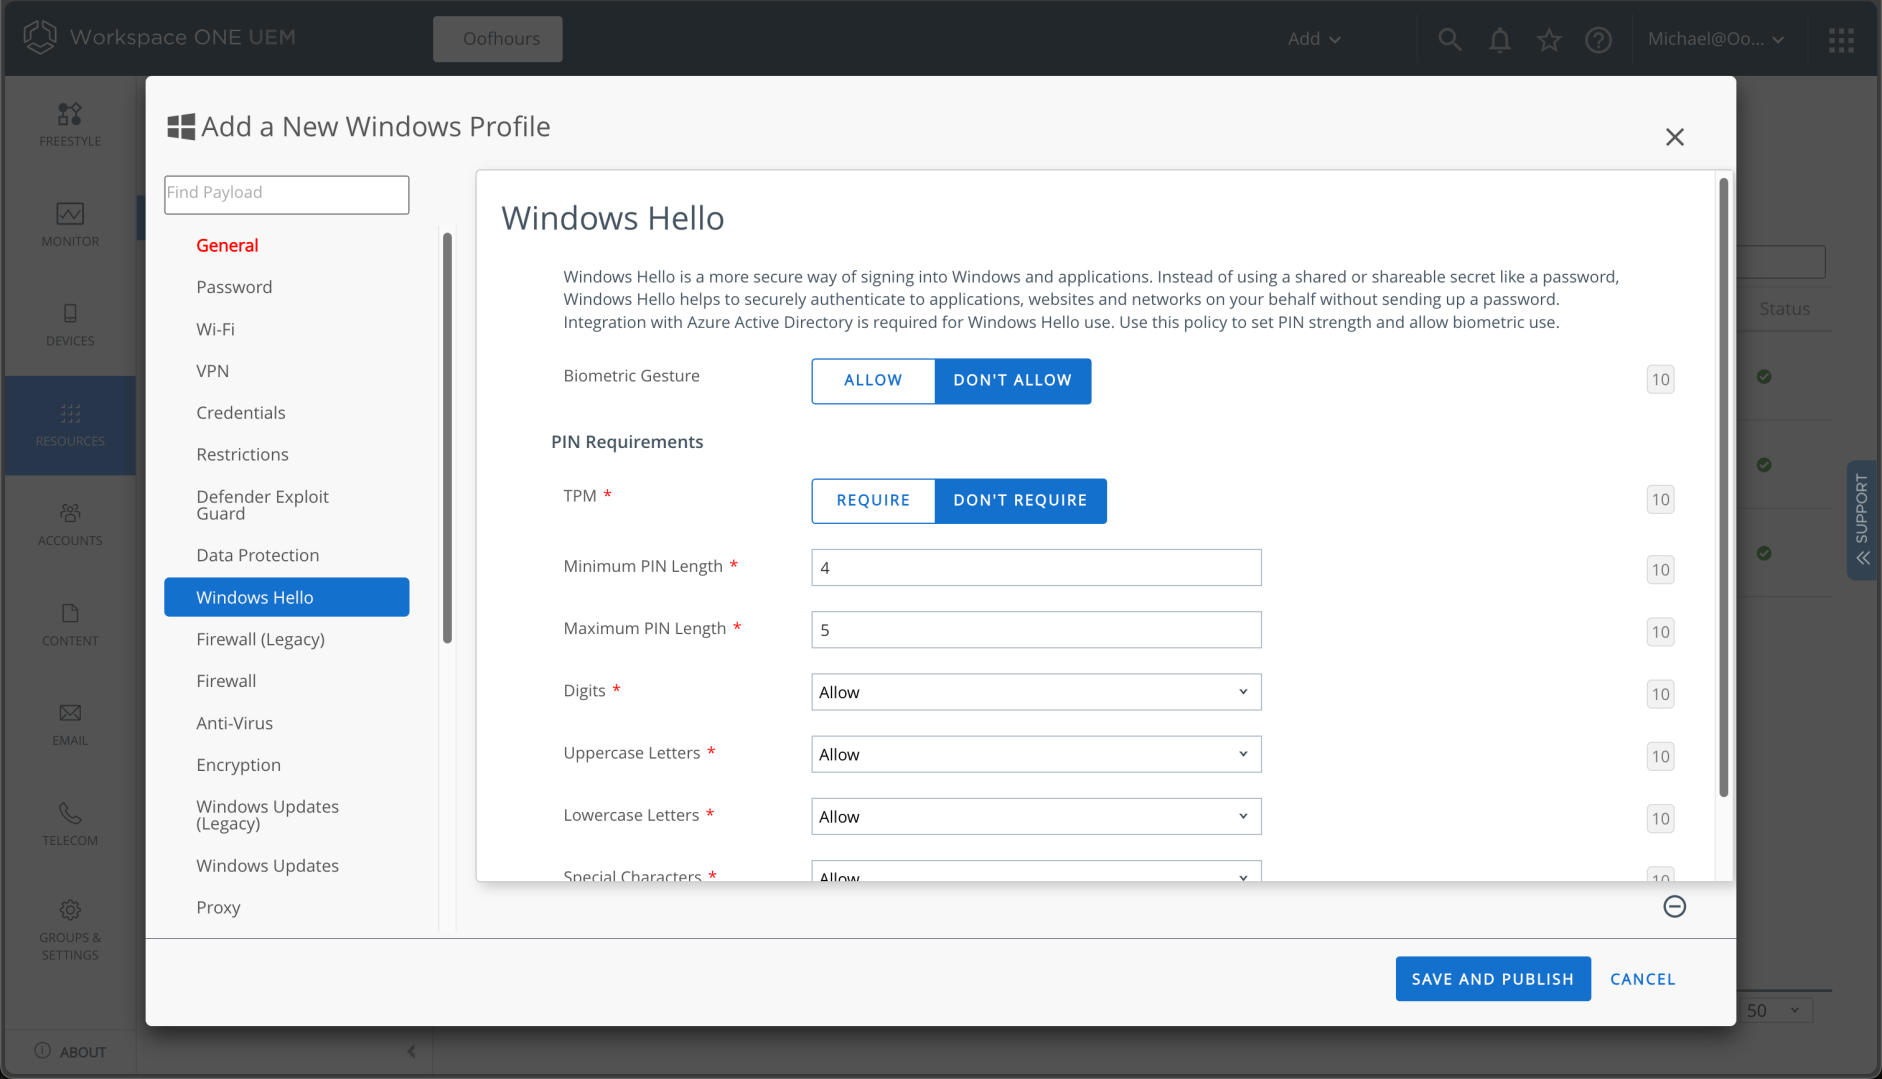
Interestingly, I tried a few different ways to turn off Windows Hello for Business, but there were challenges. Using the Windows profile settings, there’s no option to turn it off, just settings to configure it:
Using a “Windows (Beta)” profile (which appears to be based on the MDM policy DDF definitions of available policies) didn’t appear to work either, so I ended up using a custom policy as described here:
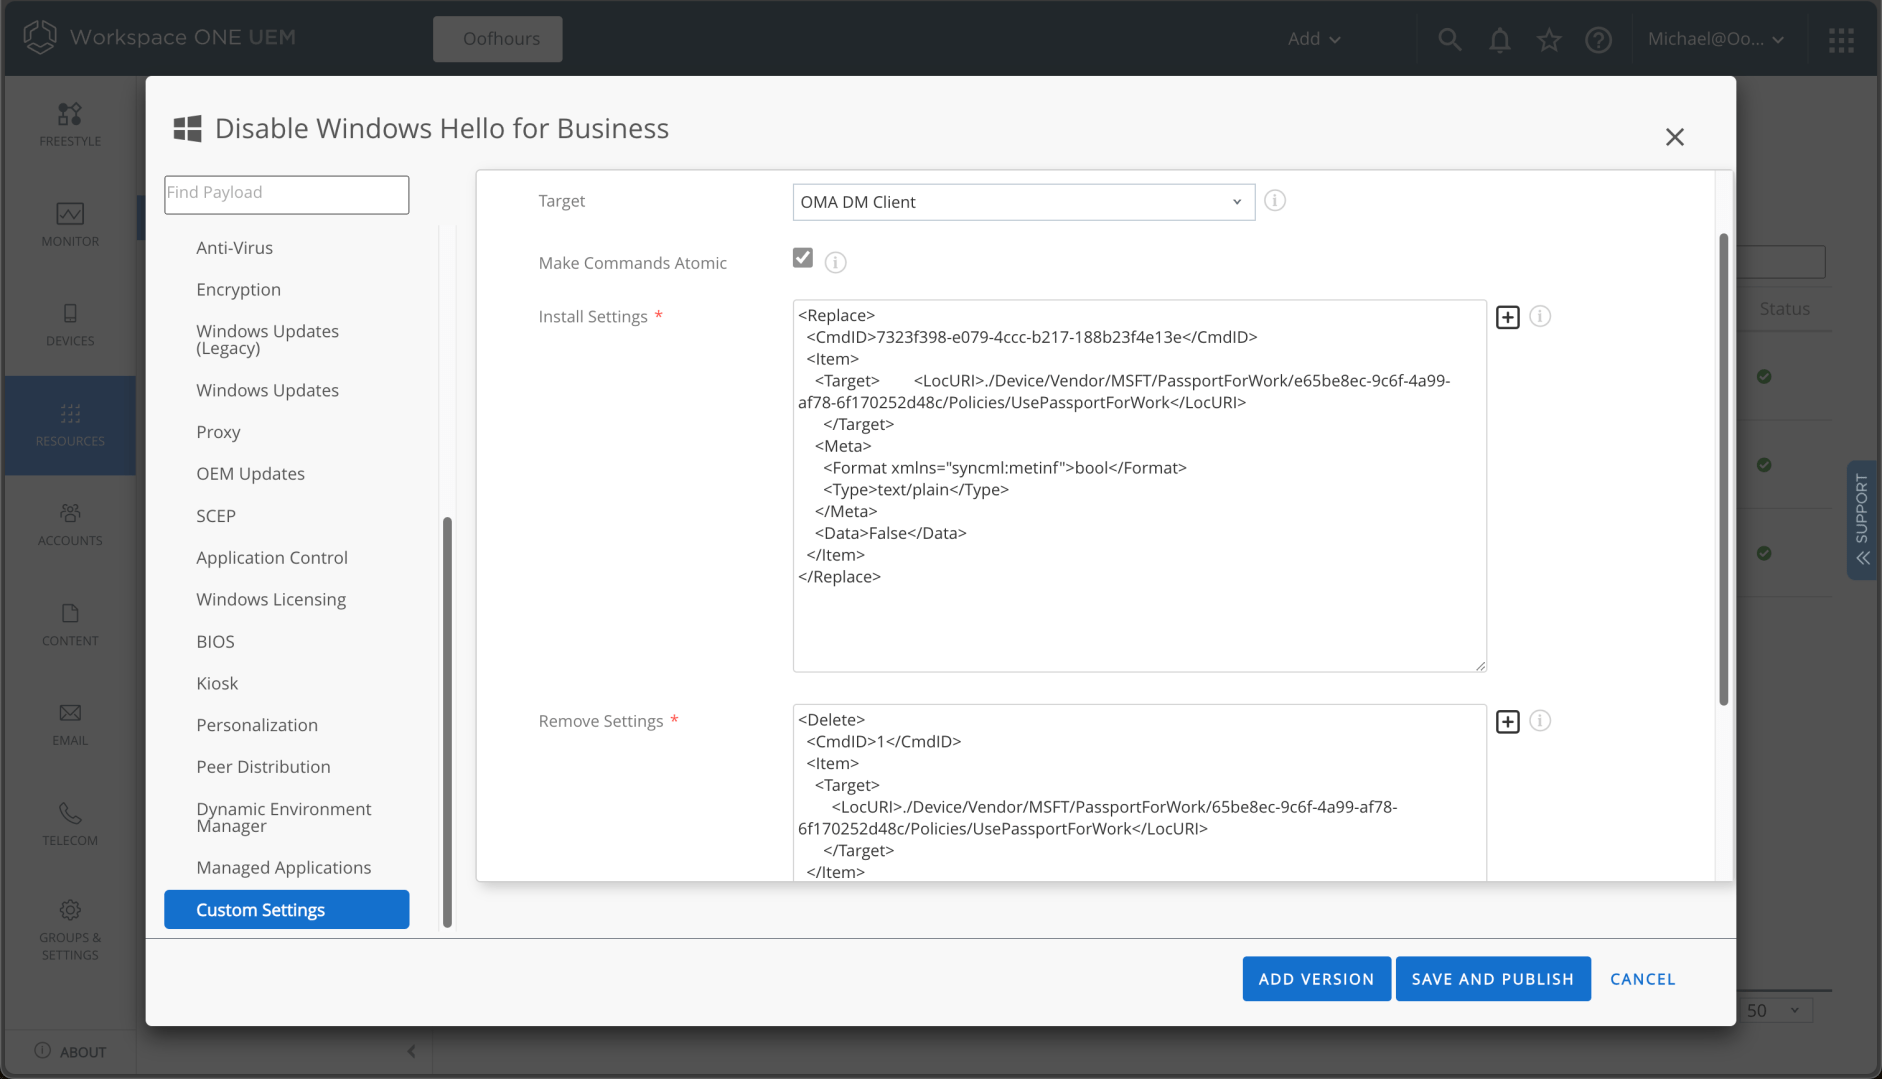
That worked fine.
Overall, configuring apps and policies is a reasonably straight-forward exercise. Now I need to take the next steps into Windows Autopilot, the topic of the next post.