
I’ve spent a lot of time over the years talking to ISVs about provisioning Windows devices, but I’ve never actually used any non-Microsoft solutions for doing that. In that time, one of those solutions has shifted names from AirWatch to Workspace ONE, now from Omnissa, a new company spun off from its former corporate parents.
It’s been a long time since I’ve set up a product like this from scratch, so that’s where we’ll start — getting this integrated into my existing “ContosoMN” environment. After that, there will be additional posts looking at Autopilot scenarios implemented by Workspace ONE, as well as other related Windows provisioning scenarios that Workspace ONE supports.
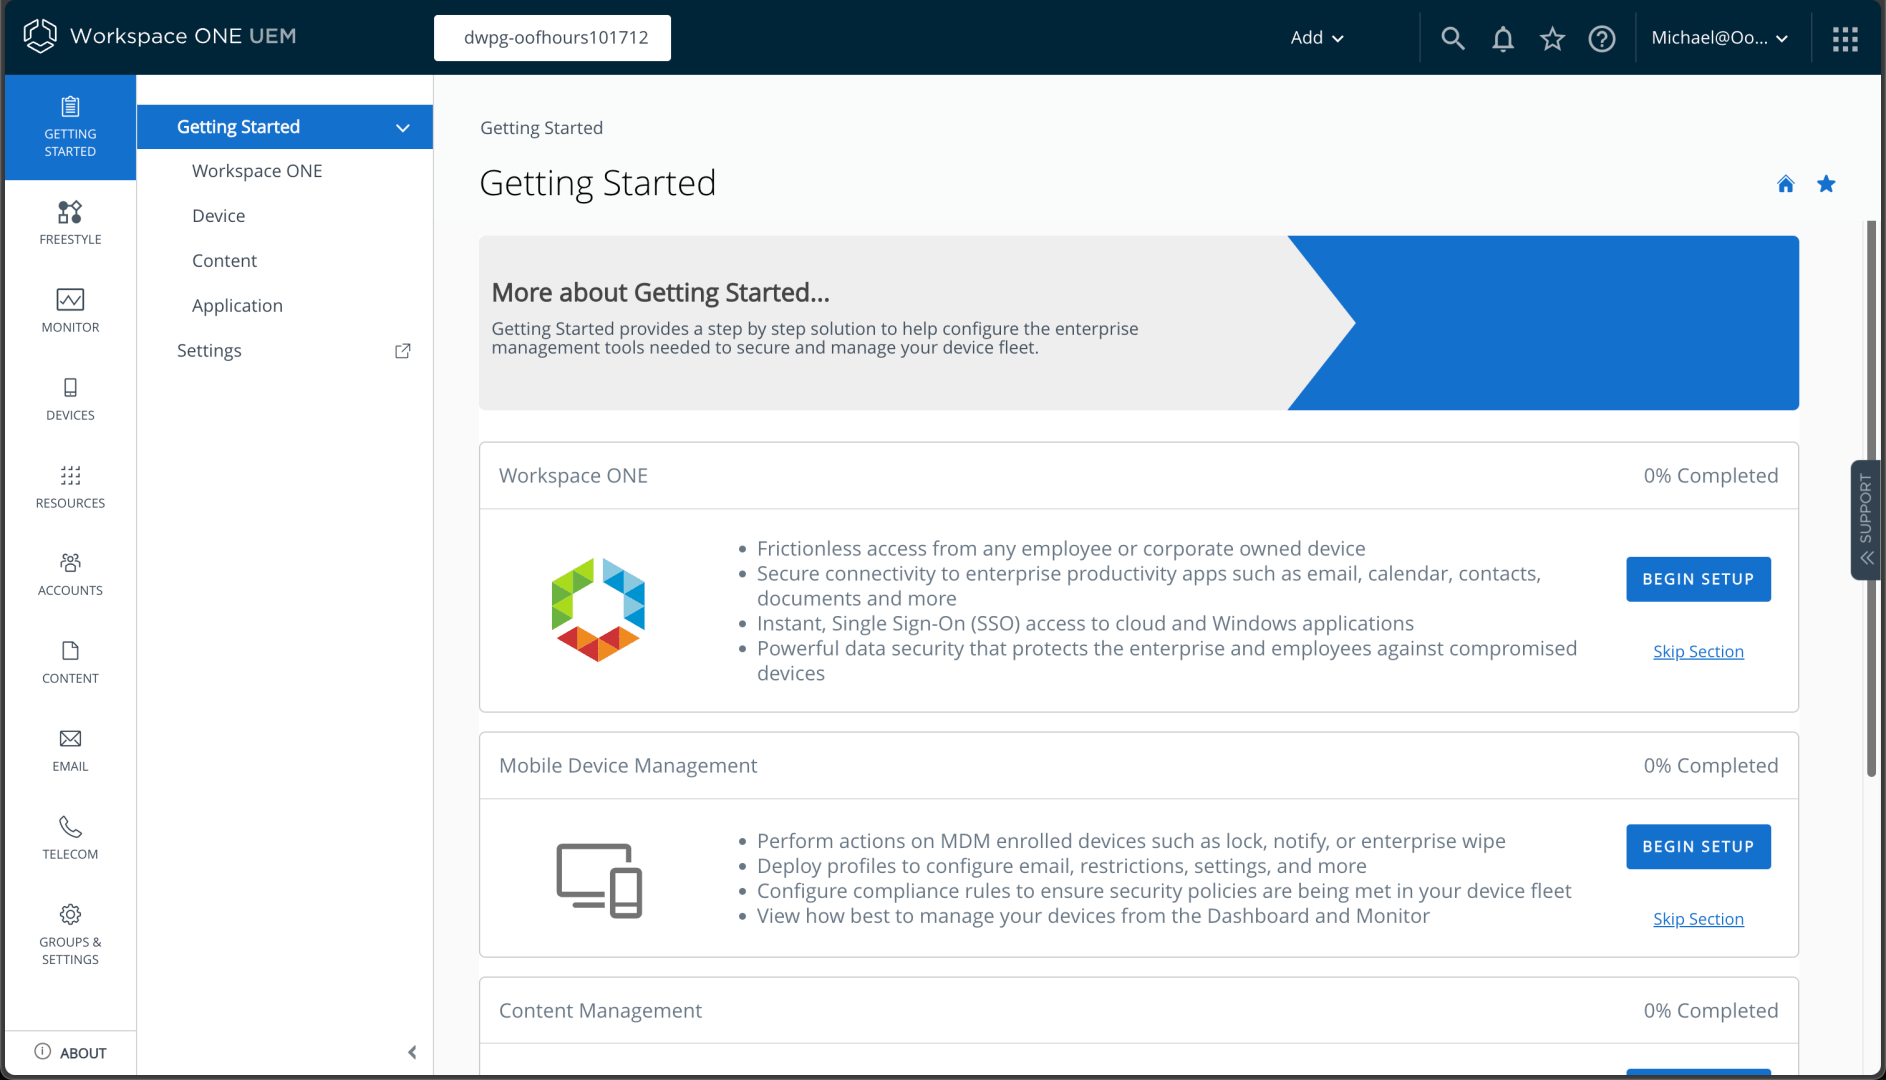
I first needed to go through a cloud services onboarding process, as described in the Omnissa documentation. This involved creating an account and an organization. Once that is done, I can get into the Workspace ONE portal:
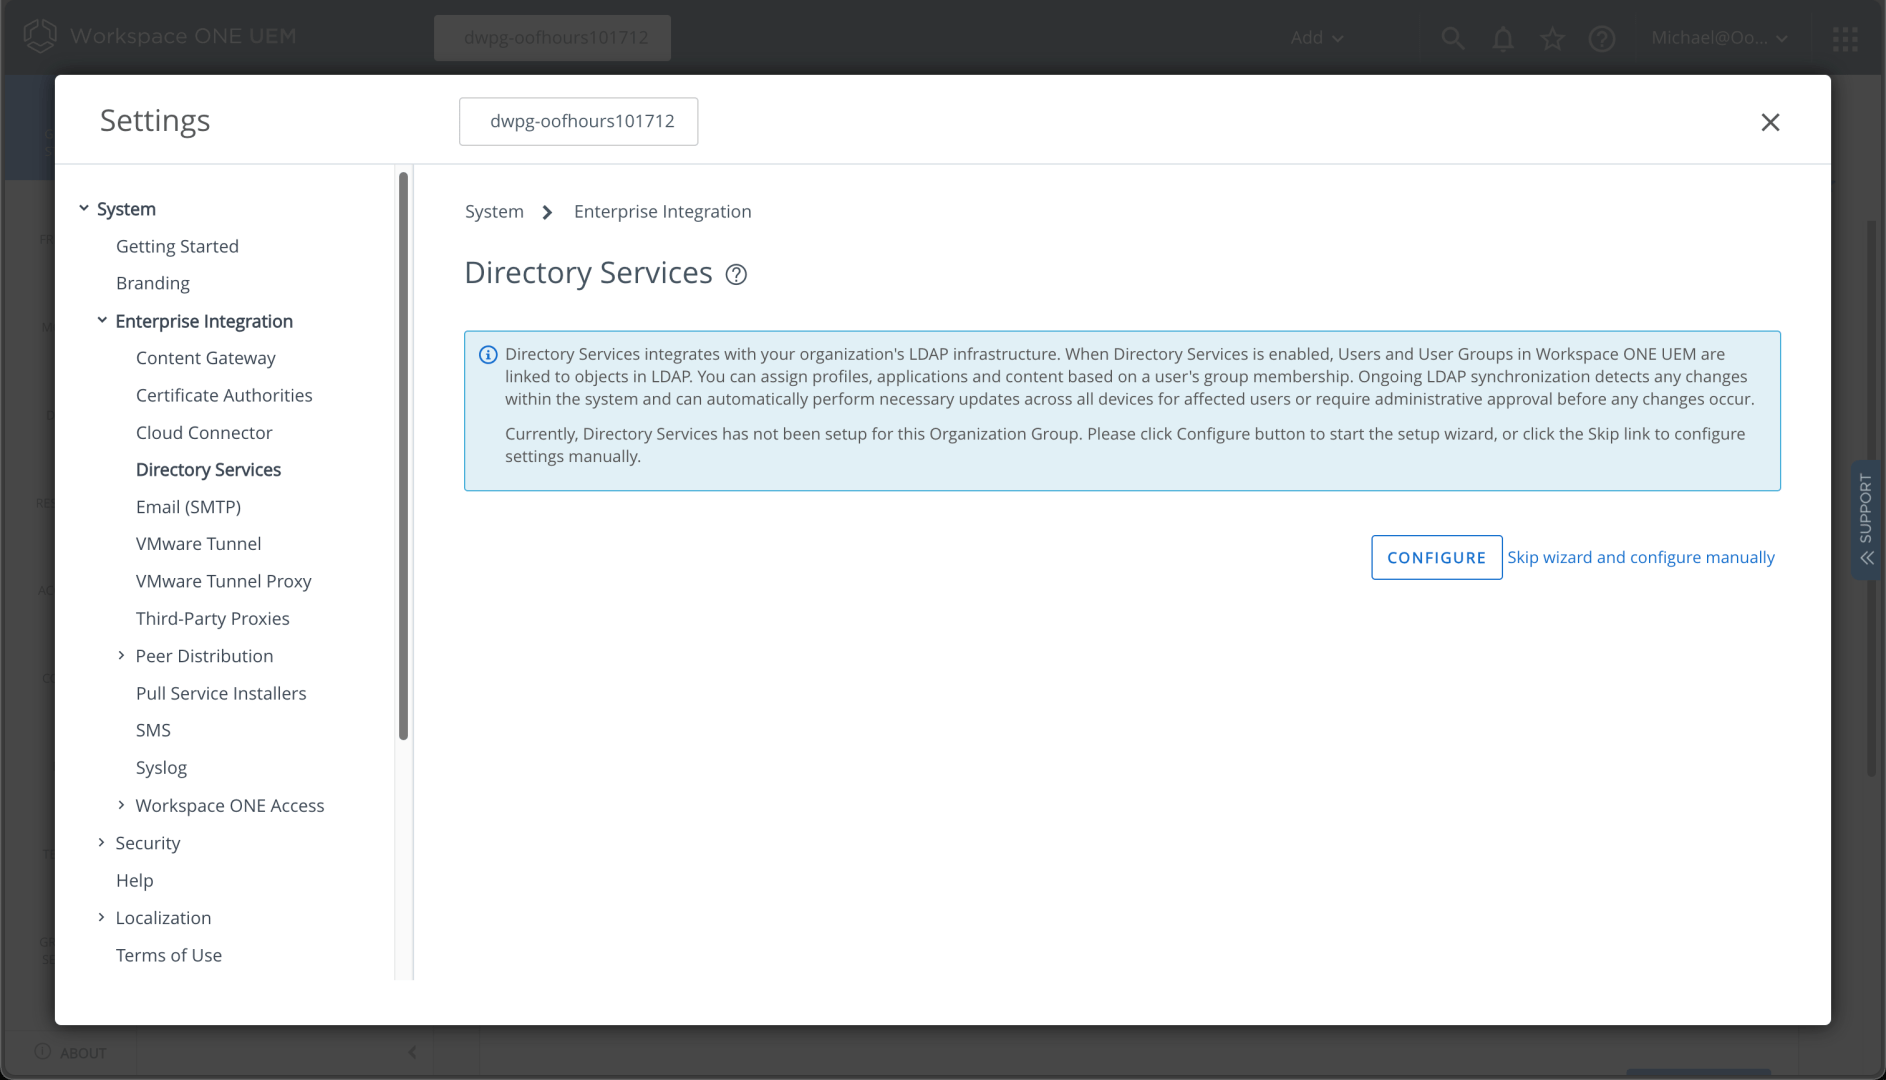
Next up, I would like to integrate with my existing Entra ID (Azure AD) tenant, since that’s what I plan to use with my Windows devices. I can set that up from Groups & Settings -> System -> Enterprise Integration -> Directory Services.

The default wizard can be used to set up LDAP and SAML authentication. In my case, I need to set up LDAP integration to my AD domain before I can enable Azure AD for this same environment. I can start that process by clicking “Configure” from Settings -> System -> Enterprise Integration -> Directory Services:
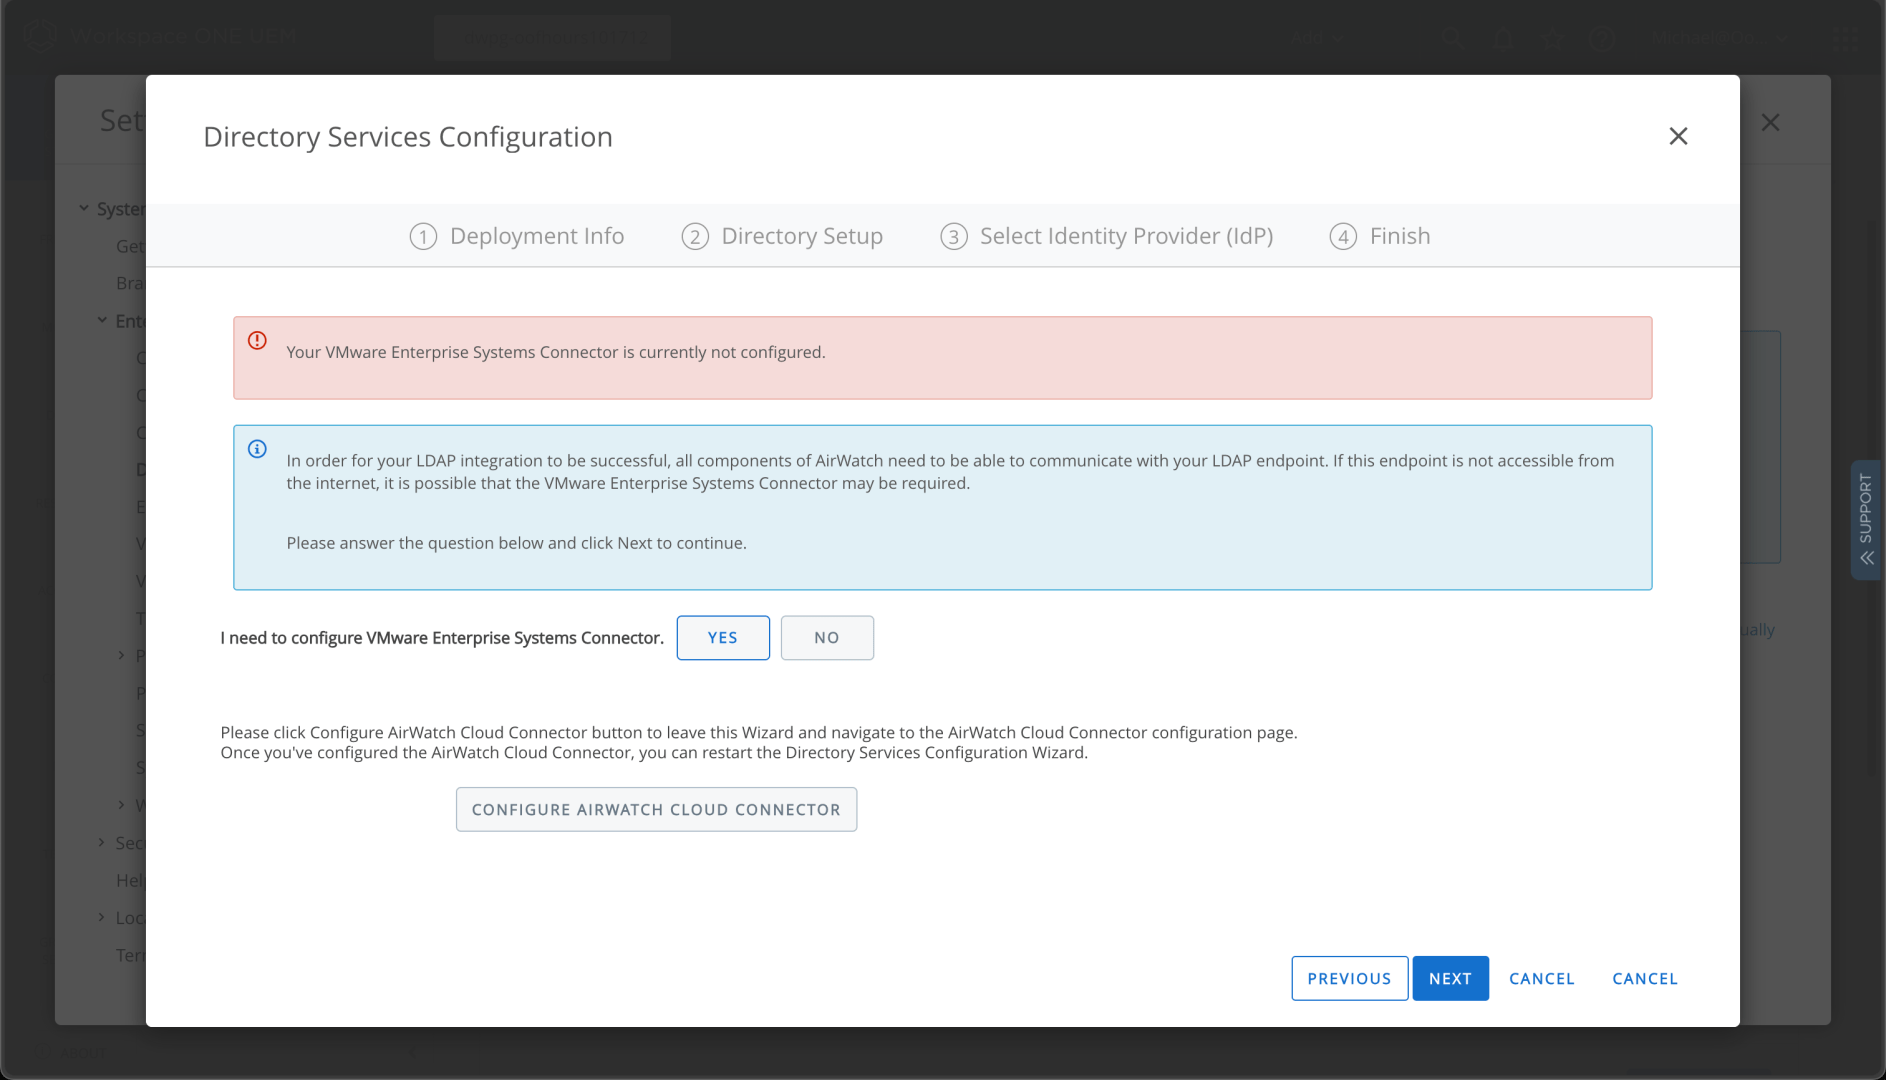
I don’t need SAML, so I can just set up LDAP:
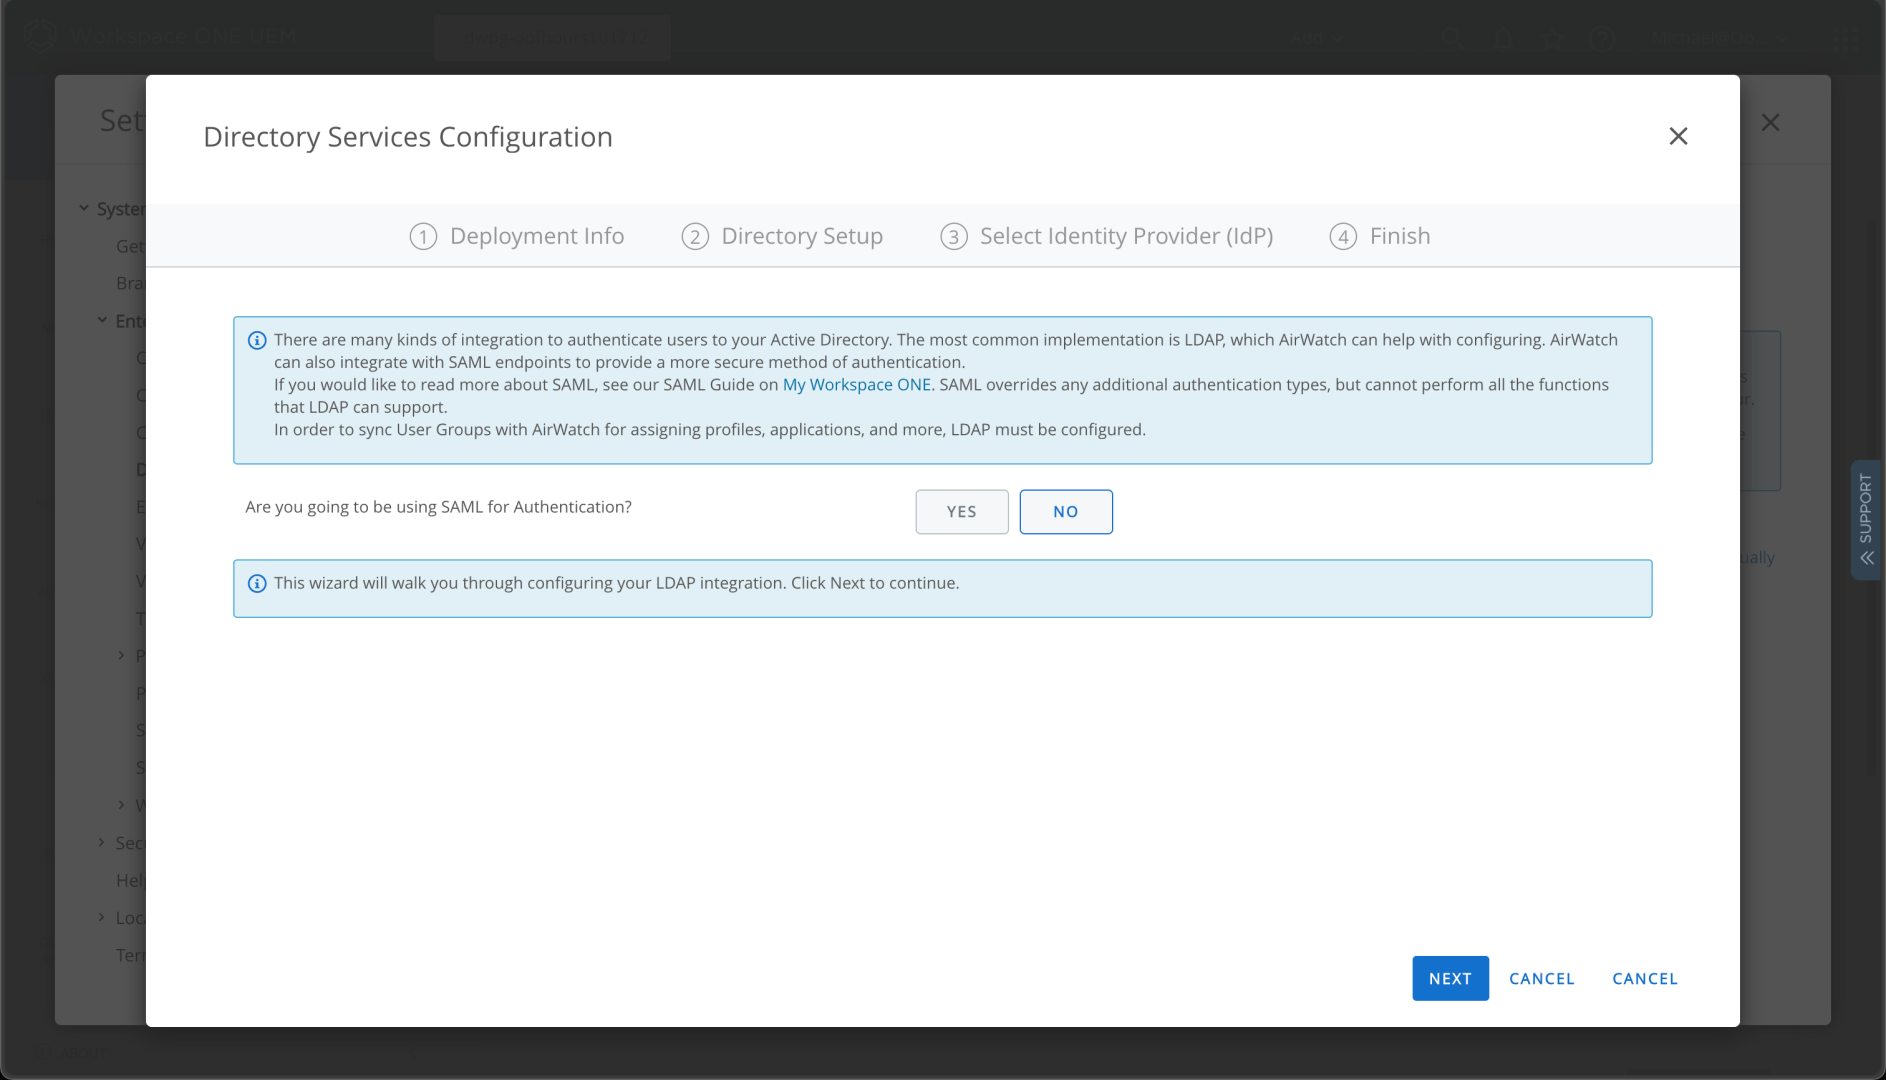
After clicking next, I can see that I need to do something else first:
I suspect the docs covered that, but reading documentation isn’t my specialty. (I write docs, I don’t read them.) So backing up to System -> Enterprise integration -> Cloud Connector, we can enable this:
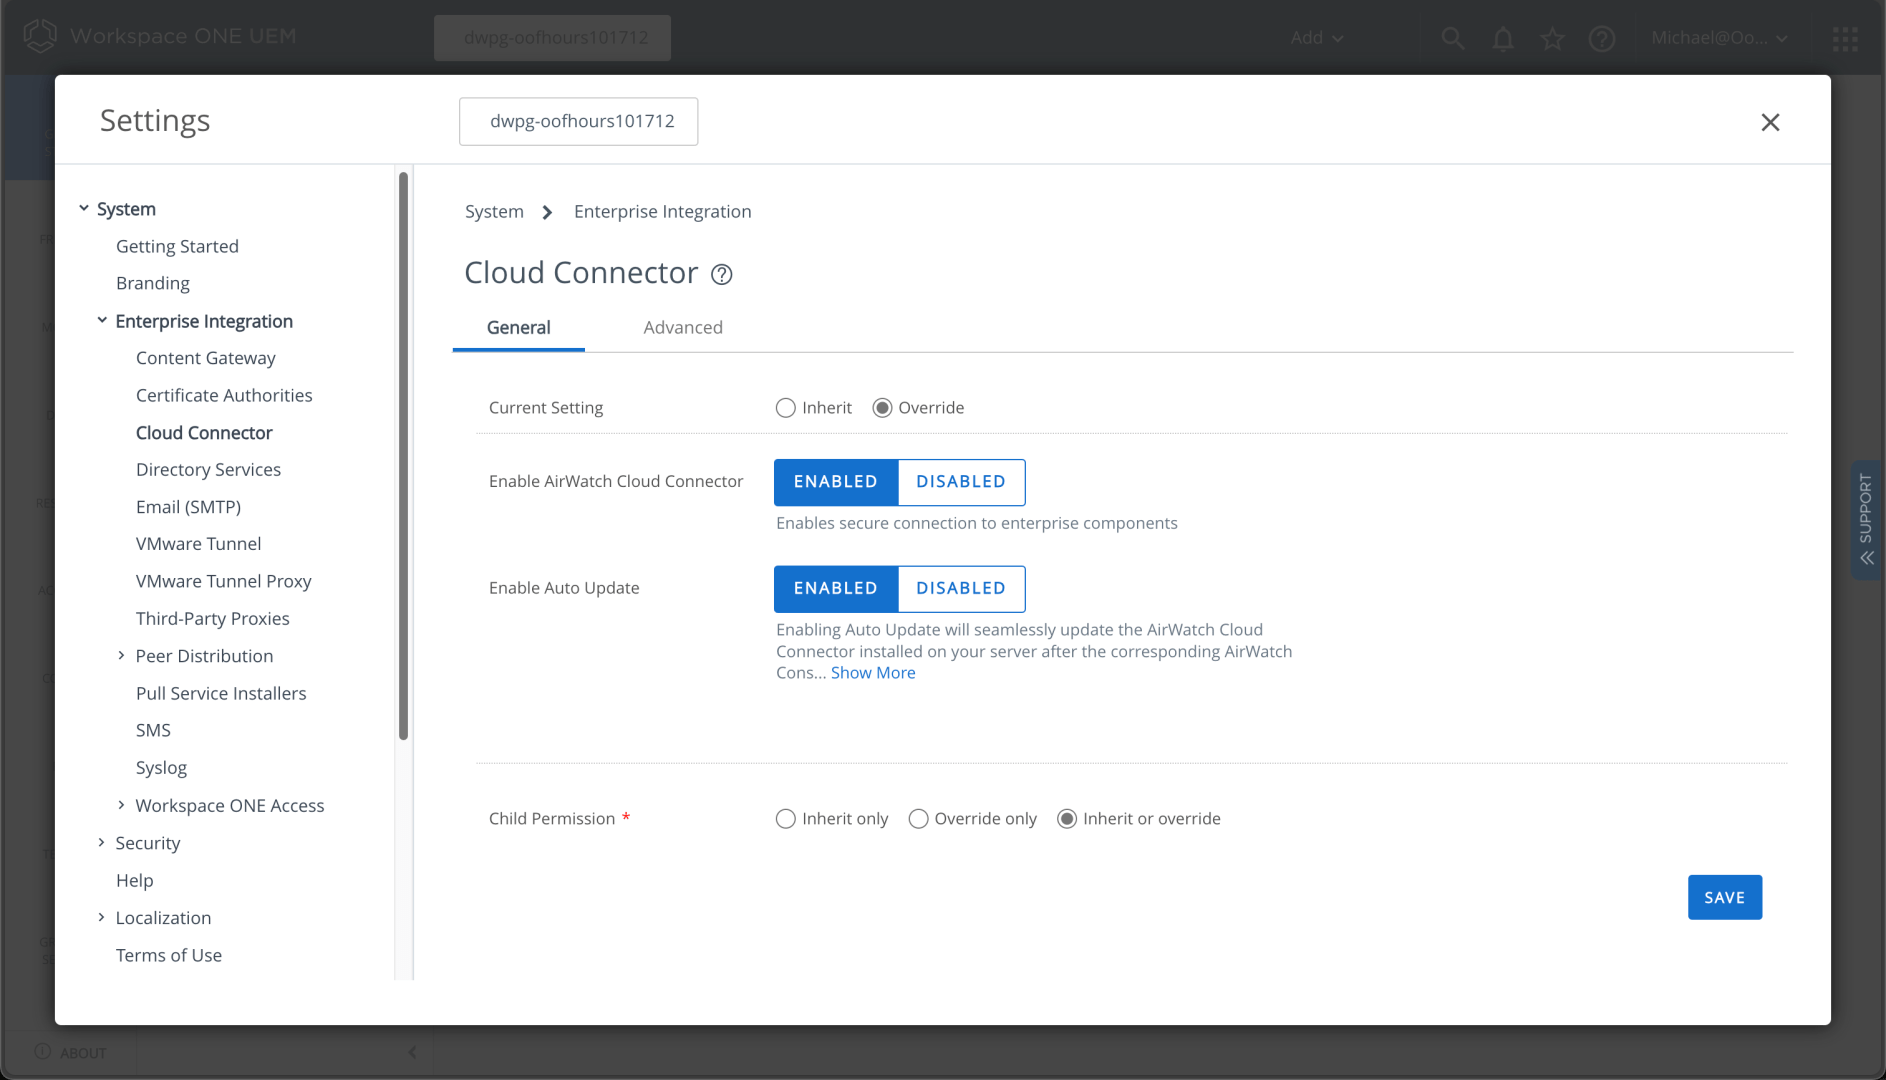
Once those settings are saved, you can download the connector installer from the link:

You need to specify a password for a certificate that it uses to connect back, but it’s a fairly simple installation overall. With that done, we can go back to setting up LDAP:
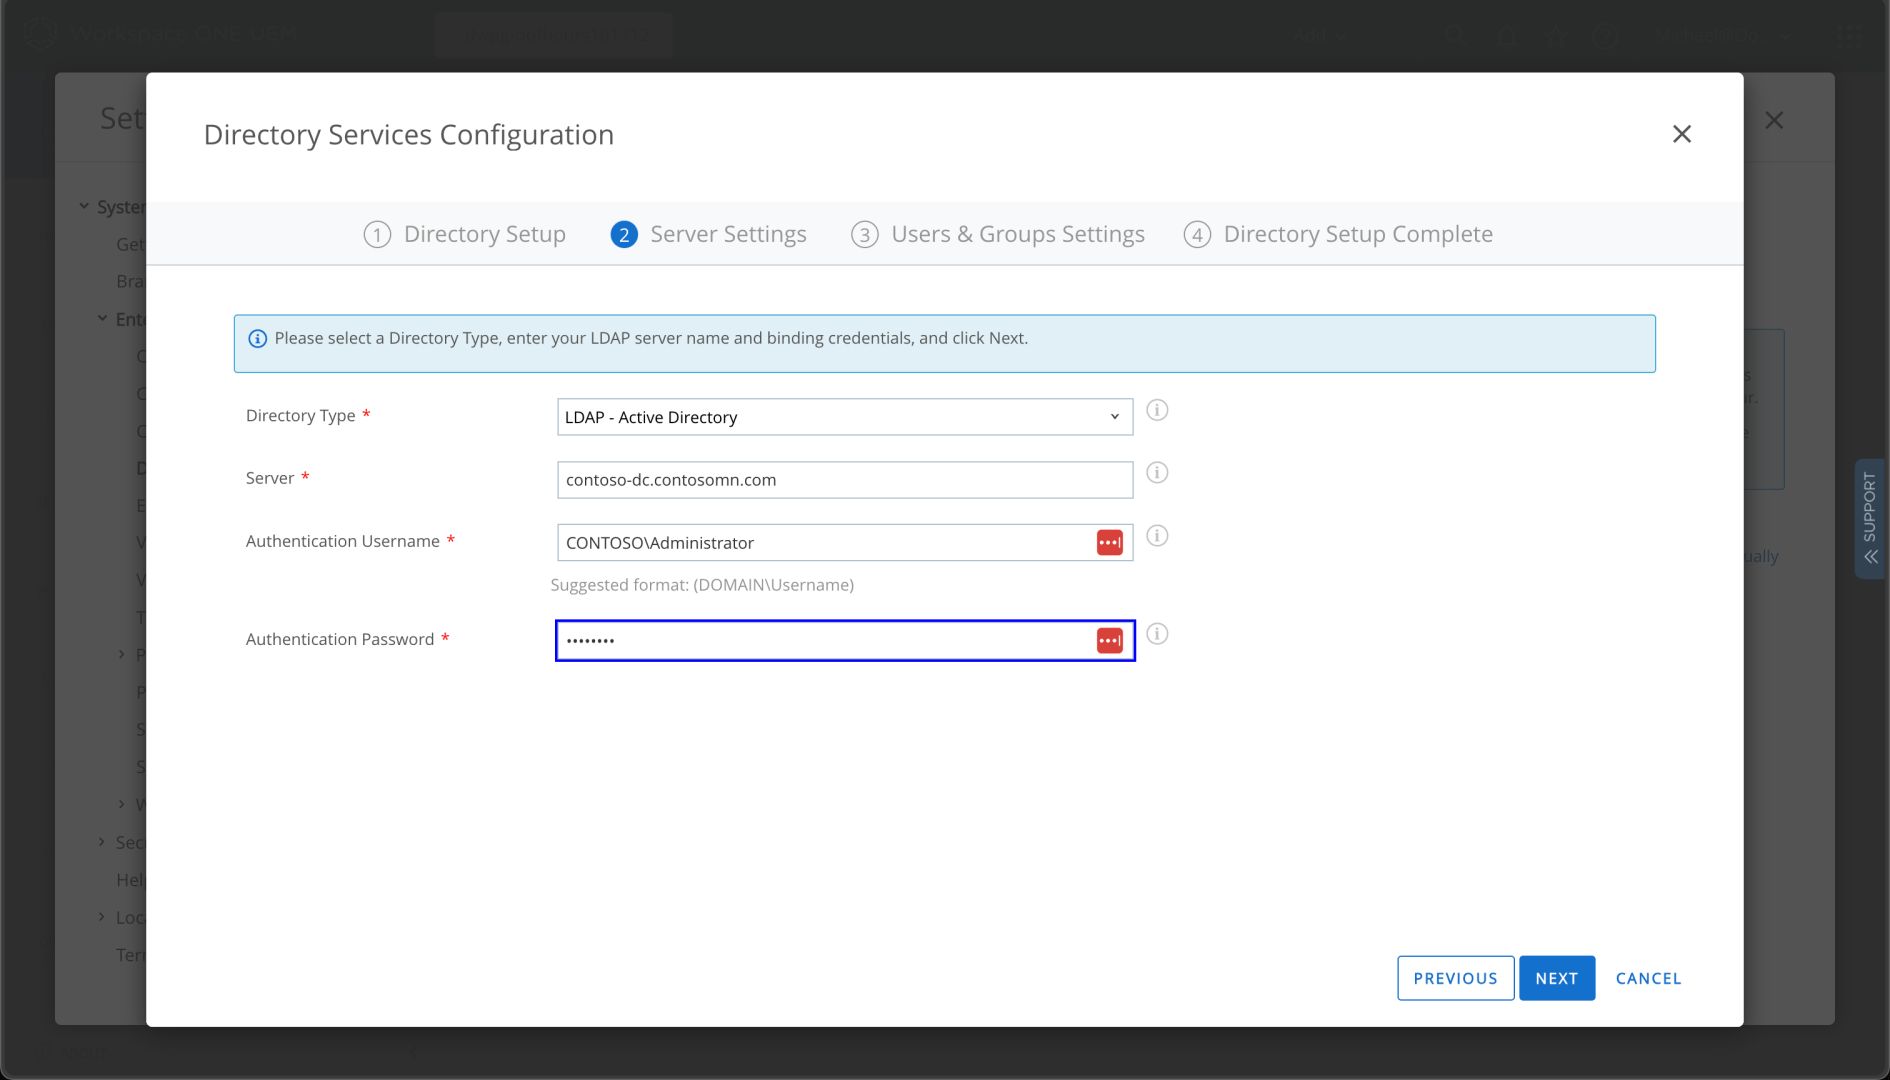
(Yes, I am using my domain admin account. No, that’s not a best practice. Yes, this is a lab environment.) The detailed settings were automatically detected:
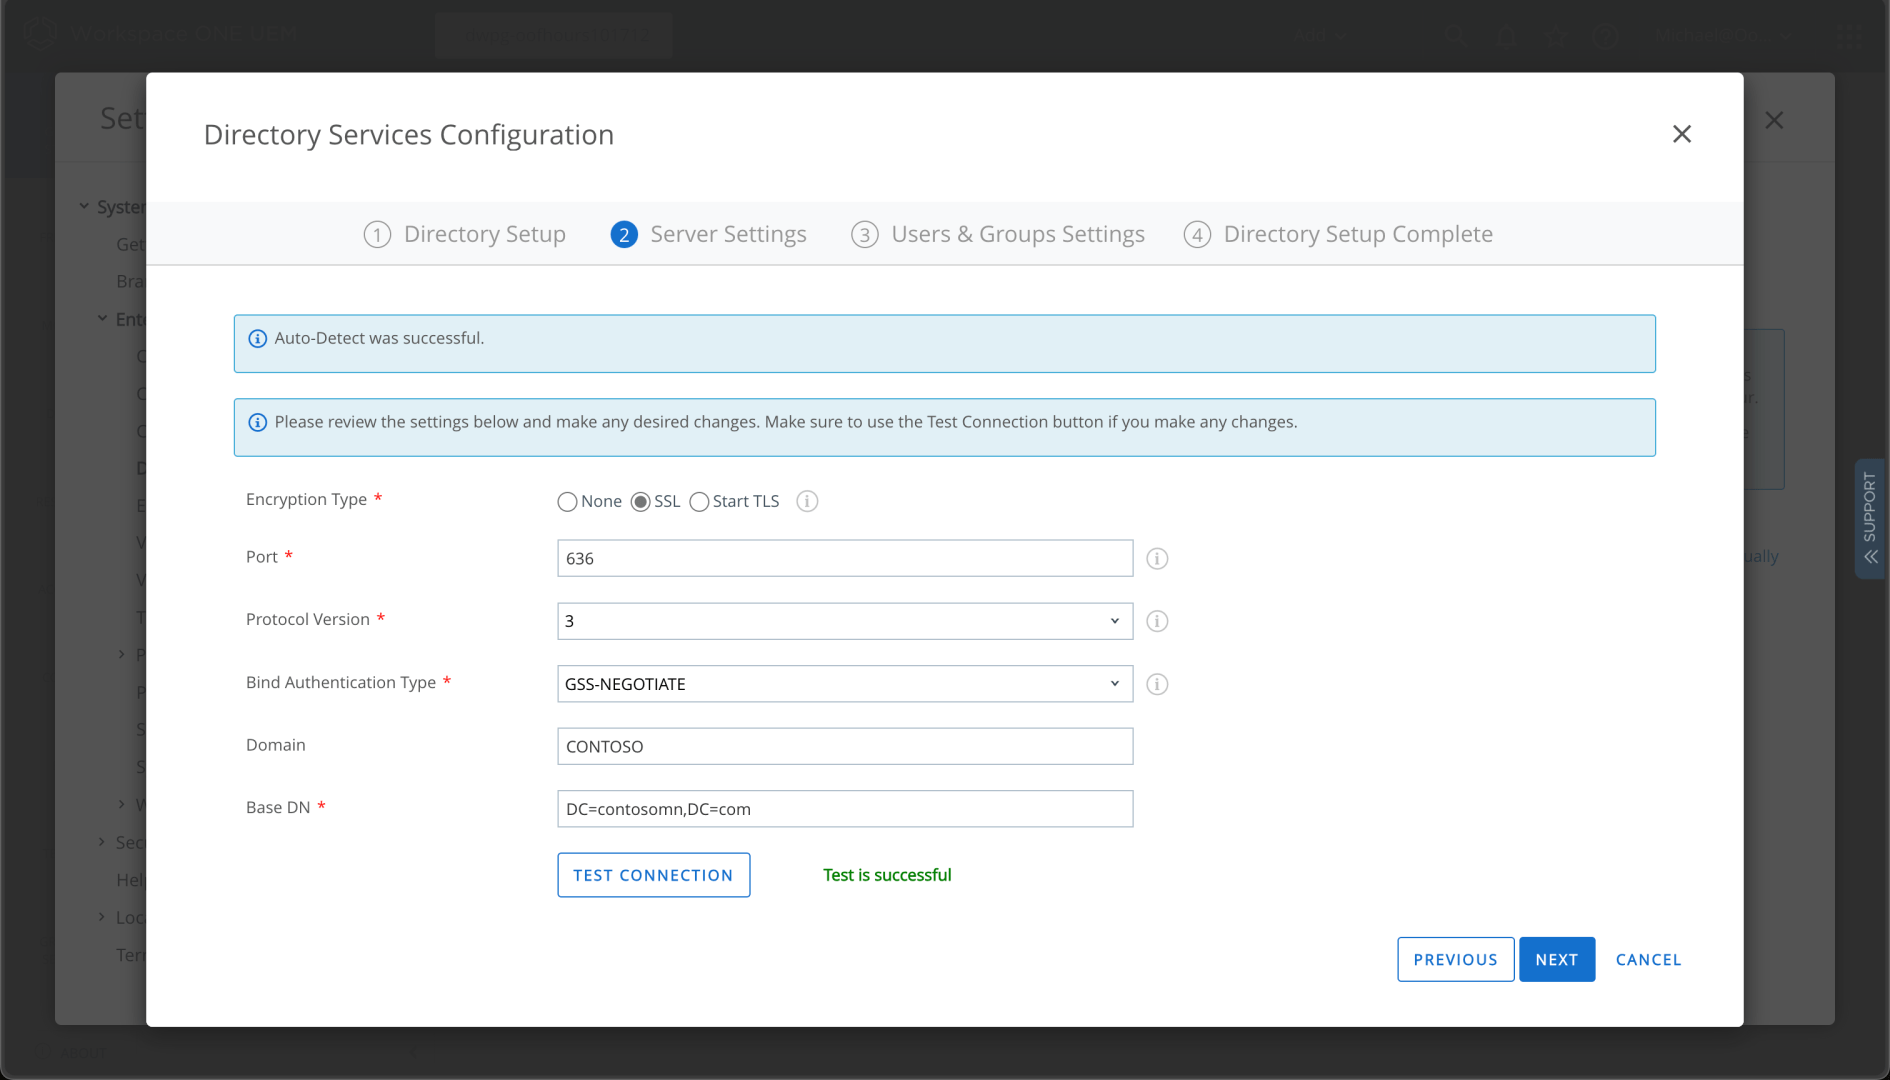
Automation is great:
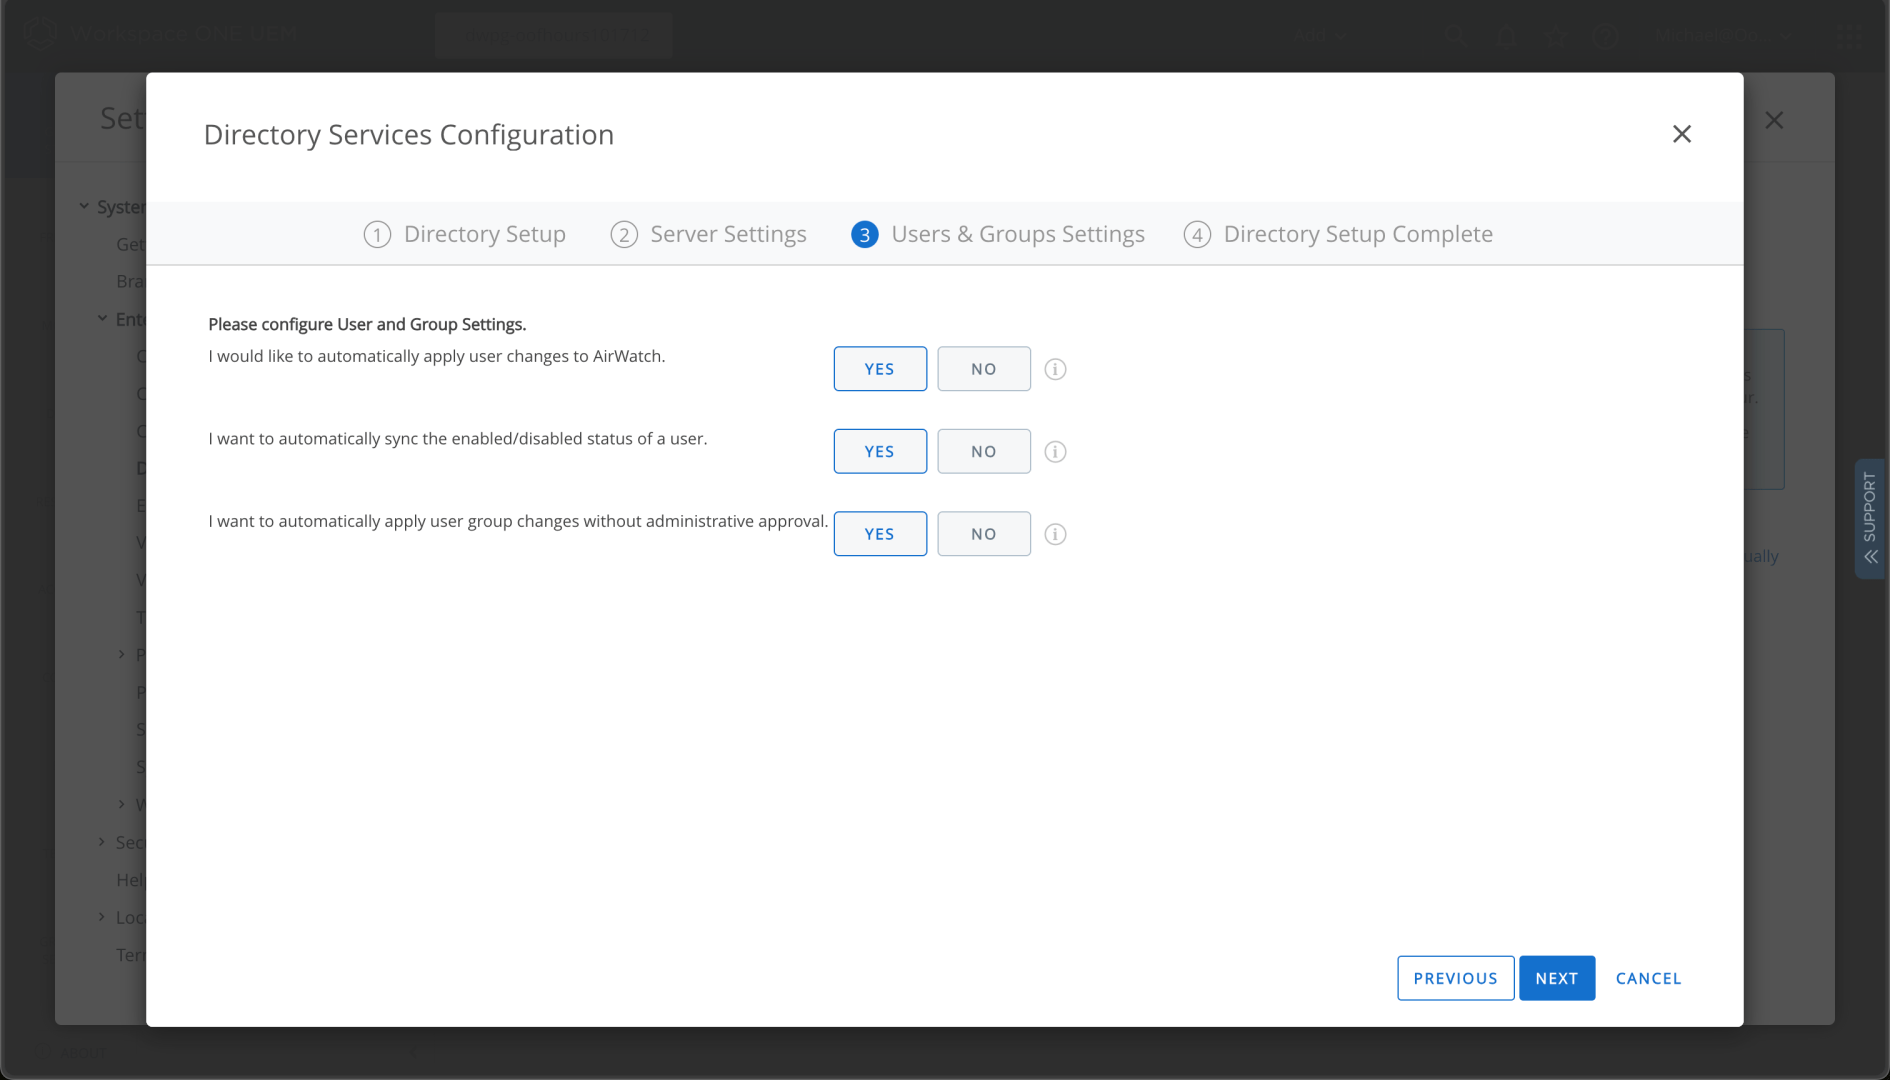
And sure, I’ll enable this for enrollment (although I expect to use Azure AD in most cases):
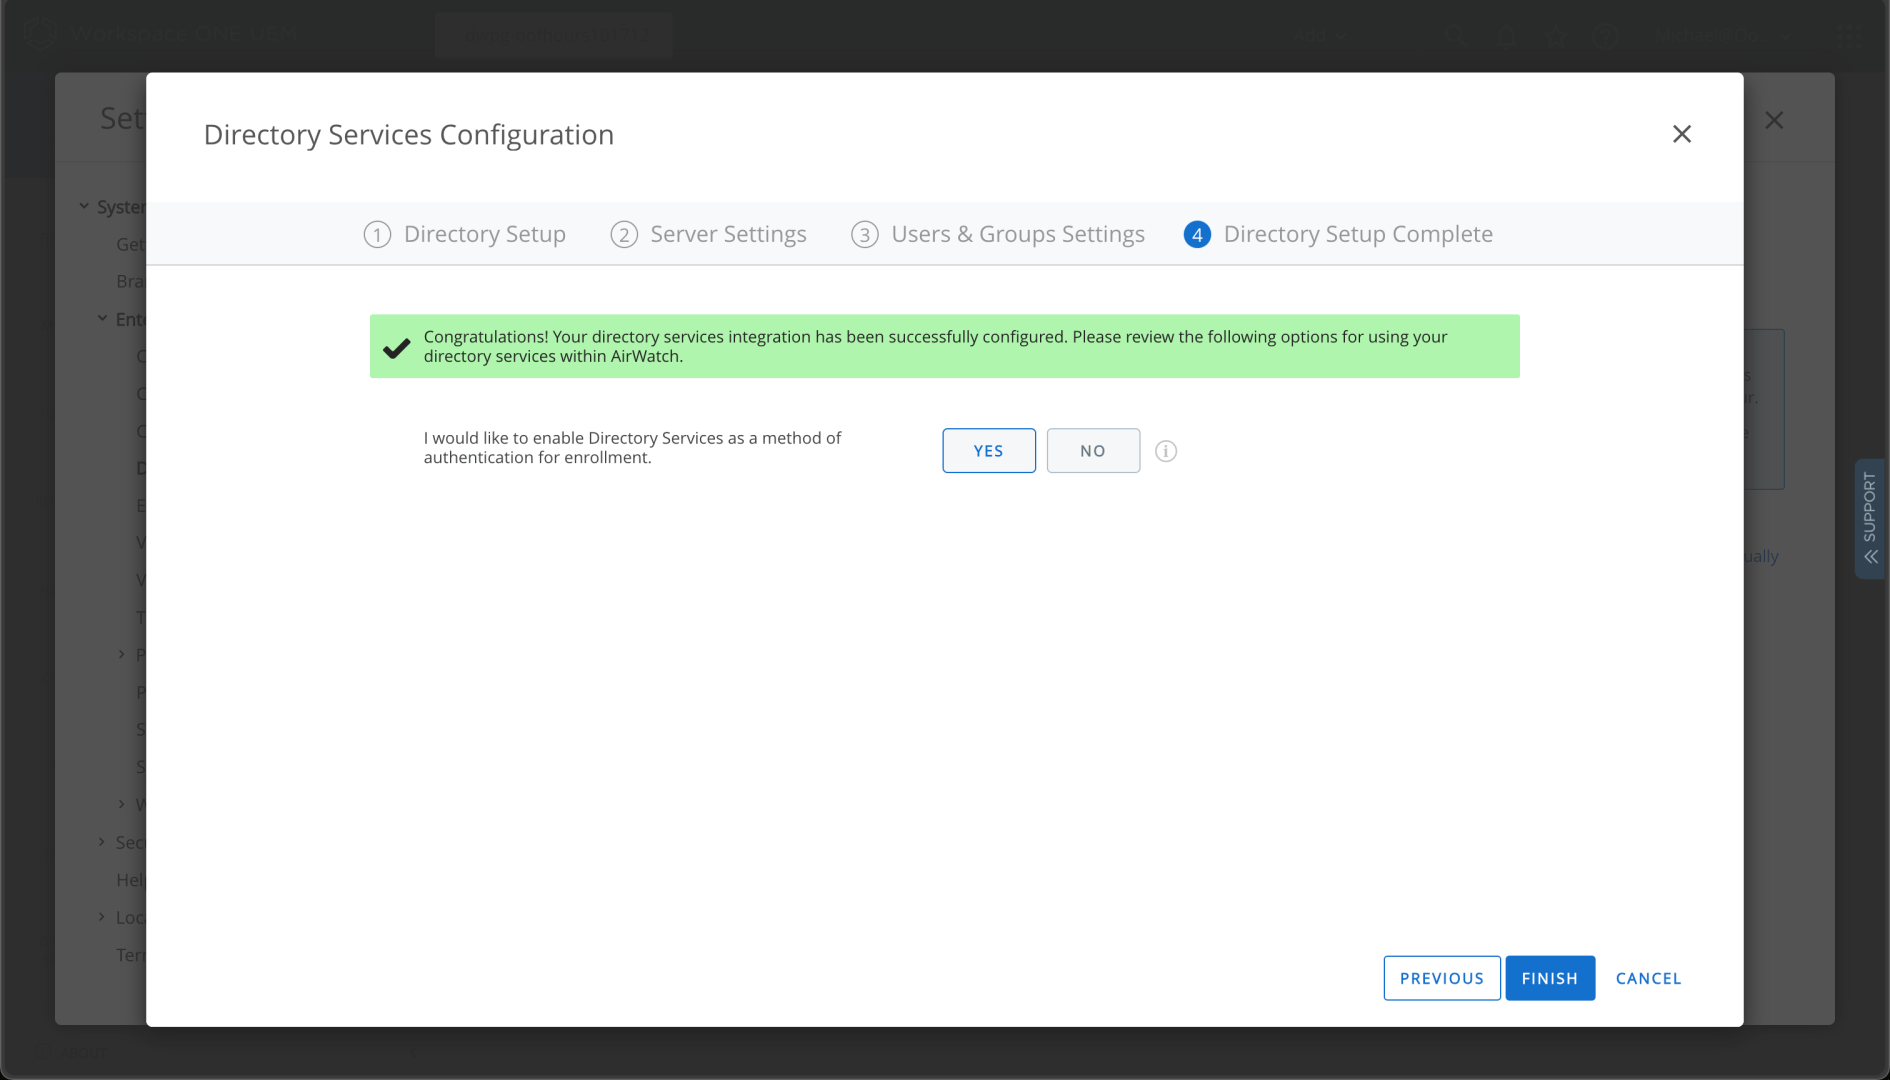
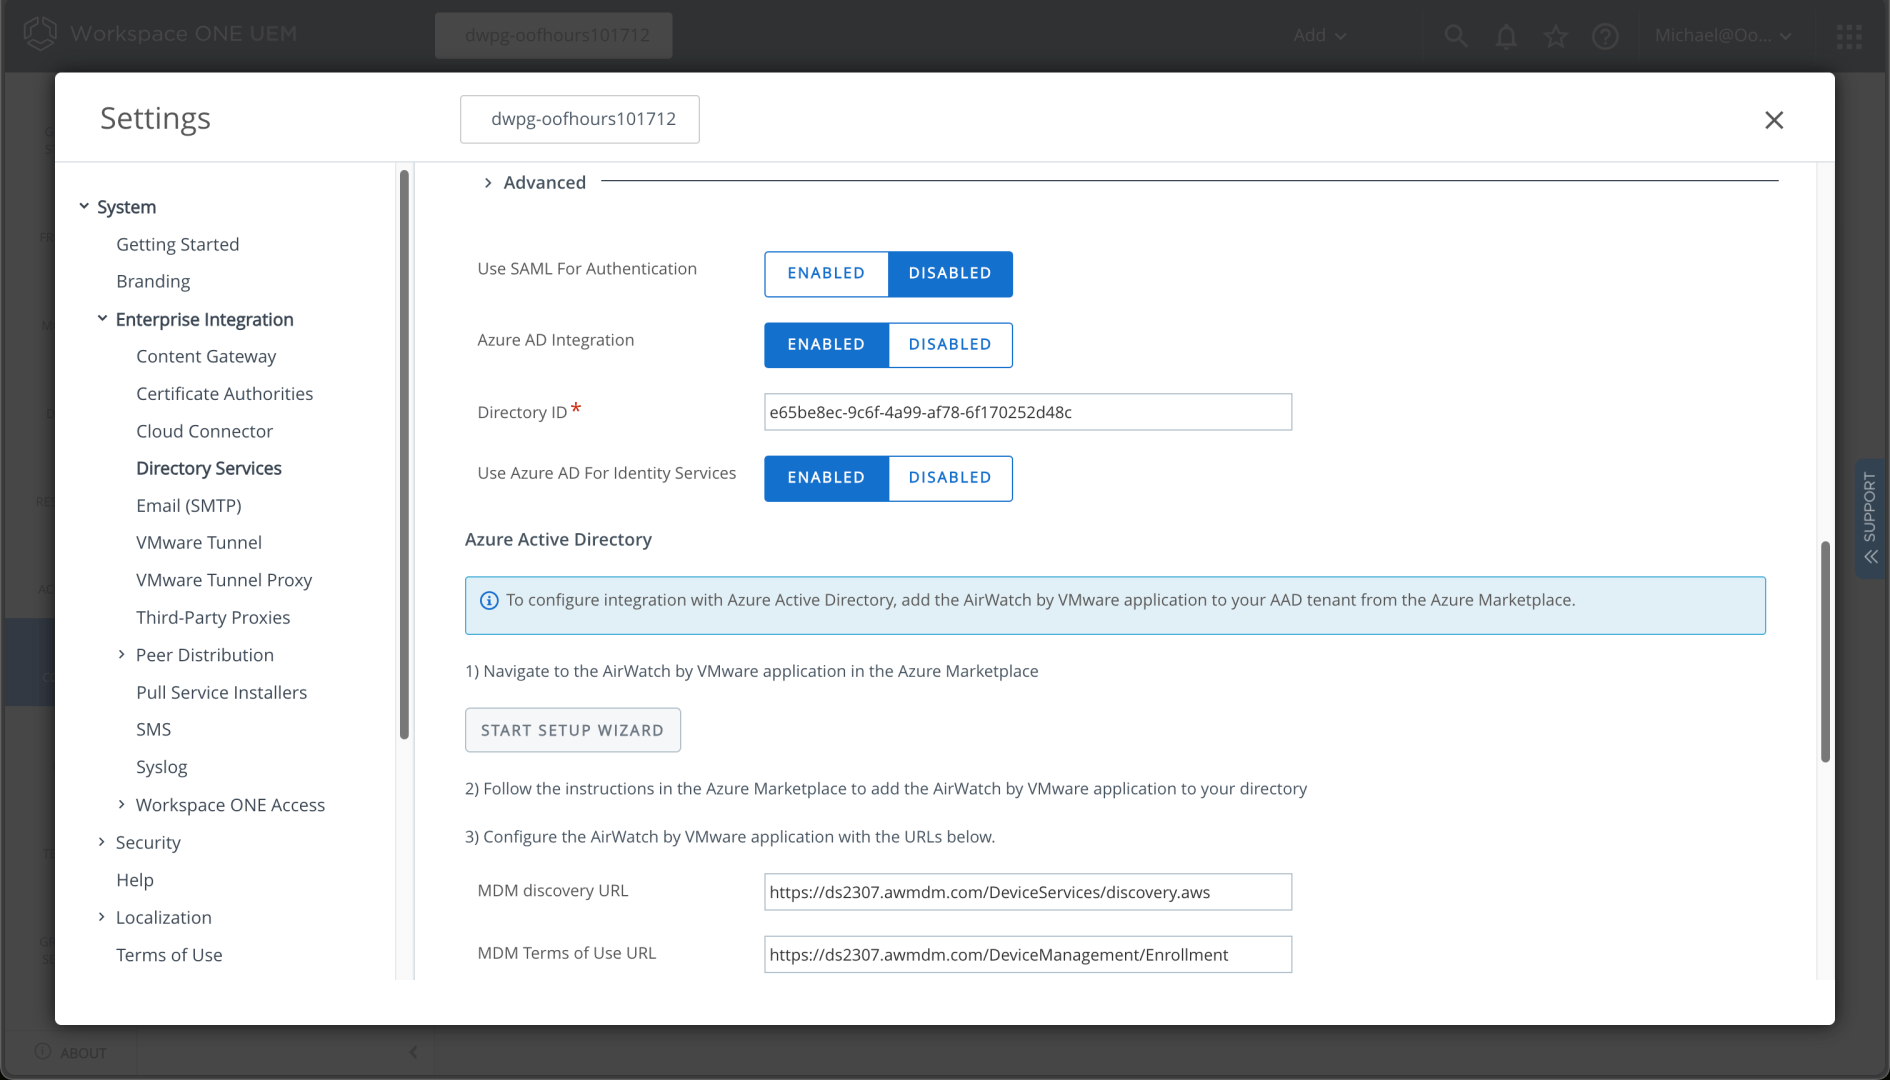
Now I can enable Azure AD in the “Advanced” Directory Services settings. That also generates the URLs that need to be populated in my tenant for MDM auto-enrollment. I need to specify my directory ID:
And my tenant name:
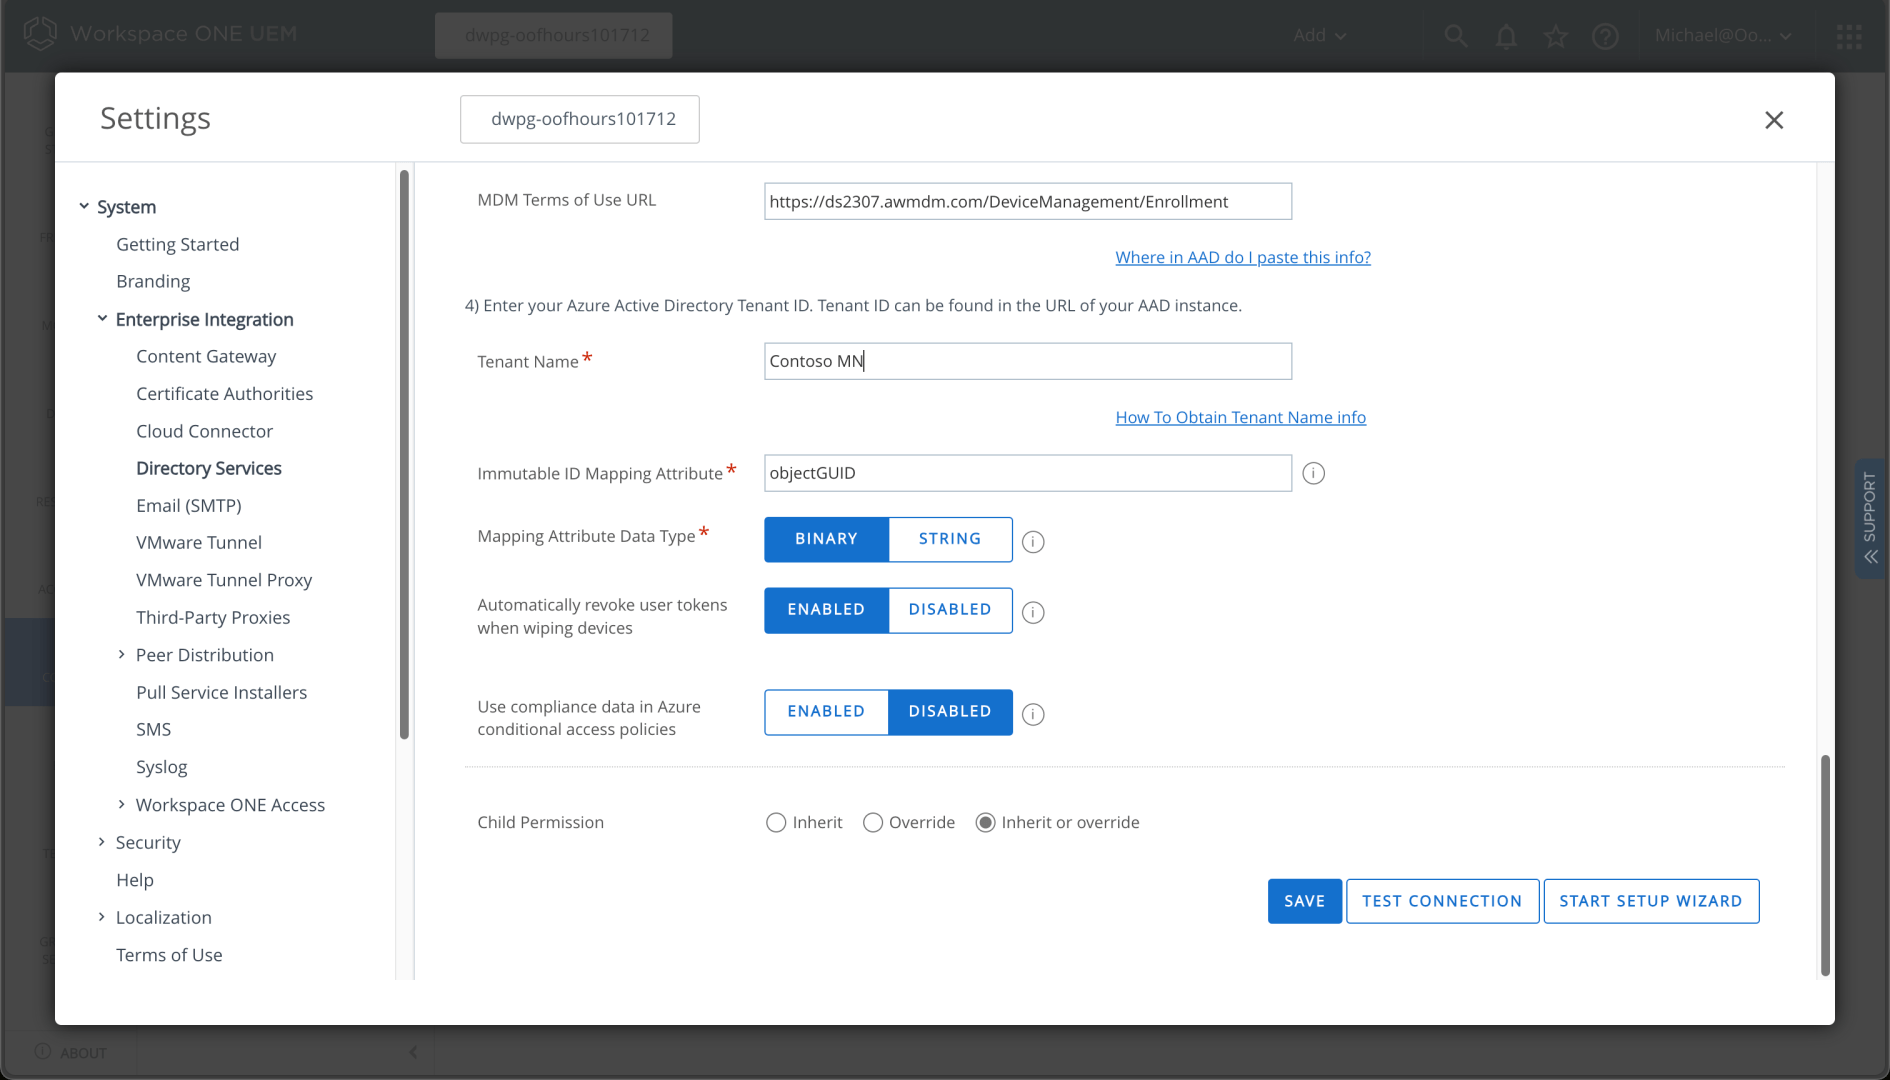
I can save those settings, but then I need to scroll back up to the “Start Setup Wizard” link, which takes me to the Azure Marketplace:
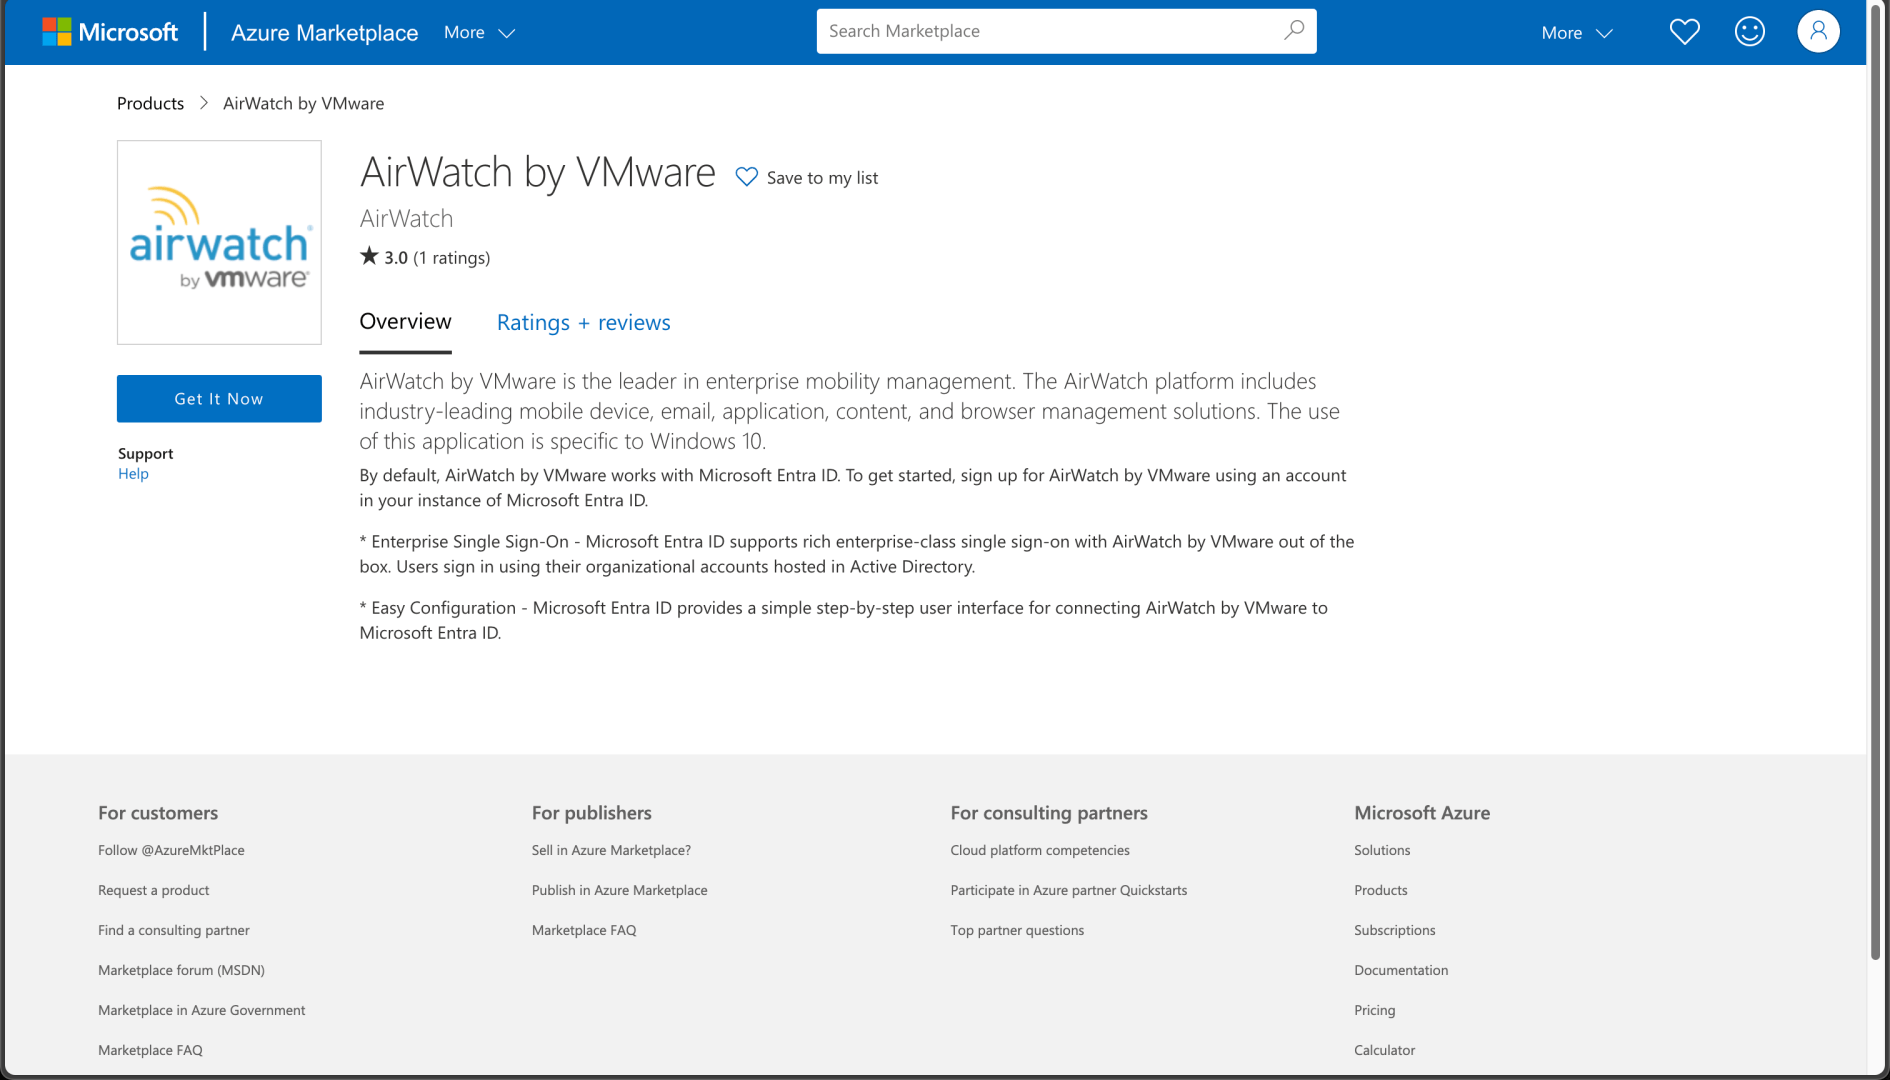
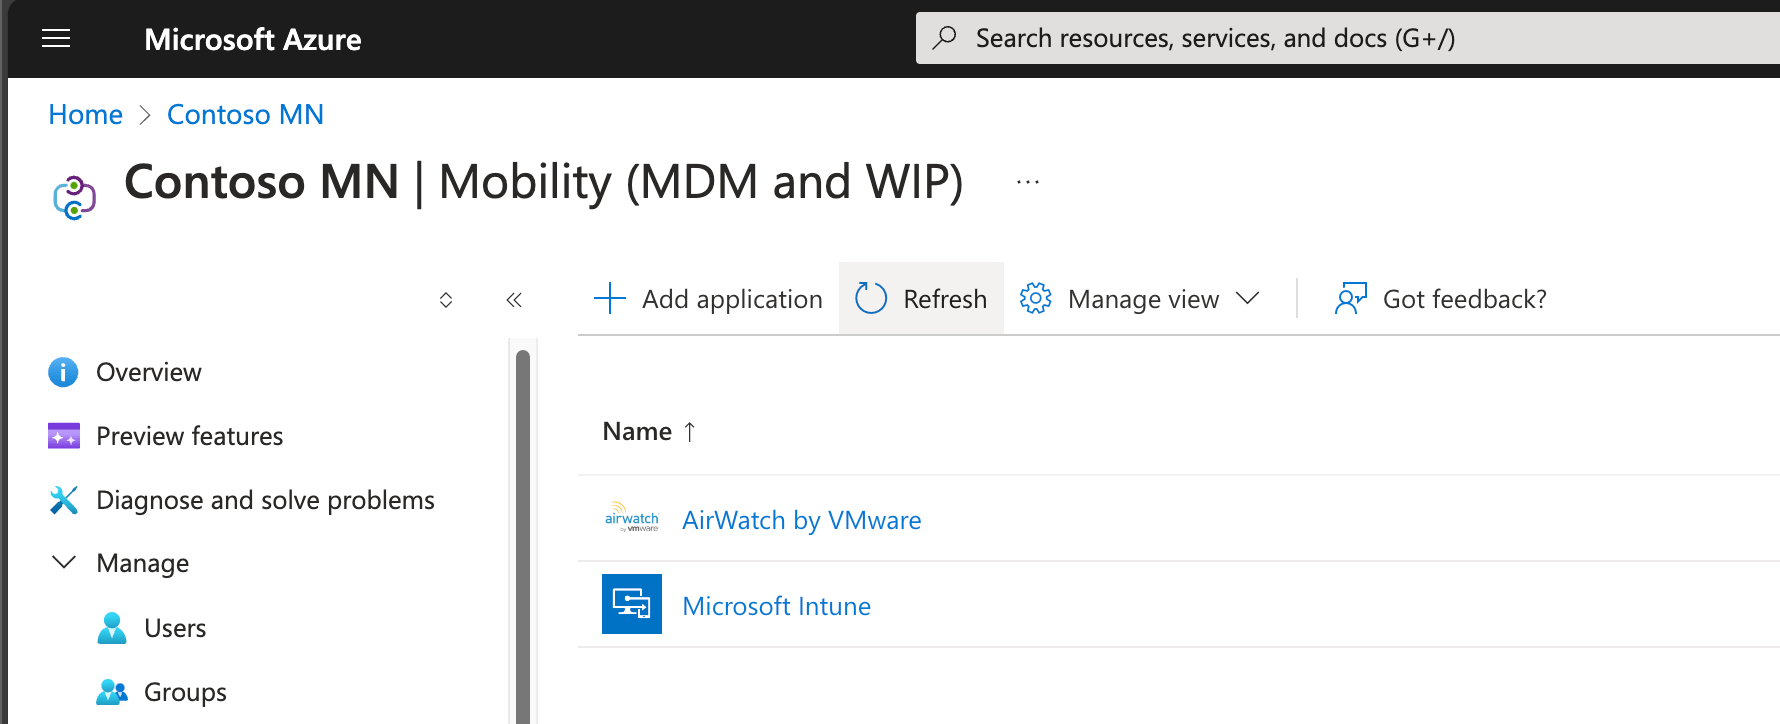
Clicking “Get it Now” takes you to the Microsoft Windows MDM documentation, and I’m sure the answer is in there somewhere. But let’s shortcut that and just go to the MDM settings in Azure AD directly:
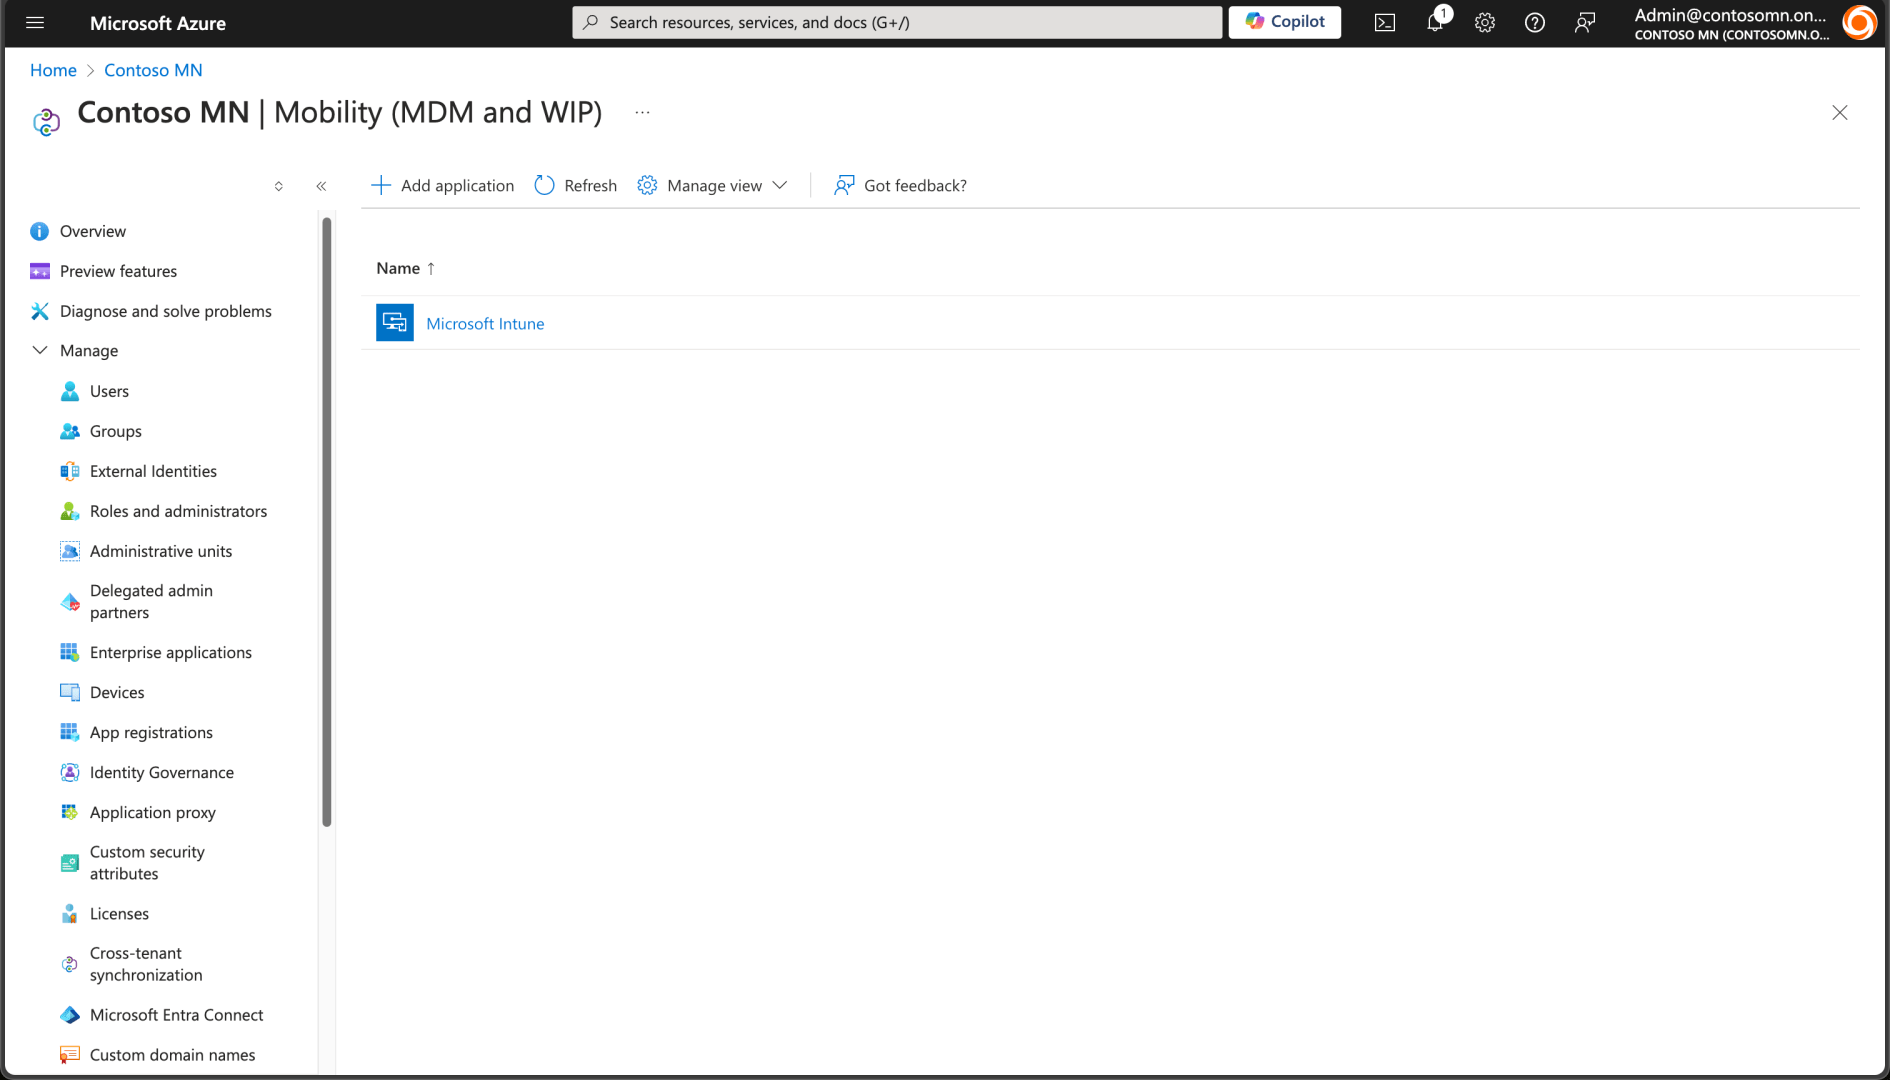
From there, I can click “Add application” and choose AirWatch from the list:

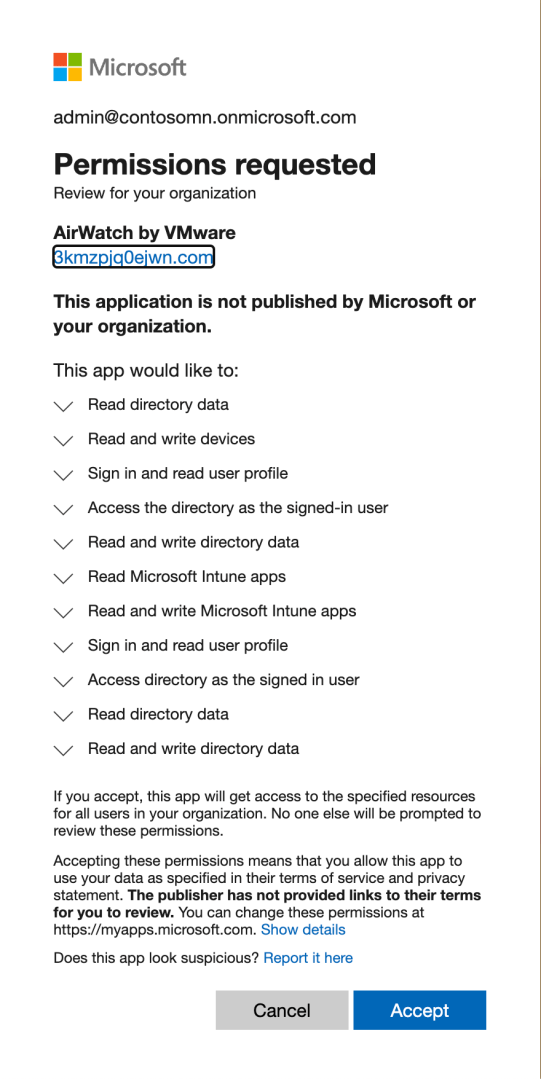
That requires granting some permissions to the app:
I can then set the user scope to “All” and put in the correct URLs from the Workspace ONE settings. (Note that the Workspace ONE portal shows the properties in the opposite order that the AAD portal does, so you have to flip them around. I discovered that the hard way…)
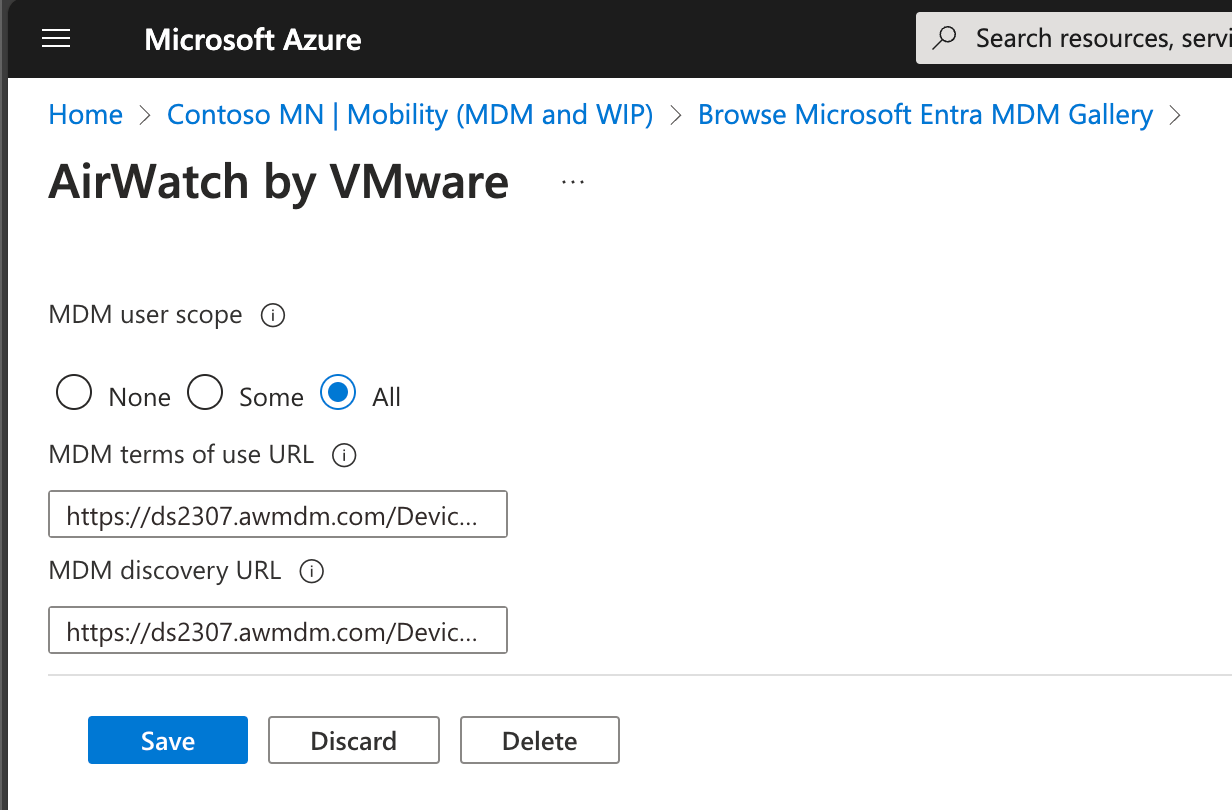
Now I have AirWatch as a new MDM application in my tenant, configured for auto-enrollment for all users. Since I already had another MDM, I also needed to change its MDM user scope to “None”. (This is a complete switchover. Since you can specify which user groups these apply to, you could also switch just some users from one to the other. But for my purposes here, that’s not required.) Note that these sorts of tenant changes take some time before Entra ID/Azure AD fully processes and replicates the changes, so be patient.
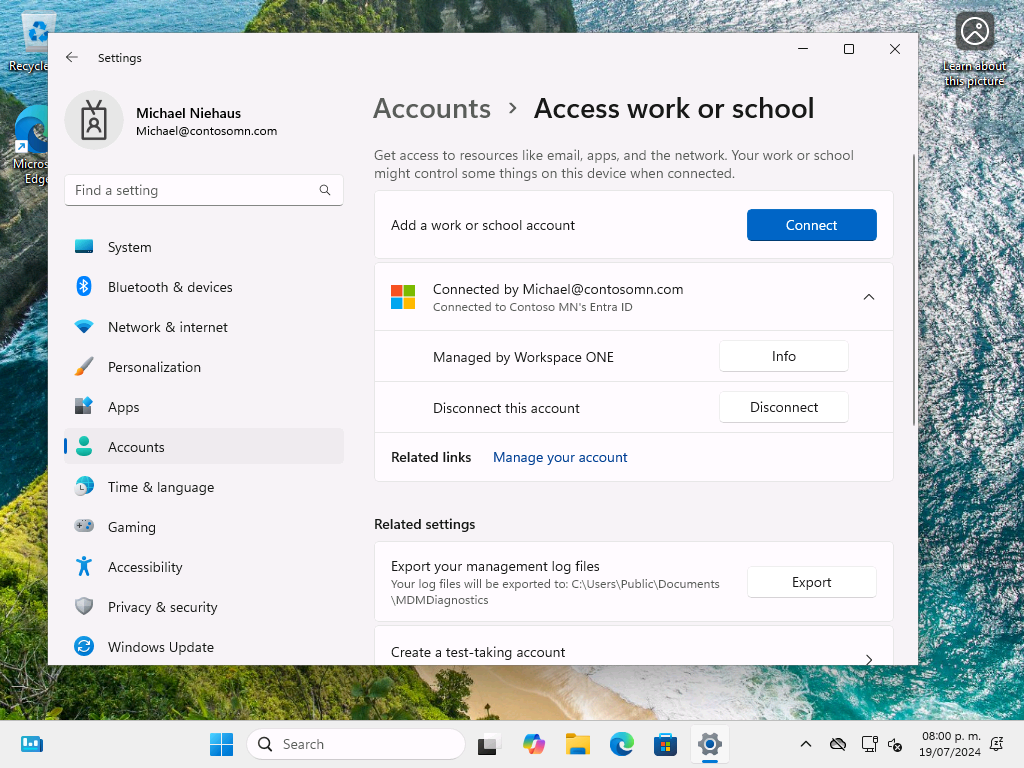
So are we ready to enroll a device now? Let’s try it and find out, going through OOBE in Windows 11 to join my device to Entra ID (Azure AD). Sure enough, everything went through fine and I can see that it is indeed managed by Workspace ONE:
Not surprisingly, there isn’t much being configured yet, since I haven’t added any apps or configured any policies:

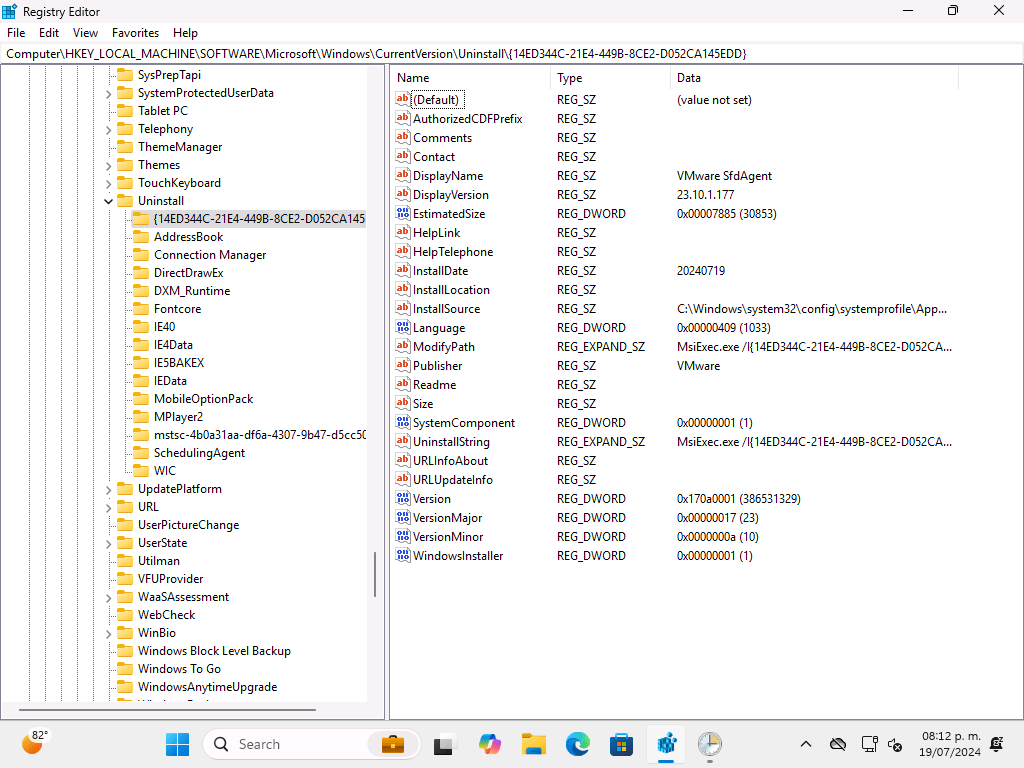
One of the things that was installed was the “VMware SfdAgent”, an MSI installer that is used to install apps. I can see that it is installed from the registry:
And from the file system:
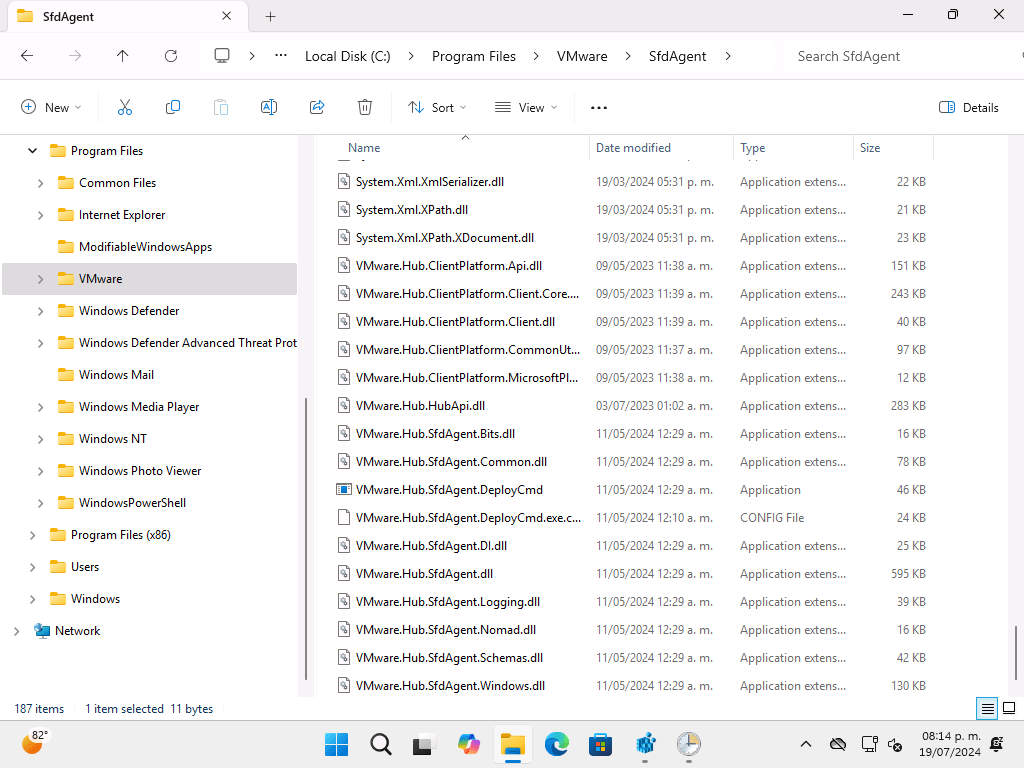
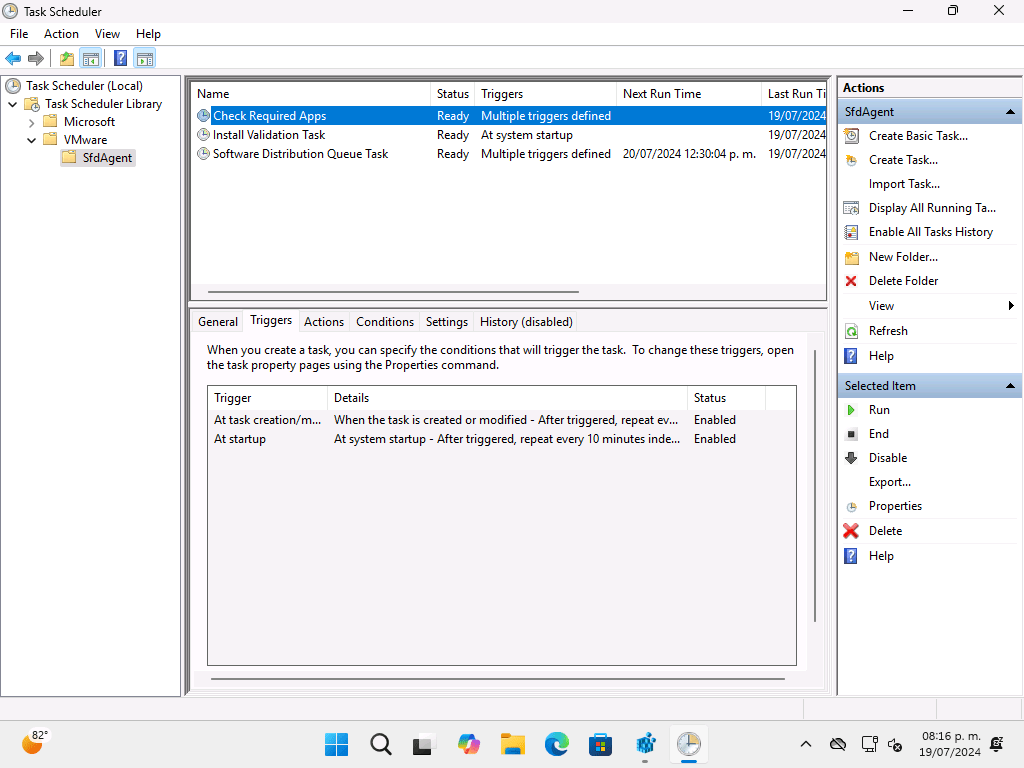
But there’s no service and no running processes. So how is this executed? Simple, using the Task Scheduler (just like the MDM client in Windows itself works):
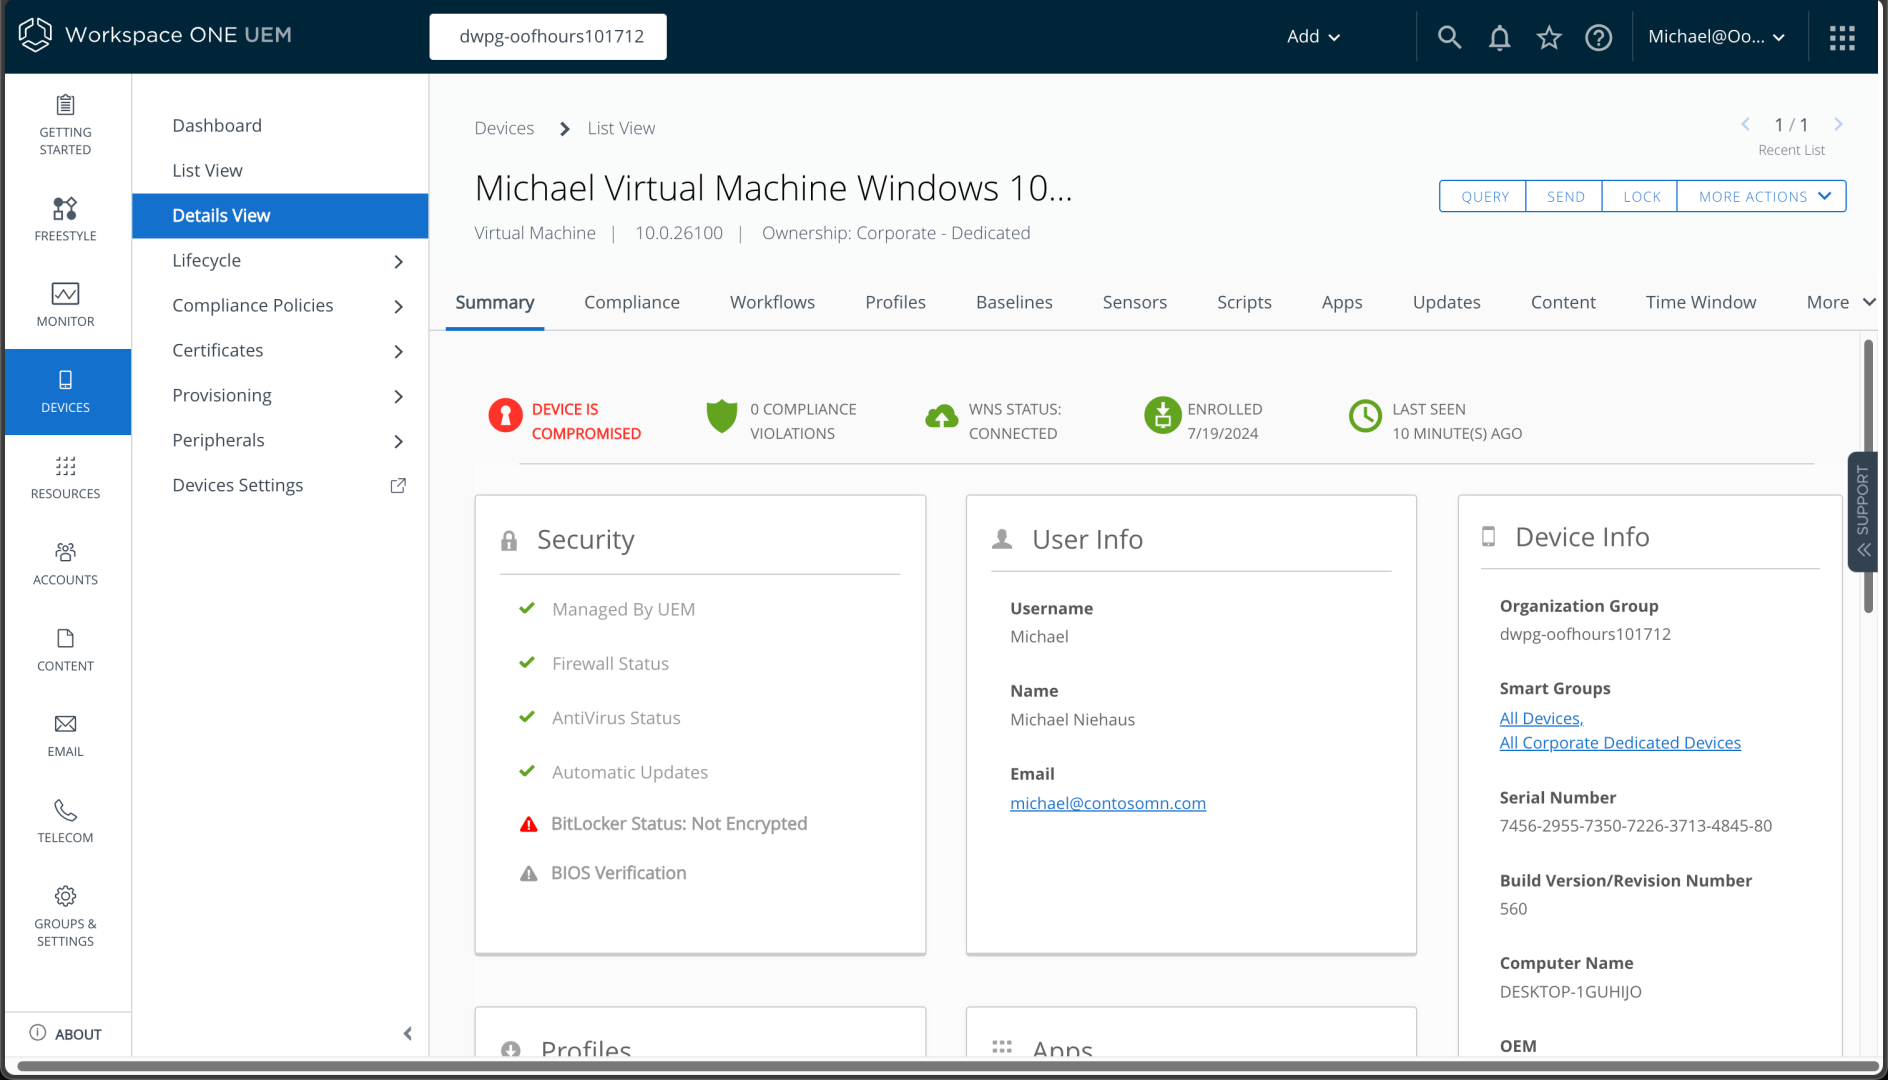
Switching back to the web portal, I can see my device (and yes, it’s not encrypted since Windows isn’t going to do that by itself):
So overall, everything is looking good. Next up, we should add some apps and policies. With those in place, we can then move on to Autopilot and other device provisioning scenarios.